September 23

Farm Notes

It’s really starting to feel like fall around here! Suddenly it’s dark by 7:45pm, which forces me to head inside and stop working, after being used to getting lots of things done outside in the evenings after Sawyer goes to bed. While the shorter days mean I don’t get quite as much accomplished, I’ll be honest that I’m actually grateful that Mother Nature is forcing me to slow down, come inside, and actually eat dinner before 8pm!

Last week we celebrated Sawyer’s first birthday with family and friends, and it was the most wonderful, joy-filled weekend. Over the past year, Sawyer has taught us so much – first and foremost, he’s taught us how to be parents (no joke, I had never changed a diaper before he was born..), but also how to be more patient, how to see the world with truly open eyes, and how to be silly + laugh without abandon. I’m definitely still figuring out how to balance being a mom and wife and farmer/small business owner, but it feels pretty awesome to have made it through the first year milestone, and I thank my lucky stars every day that I get to be Sawyer’s mom. :)

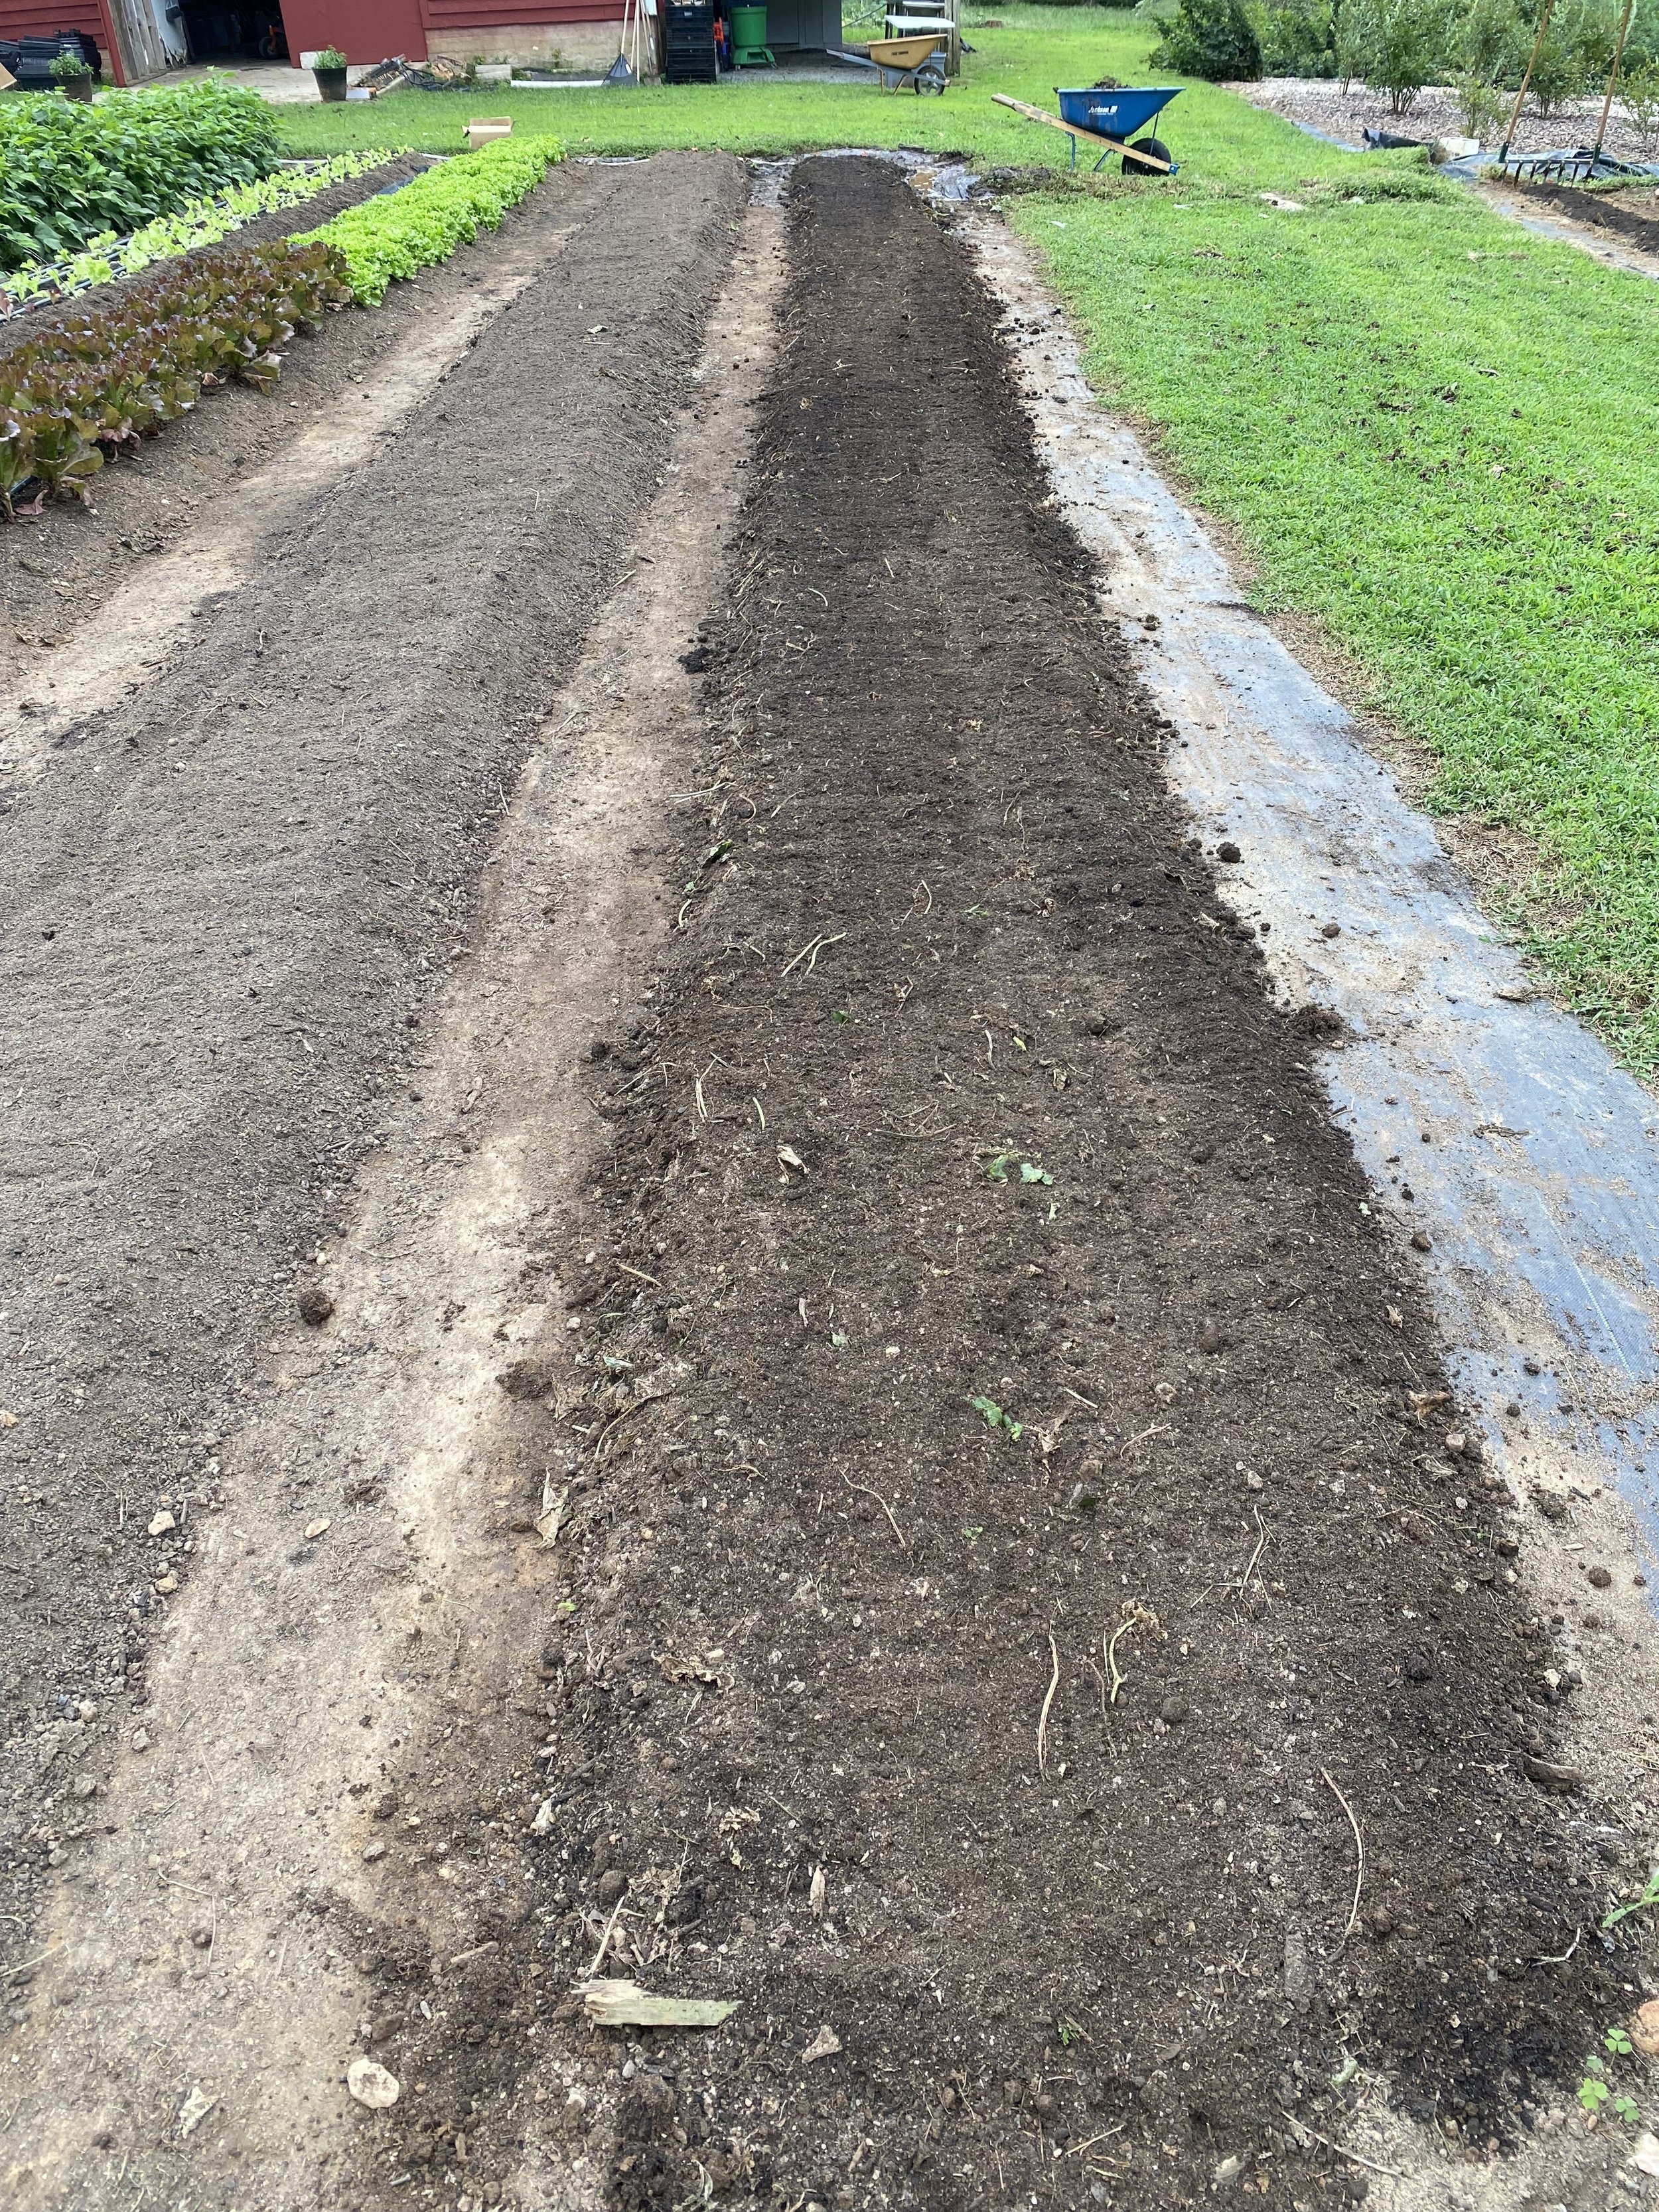
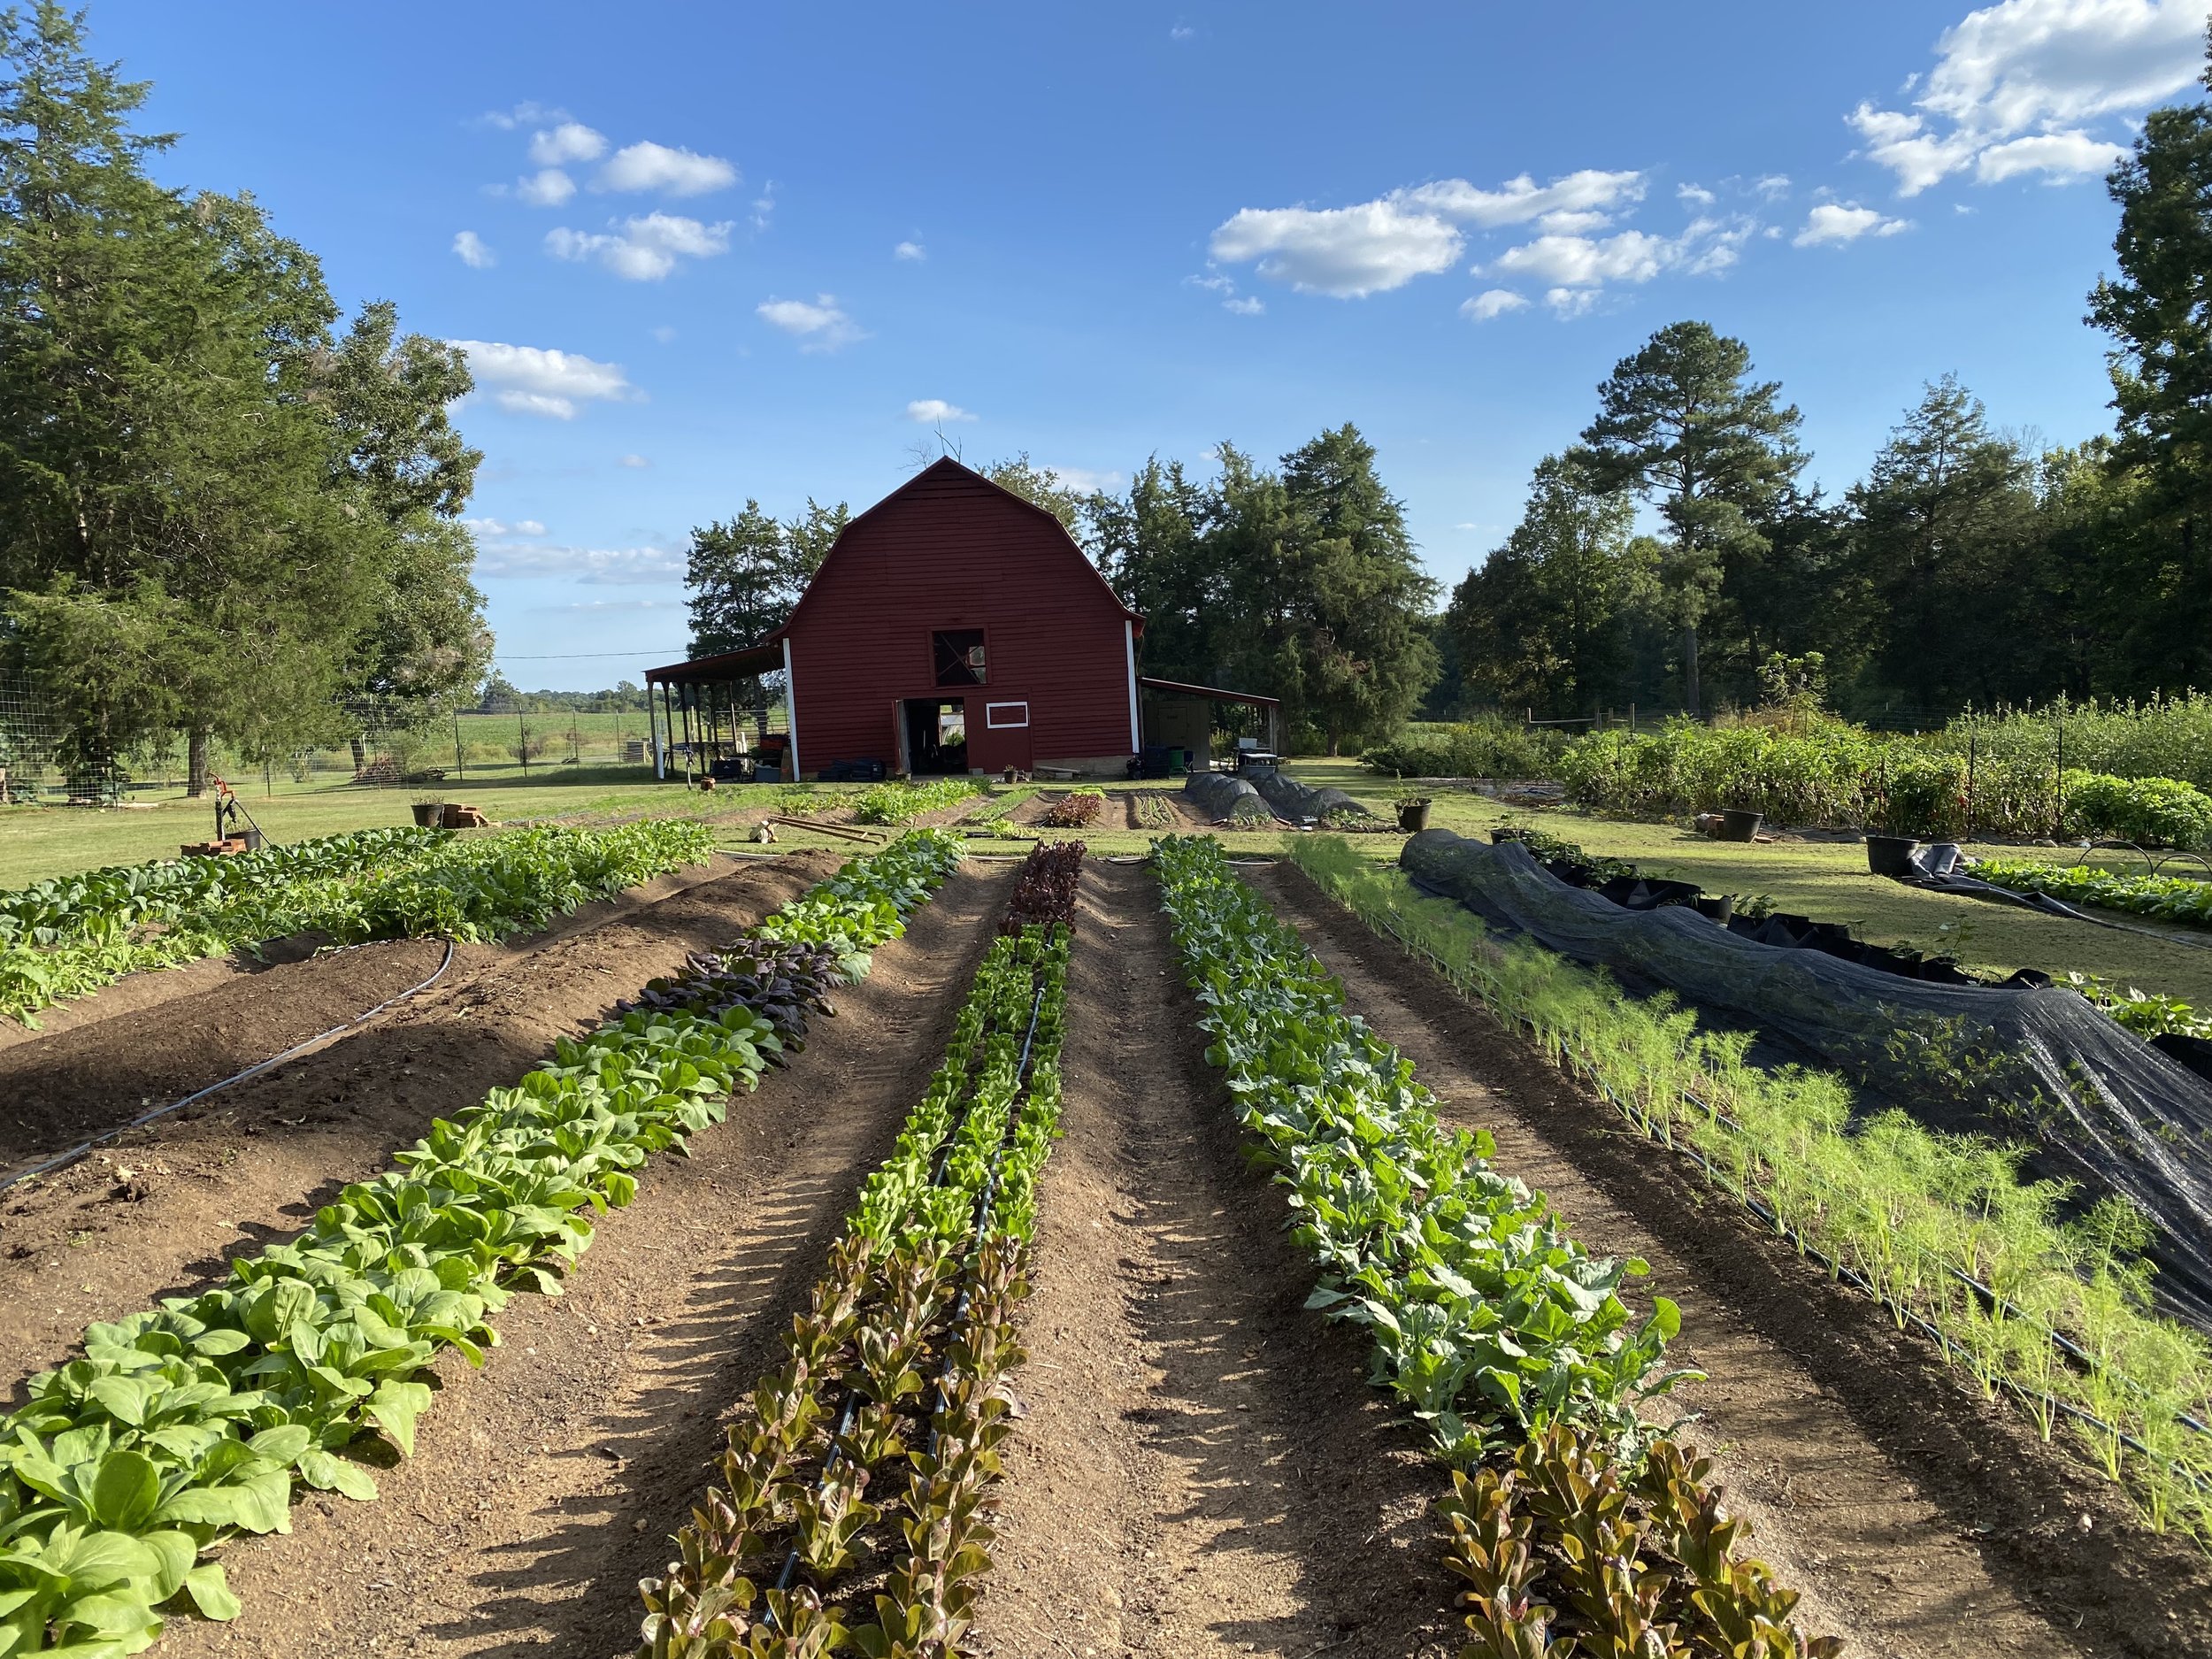
All the fall veggies are loving the cooler temperatures, while our summer tomatoes/peppers/eggplant/okra are singing their final swan song. Unfortunately, I’ve yet to catch the groundhog that seems bound and determined to eat all our brassicas, so I’ve had to resort to covering all our baby plants 24/7 with row cover (see photo below) to keep them from getting eaten. I’ve also been battling with moles, who apparently have a sweet tooth for fennel (see photo below)… moles are notoriously hard to get rid of, and I’m just hoping that I’ll still have fennel left for our CSA members before the moles get to them all!

Covering our plants to keep the groundhogs away…

…and apparently moles love fennel?!

Now that we’re in the second half of September (how did that happen?!), the majority of our fall crops are in the ground, though we are still planting successions of lettuce, arugula, baby kale, radishes, and turnips to keep us rolling in greens through the end of the year. So depending on the climate where you live (ie how soon your first frosts arrive), there is still time to get some more fall veggies in the ground! Not sure what your average first frost date is in your area? Here’s a great website where you can enter your zip code and find out average frost dates for your area.

For a full tour of what’s growing here at the farm, I just took y’all on a virtual farm walk – tune in via Facebook HERE, or via our shared google drive HERE.

PS – Many of you have asked for a health update… I’m very glad to report that the issues I was having with my left ear have improved significantly since my last update. I had a follow-up with my ENT doctor this week, and while my hearing isn’t fully restored (I still can’t hear low frequencies in my left ear), overall the ringing and pressure have pretty much gone away. There’s a chance that I may have a condition that is causing a fluid imbalance in my inner ear, which I’d need to regulate through diet, stress management, etc – but for now, I’m taking it one day at a time and just grateful to be feeling so much better… thanks for all the kind words and messages! :)

Kitchen Notes

If you’re never exactly sure what to do with shishito peppers (or any kind of frying pepper like padrons, habanadas, etc) THIS is my go-to recipe/method. All you gotta do is get a skillet nice and hot, and blister those puppies with some oil + salt + a little garlic and lemon (and a dusting of parmesan if you’re feeling extra). It all comes together in literally 5 minutes, and this makes for a finger-licking appetizer or awesome veggie side.

Blistered Shishito Peppers with garlic & Parmesan cheese

INGREDIENTS

  • 1/2 pound (3-4 cups) shishito peppers (or other frying pepper of choice), stems on

  • 1 tablespoon vegetable oil

  • 2 cloves garlic

  • 2 tablespoons lemon juice

  • Salt, preferably flaky sea salt or kosher salt, to taste

  • Freshly grated parmesan cheese (optional, but highly recommended)

PREPARATION

  1. In a large bowl, toss the peppers with 1 tablespoon vegetable oil.

  2. Heat a 12” skillet over high heat until it’s nice and hot (so hot water should sizzle), then add the peppers and a hefty pinch of kosher salt and let them cook in a single layer undisturbed for 2-3 minutes until nice and blistered on the bottoms. Toss and cook for another 2 minutes until blistered all around and tender.

  3. Remove the skillet from the heat and add the minced garlic and lemon juice – it will sizzle! Stir to incorporate the garlic in the juice and to coat the peppers. Taste and add additional salt if needed.

  4. Transfer the peppers to a serving plate and sprinkle with some freshly grated parmesan, a little flakey sea salt + extra lemon if desired. Enjoy!

Today’s Stats

  • Low temp: 46F

  • High temp: 71F

  • Sunrise: 7:06am

  • Sunset: 7:12pm

  • Moon phase: Waning Crescent

  • Additional notes: Clear and cool

September 11

Farm Notes

Goodness gracious, it’s been a week! Full of highs and lows, and lots in between. Usually I get these updates out on Fridays, but it’s just been one of those weeks, so I’m here just a few days late… but better late than never, I suppose.

On the bright side, this Tuesday we kicked off the first week of our Fall CSA, and it was a bountiful box full of fall greens and radishes, alongside some summer favorites like okra, peppers, eggplant and tomatoes. Over the course of the next several weeks, those summer veggies will fade away and our boxes will be bursting with all kinds of delicious greens… which I know I am very ready for! It was a beautiful week of weather, with some nice cool days this weekend with some much needed rain that our fall veggies are loving.

On the not so rosy side… we’ve been dealing with a lot of pest issues – especially a type of caterpillar called army worms who have been decimating our brassicas (kale, turnips, cabbage, broccoli, etc). While dealing with some health issues over the past few weeks (more on that later..), I took my eye off the ball a bit, and in a blink the army worms have gotten out of control (see below for a photo so you know what to look for in your gardens).

So now I’m doing my very best to get things back under control, while only using organic methods of course. I’m all about preventative pest management (things like crop rotation, having healthy soil, and companion planting to help keep pests away in the first place) – but in a situation like this, I need to be more proactive. The best solution for organically addressing most worms/caterpillars in the garden is a natural insecticide called Bt (short for Bacillus Thuringiensis), which is a naturally occurring bacteria in soil that is toxic for the unwanted pests, but perfectly safe for the plants (and for humans). Fingers crossed that the Bt treatments do the trick, and that our brassicas will bounce back quickly.

And there’s another pest that’s been wrecking havoc in our garden…. yesterday morning, I woke up to find nearly all of our broccoli decimated by a greedy ground hog. Now, it takes a LOT to make me angry, but walking through the rows and seeing all those baby broccoli plants bitten down to their roots made me furious, thinking of all the time and energy and money that went into those plants, only to have them disappear overnight. I’ve been farming long enough to know that this sort of thing happens every season, and I shouldn’t be surprised when it does. And yet! I am determined not to give up, and thanks to some incredibly kind and generous fellow farmer friends, today I’m picking up some extra broccoli that they aren’t using, so I can replant and start again. Farming can be heartbreaking, but thank goodness for our amazing community of fellow farmers who are there to pick each other up when we need a helping hand.

One other thing I want to share, just out of total transparency with y’all, is that for the past few weeks I’ve been dealing with some health issues that have been incredibly debilitating. Starting about 3 weeks ago, I suddenly had non-stop ringing in my left ear, along with significant hearing loss, headaches, and disorientation that just wouldn’t go away. I’ve never experienced anything like this before, and I wouldn’t wish it on anyone. I’ll spare y’all all the details, but it was very difficult to find an ENT (Ear, Nose & Throat) doctor who could see me quickly (most offices were booking out into October), but after a lot of persistence, I was finally able to see a doctor located over an hour’s drive away this week. After a bunch of tests and scans, we were able to rule out some pretty scary possible neurological reasons for my symptoms, I’m now on some new medicine that will hopefully address the issue and stop the ringing and get my full hearing back soon.

I share this experience not because I’m seeking any sympathy, but because as an otherwise healthy, young person, my eyes have been profoundly opened to how difficult and frustrating it can be to navigate the healthcare system in our country, and I recognize how privileged I am to have had the capacity (and access to good health insurance) to get care relatively quickly. Most of all, I have new and radical empathy for anyone currently trying to seek medical care for themselves or for someone they love – and if that is something that you are going through right now, my prayers and thoughts are very sincerely with you. Dealing with all this the past few weeks has put so much back in perspective for me… I’ve been reminded that quality time with our family and friends and community are the most precious things in life, and that I can’t let the stresses of the farm (even army worms and ground hogs!) steal my joy. I know that’s easier said than done, but even after this week full of ups and downs, I’m choosing to feel only gratitude for ALL of it.

That’s all I’ve got for today friends… thanks for listening and being part of this community, I’m so grateful for each of you!

Today’s Stats

  • Low temp: 69F

  • High temp: 80F

  • Sunrise: 6:57am

  • Sunset: 7:30pm

  • Moon phase: Waning Gibbous

  • Additional notes: Rain!

September 2

Farm Notes

Fall planting is officially in full force here at Farmbelly! Last Wednesday, we received thousands of fall seedlings from Banner Greenhouses – this time they had to be shipped in boxes, which made me pretty nervous about the condition they would arrive in, but thankfully the plants were all in great shape when it came time to unpack the boxes. We were also lucky to get some incredible weather last week for planting… with a few cool and cloudy days that were perfect for getting our plant babies in the ground.

A big part of making sure that these big planting pushes go smoothly is making sure our growing beds are ready for planting. Bed preparation takes a lot of time and energy, which is why we take these few weeks off our CSA, so we can focus on getting all the fall plants in the ground. Today I want to go through our process for preparing a bed for planting, in case it is helpful for anyone! Note that our bed prep process is specifically for planting directly in the ground (vs in raised garden beds)… but many of the steps still apply whether you are growing in-ground or in a raised bed.

Below is a photo gallery where I illustrate each of these steps:

  1. Apply compost to your bed (for our 50 foot beds we usually add 2-3 full wheelbarrows of compost). We source our compost by the giant truck-load from a local compost company, Brooks. If you are growing in raised beds, I recommend going to your local garden store and asking what compost/soil amendment mixture they recommend for raised beds.

  2. Next I use a square-nosed shovel to “shape” the beds and to scoop any dirt that has fallen into the pathways back on to the bed. This is an important step that serves a few purposes – it keeps the beds nice and straight, puts any precious compost and soil that has fallen into the pathway back onto the bed, and it helps keeps our pathways tidy and weed-free.

  3. Next we use a tool called a broadfork – basically a giant pitchfork that is the width of our 30” beds – to aerate and loosen the soil. This step helps break up any compaction in the soil, allowing plant roots to expand and water + nutrients to move more freely. If you are growing in a raised bed, simply use a pitchfork for this step and twist the tines to loosen up your soil.

  4. Next we apply two additional amendments to our beds – feathermeal (which is rich in nitrogen) and Harmony, an organic composted chicken manure mixture that has a broad range of macro-nutrients that plants need to thrive. If you are growing in raised beds and have already added compost to your soil, you can skip this step… because we “flip” our beds multiple times through the season, we need to do a bit more work to put nutrients back into our soil.

  5. The last step for our bed preparation is my favorite… tilthing! We use an amazing tool called a tilther, which is powered by a cordless drill and does an amazing job working our compost + amendments into the soil, and creating a nice smooth bed. This tool would not be practical for raised bed growing – if you are growing in beds, I think the best tool is your hands to work in the compost with the rest of the soil, and to break up any clods to create a nice smooth bed.

A reminder that after planing your new fall babies, make sure to give them some extra love to give them the best chance at success! I just fertilized all our new plants with organic fish emulsion, which you simply dilute in water and apply either with a watering can or 1 or 2 gallon sprayer.

I just led a full virtual farm tour this morning, so you can see all the new fall planting that we’ve been up to via our private Facebook group here. Later this weekend I’ll upload it to our private Google drive folder here.

As always, if you have any questions or need some inspiration in the garden or in the kitchen as we head towards fall, please don’t hesitate to reach out! Happy growing + cooking + eating friends!

PS – I just added two more culinary workshops here this fall… Superpower Salads for Fall on Oct 6th and Knife Skills 101 on Oct 15th. Snag your spot while they last!

Kitchen Notes

Right now our basil is still growing like crazy, and while I may be feeling sick of basil now.. I know that in a month or two, I’ll be missing all these fragrant summer herbs, so NOW is the time to preserve them while we can! Making herb salt is one of the easiest ways to preserve fresh herbs, and they are seriously amazing for seasoning meat, veggies, eggs, etc. In this recipe I’m making basil salt, but feel free to use whatever herbs you have on hand – I like to use a 1:1 ratio of fresh herbs to kosher salt. When it comes to the salt, my favorite brand of kosher salt is Diamond. Pro tip: Cute little jars of herb salt also making great gifts from your garden!

HOMEMADE BASIL SALT

INGREDIENTS

  • 1 cup loosely packed mixed fresh basil leaves (or any herb of choice)

  • 1 cup kosher salt

  • Optional additions: a teaspoon lemon zest and/or minced garlic


PREPARATION

  1. Preheat your oven to the lowest temperature (usually around 180F).

  2. Combine fresh basil leaves and salt together in a food processor and blend until the herbs are fully incorporated into the salt (this usually takes a minute or two).

  3. Spread the herb salt onto a rimmed baking tray, and put into your preheated oven for 45-60 minutes. Stir the salt mixture (or if it’s easier, use your hands to break/mix everything up) every 20 minutes until the salt is fully dry, making sure it doesn’t burn.

  4. Let the herb salt cool fully, then store in a jar with a lid in a cool, dry spot in your pantry, where it will keep for several months.

Today’s Stats

  • Low temp: 68F

  • High temp: 89F

  • Sunrise: 6:44am

  • Sunset: 7:53pm

  • Moon phase: Waning Crescent

  • Additional notes: Mostly sunny, slight chance of showers