April 29

Farm Notes

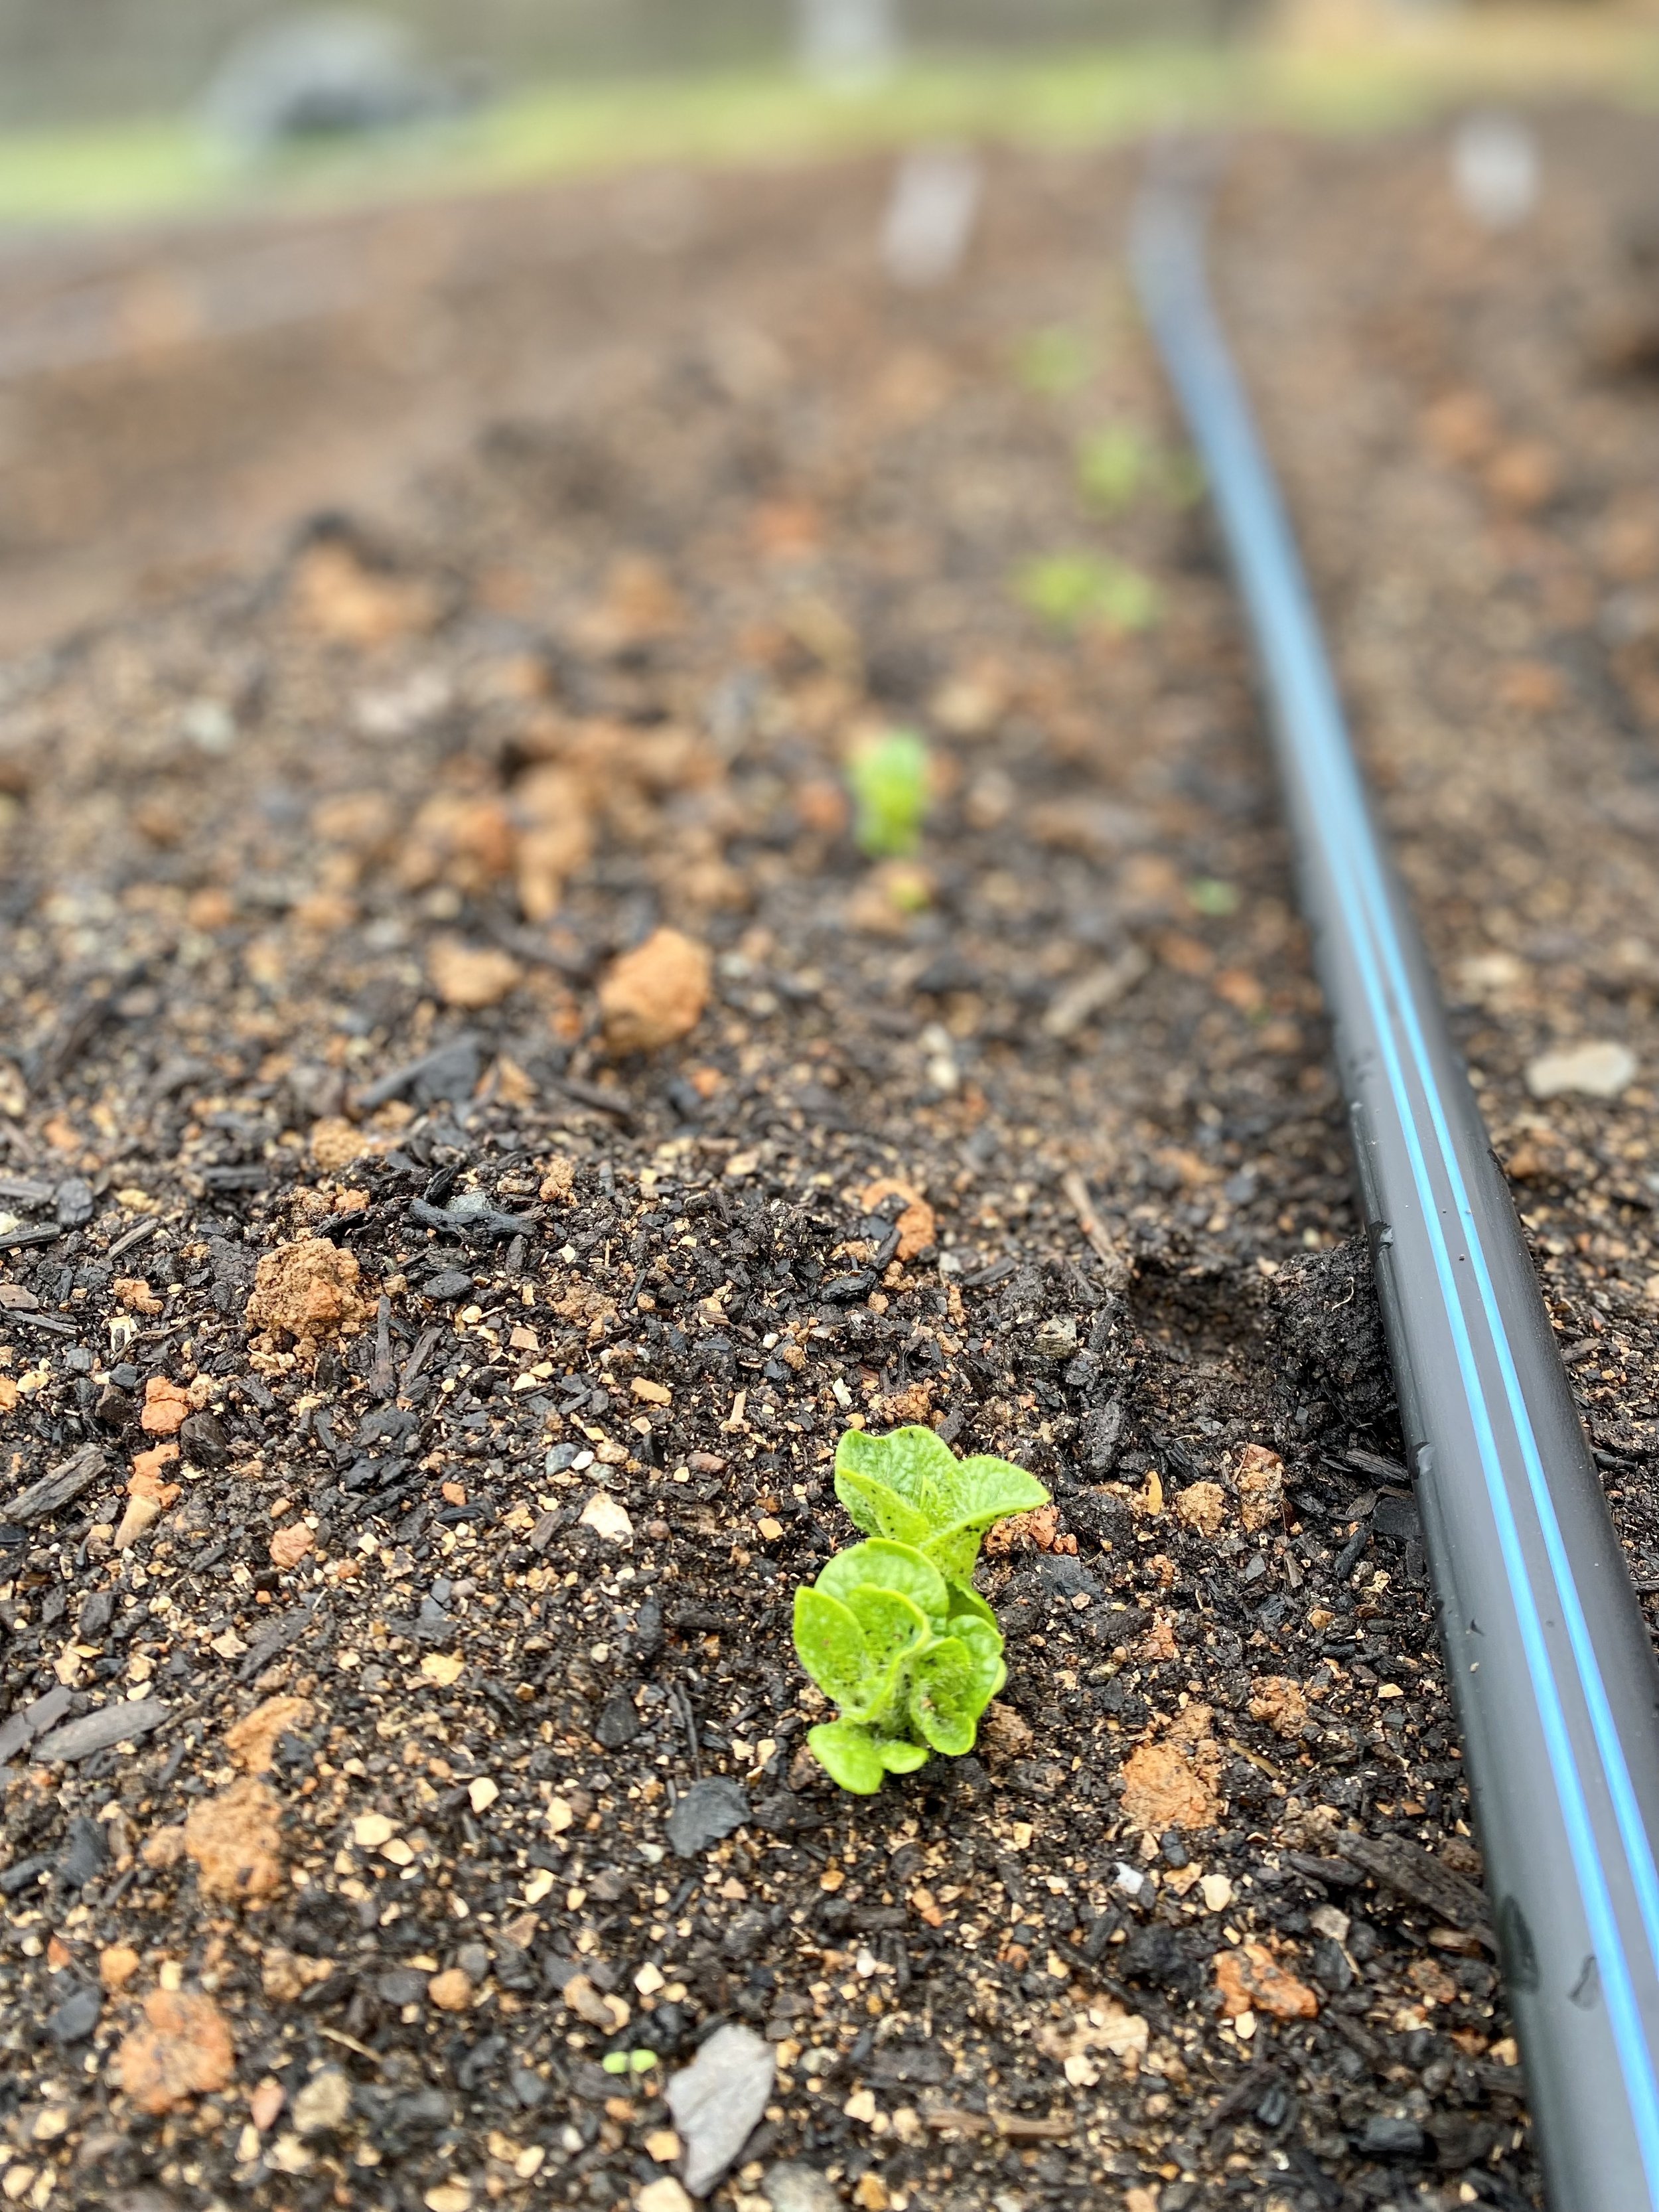
It may be peak spring at the moment, but believe it or not, I’m already planning (and planting) for winter. Yesterday I started all of our winter squash seeds – several types of butternut, acorn, delicata, and kabocha squash. Even though they are called “winter squash,” in our climate most growers plant their butternuts in May/June, and they are typically ready for harvest by August. This year I'm trying a new variety that I'm especially excited about called South Anna Butternut, which is supposed to be more resistant to the dreaded squash bugs and vine borers!

I’ve found that the earlier we plant winter squash (and honestly, anything in the cucurbit family) around here the better… because the longer you wait, the worse the pest/fungal pressure will be. I started the seeds in these 2.5” pots, and they will grow in our mini greenhouse for about 3 weeks before we plant them in the ground outside. We space our winter squash 2 feet apart between each plant… most winter squash generate a LOT of sprawling plant matter, so make sure to give them plenty of room!

Seed organizer!

While we are talking about seed starting… have I shared with y’all my secret for keeping seeds organized?! I recently got this plastic organizer (via Amazon here) and it has been a GAME CHANGER and makes me happy every time I open it up. It ensures our seeds stay clean, dry, and out of reach of any pesky mice or critters (who always seem to love eating your precious garden seeds).

As a general rule, you should plant seeds within 2 (and max 3) years from when they are packed, so if you have a glut of seed packets stashed around, it’s a good practice to go through them and double check their age and viability.

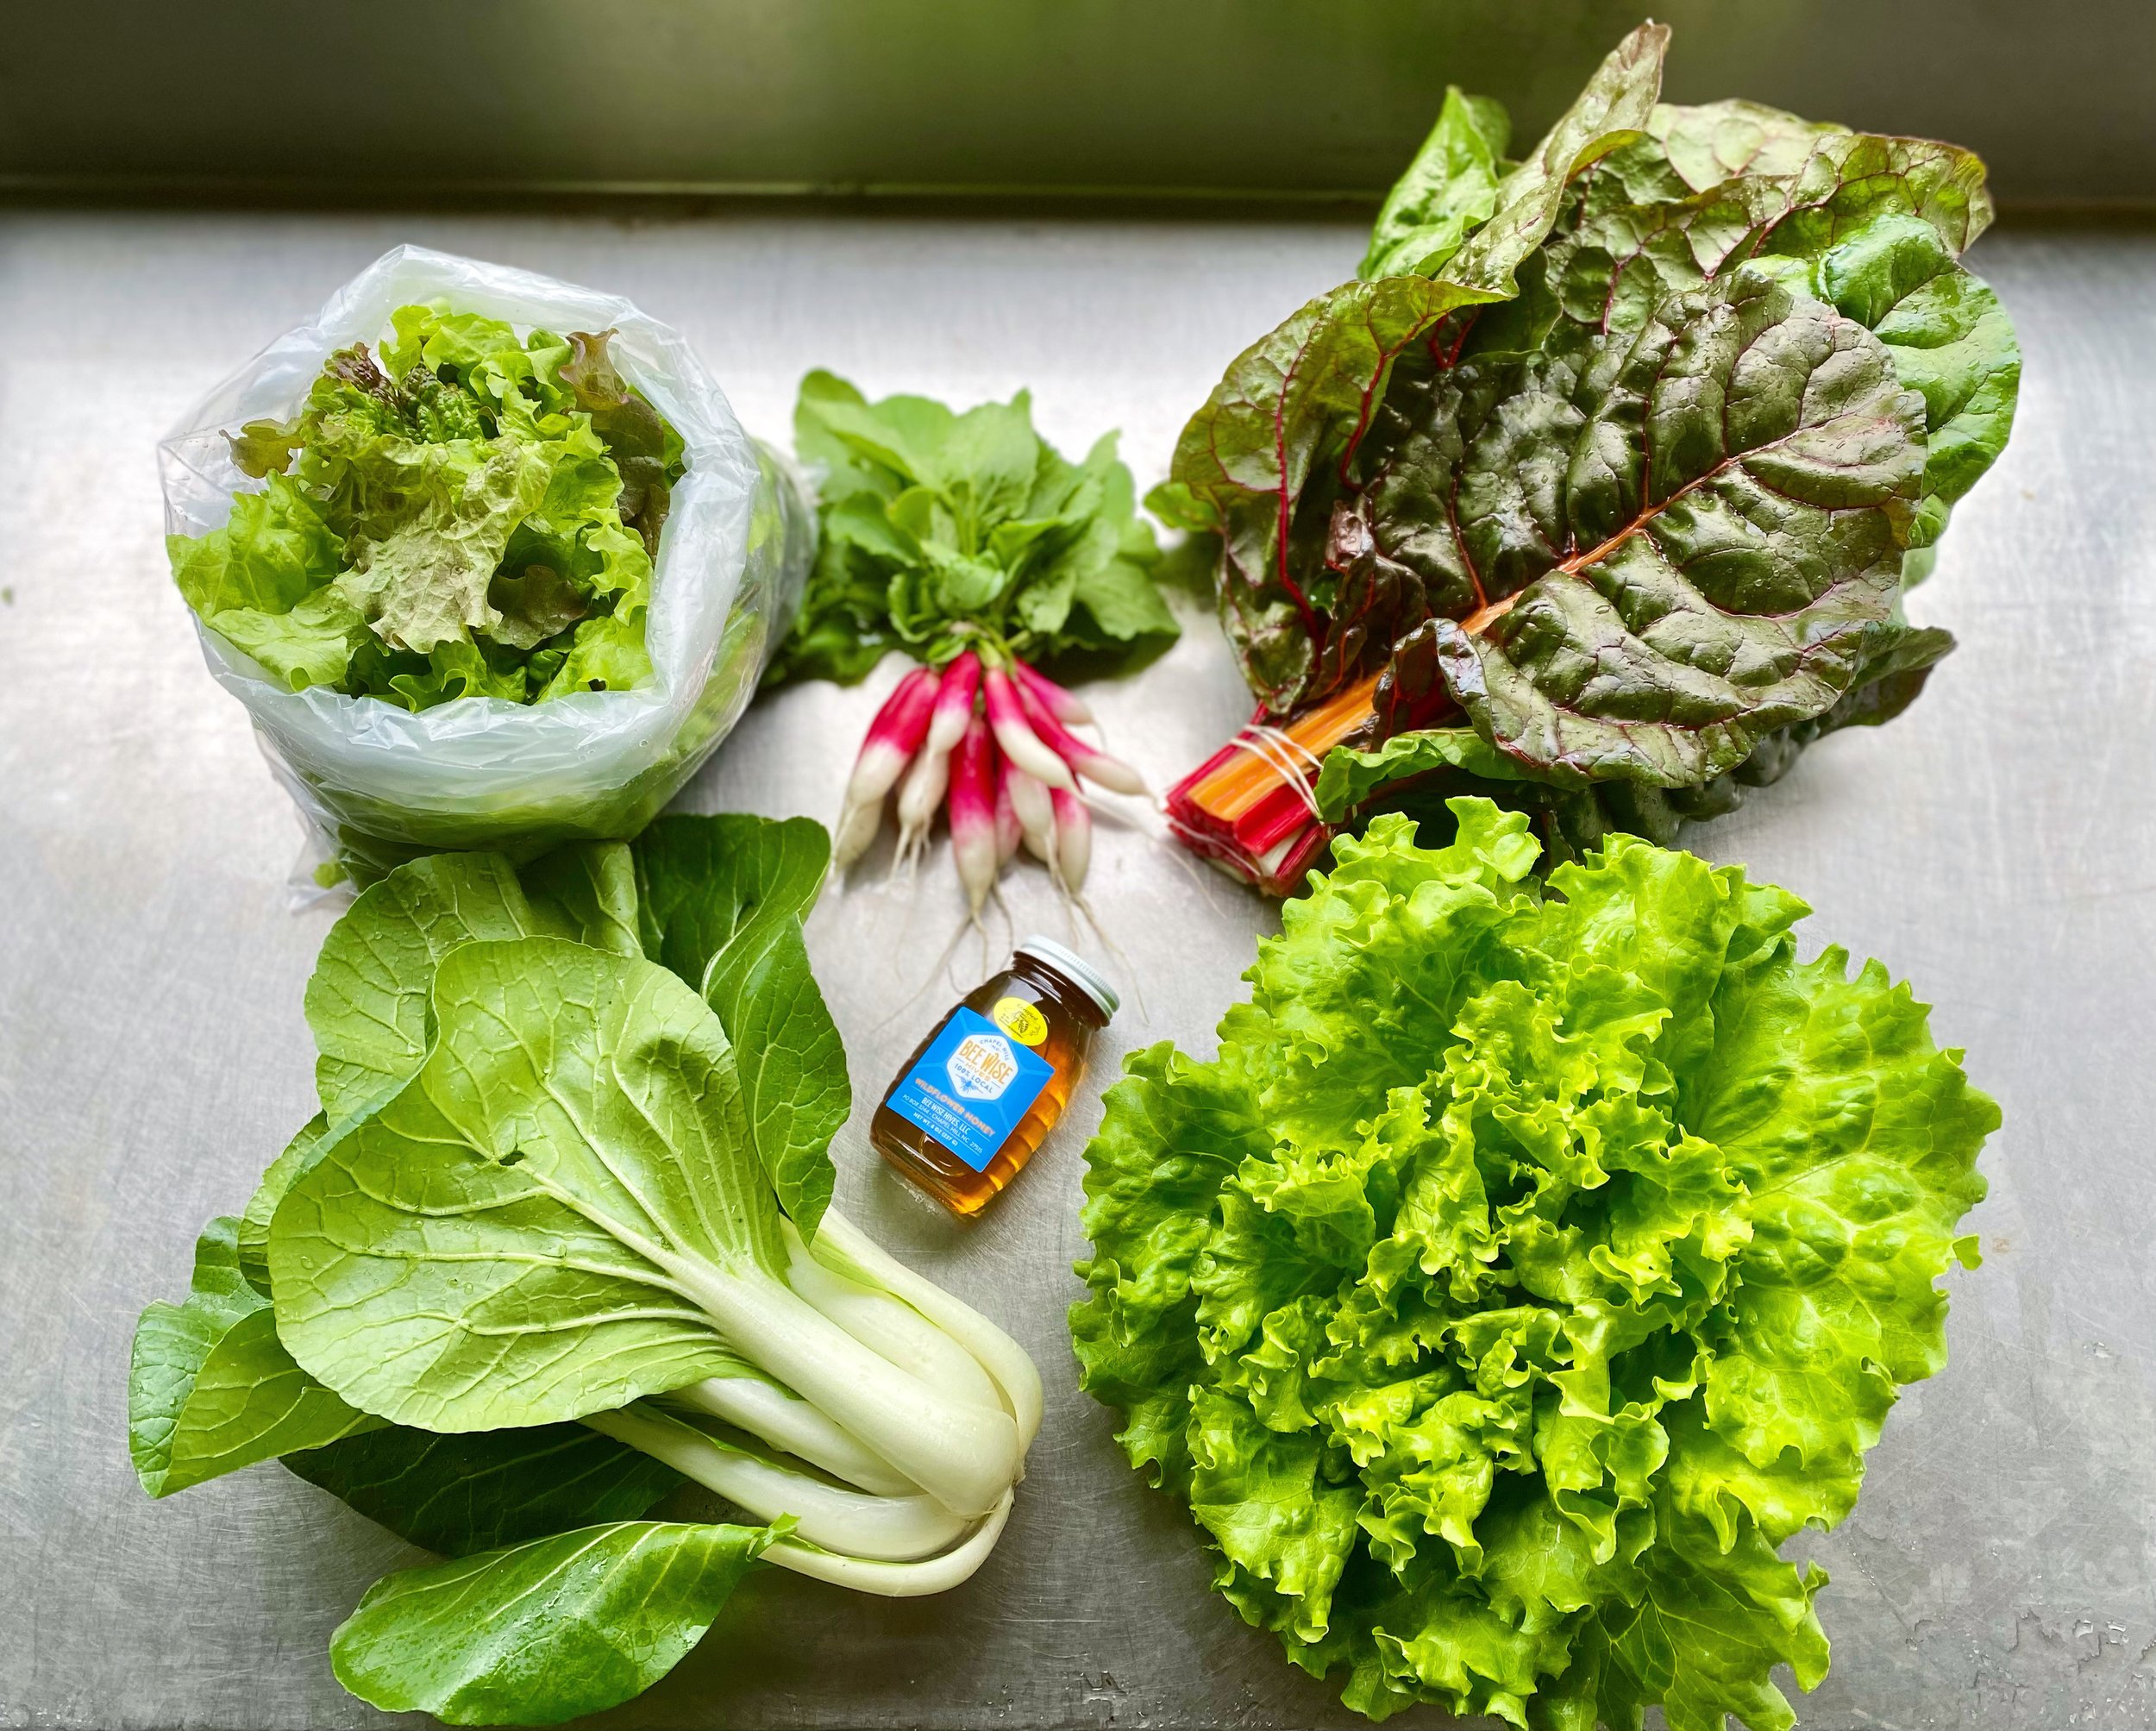
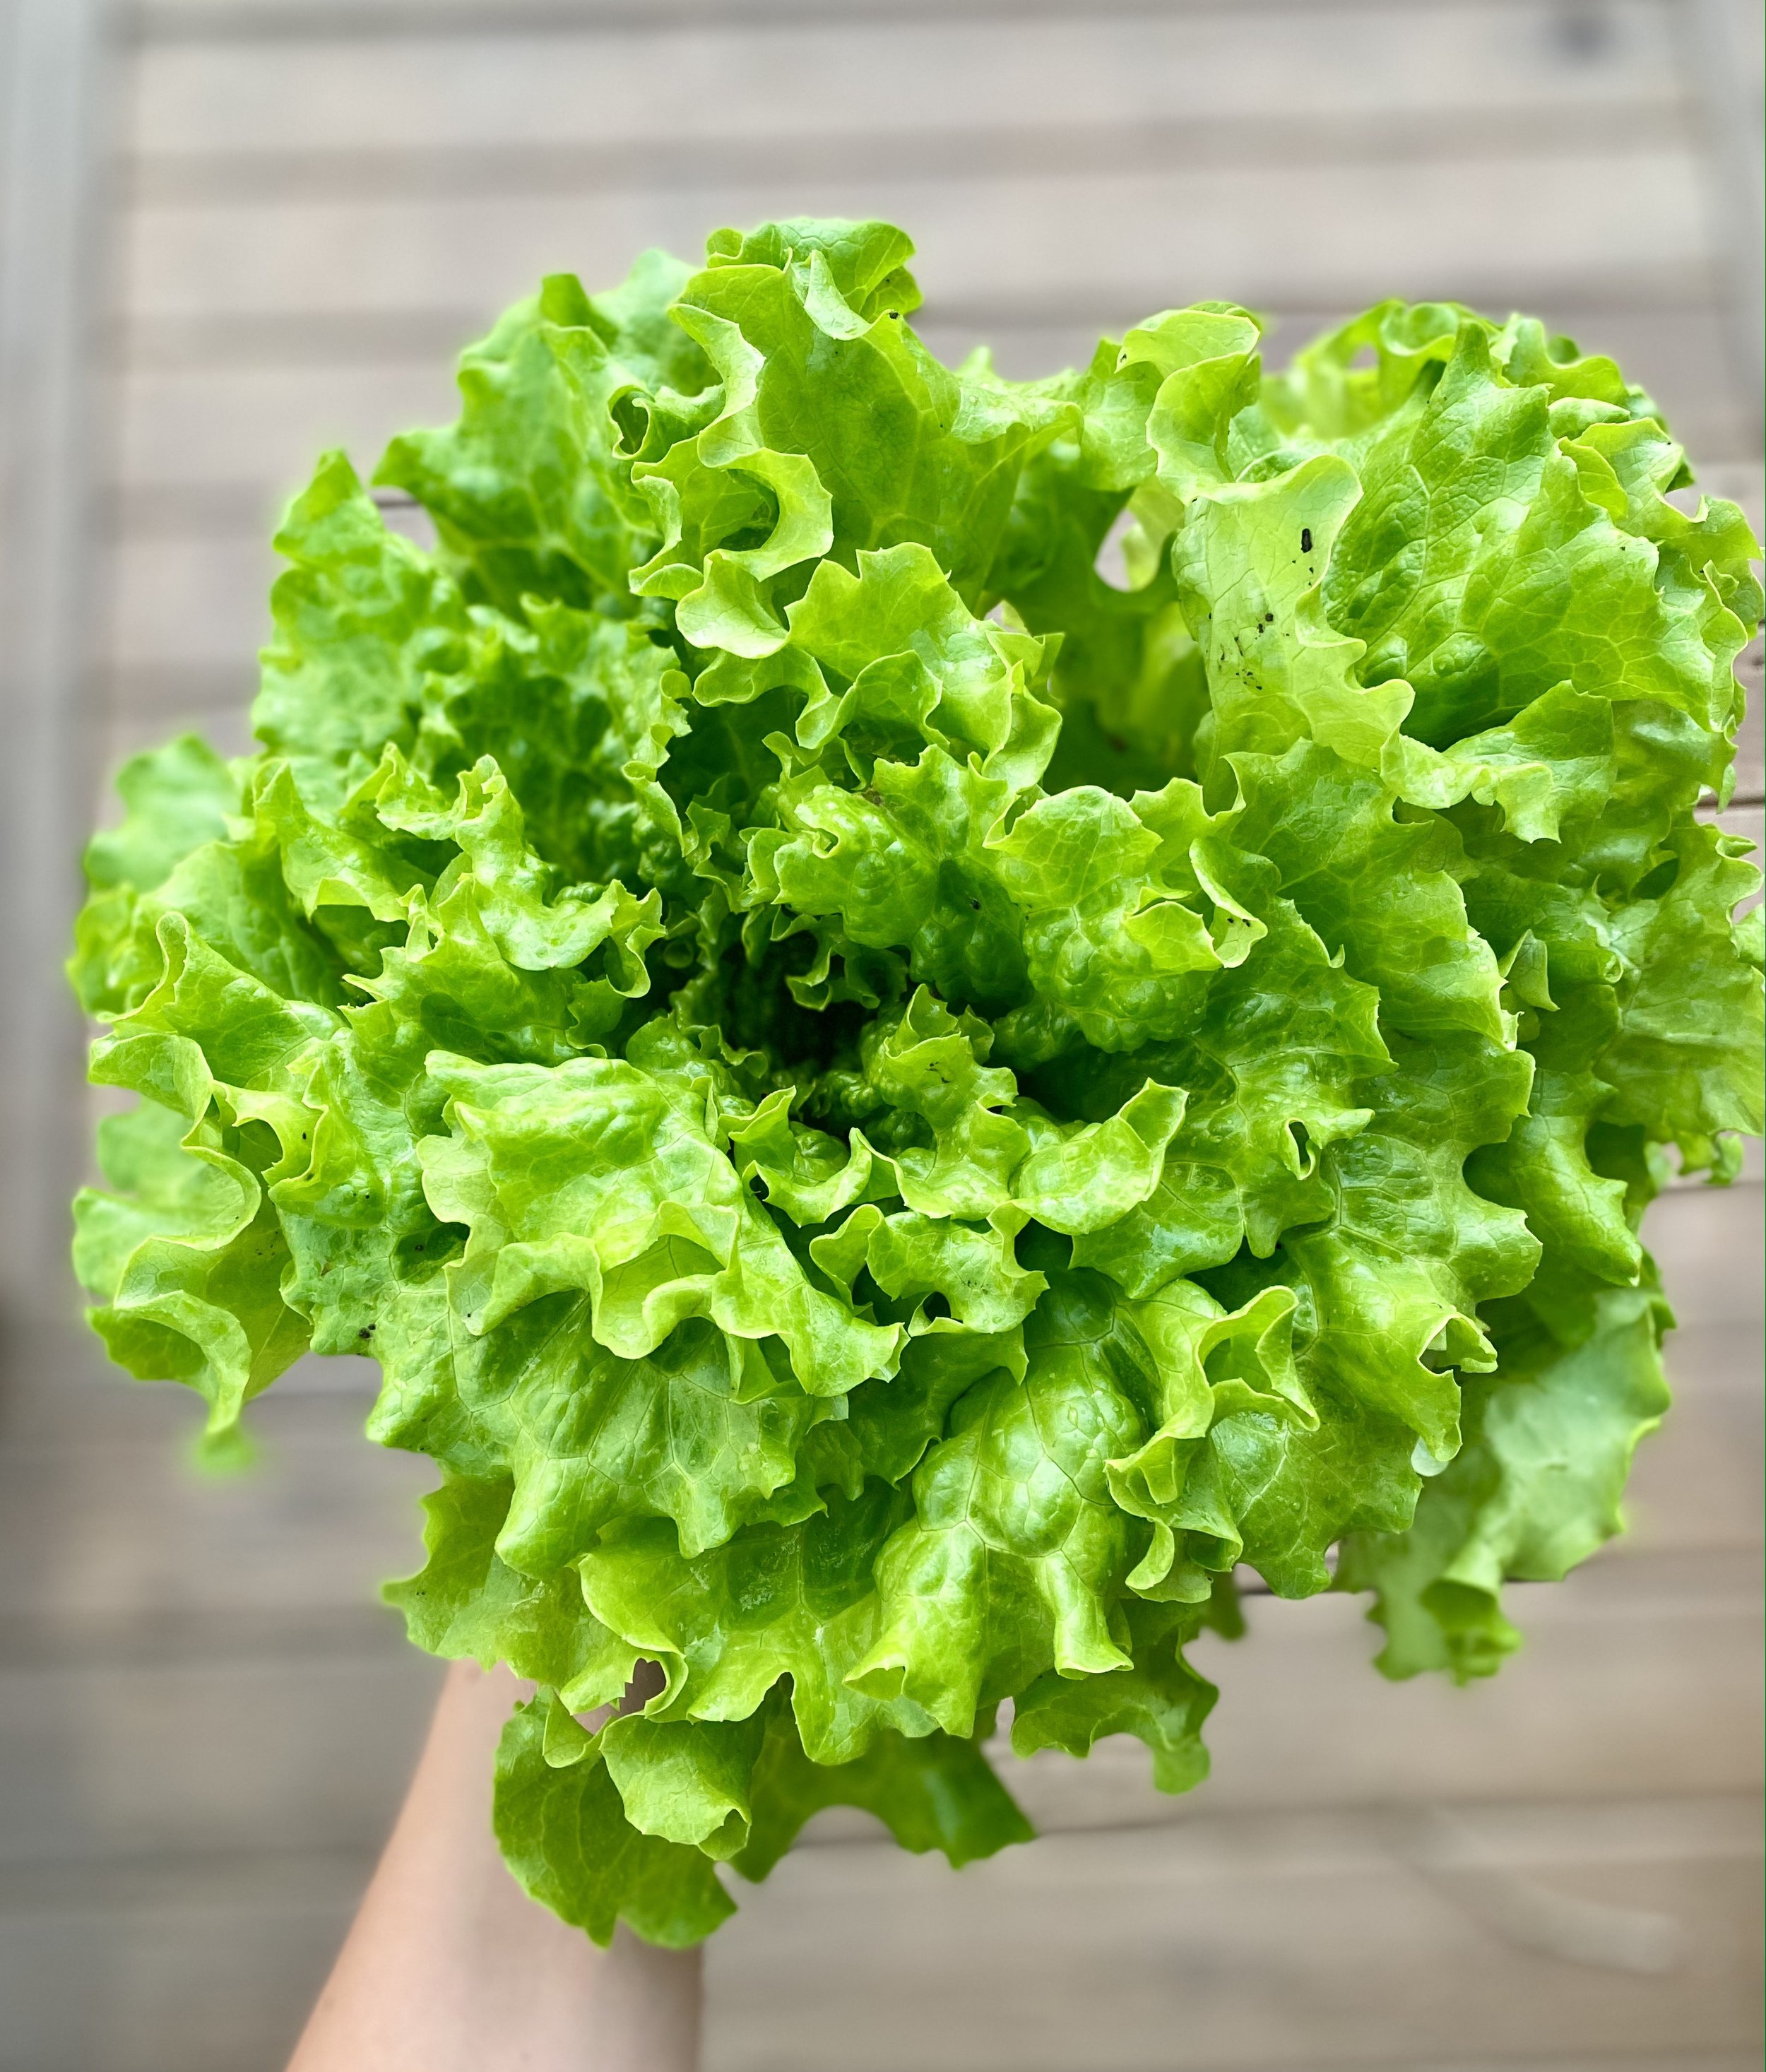
In other news on the farm, this week marked the halfway point of our Spring CSA! It was another week filled with spring greens galore, and I’m really proud of the veggies we sent out into the world (and also feeling veryyy tired just looking at at the photo below and all the work that went into making it happen). In the coming weeks, our CSA shares will shift away from greens and towards other spring veggies –like fennel, beets, turnips, carrots, cabbage, broccoli, etc. I love this time of year and I’m just trying to soak up all this green goodness, because before we know it, we will be deep into summer and our plates will be filled with tomatoes, peppers, eggplant, and zucchini!

Last but not least, it’s time to announce the winner of our April giveaway: CONGRATS Jennifer Johnson! I’ll be in touch directly and send along your new cookbook, Dishing Up the Dirt. Thanks to everyone who entered, I loved hearing about all the destinations where you’d like to eat your way through… stay tuned for another giveaway coming up in May. :)

Kitchen Notes

Even if you think you don’t like radishes, I hope you’ll give this recipe a try and see if I can change your mint! This dish has only 5 ingredients, comes together in under 10 minutes, and hits all the notes you want – sweet, salty, and savory. Any kind of radishes will work, and this recipe can also be made with hakurei turnips instead of radishes.

GLAZED MISO HONEY BUTTER RADISHES

INGREDIENTS

  • 2 tablespoons yellow miso paste

  • 2 tablespoons room temperature butter

  • 1 tablespoon honey

  • 1 bunch radishes

  • Salt and pepper, to taste

INSTRUCTIONS

  1. Stir together the miso paste, butter, and honey in a small bowl and set aside.

  2. Remove any tops from the radishes and slice them in half lengthwise.

  3. Heat up a large skillet over medium-high heat and add the radishes to the skillet along with the miso honey butter mixture. Cook, stirring often, until the radishes are tender and most of the liquid has evaporated and turns into a nice glaze, 5-8 minutes. You want to be careful not to overcook the radishes to the point where they are mushy… you still want a little bite/firmness to them! Serve warm and enjoy.

Today’s Stats

  • Low temp: 52F

  • High temp: 71F

  • Sunrise: 6:27am

  • Sunset: 8:03pm

  • Moon phase: Waning Crescent

  • Additional notes: Mostly sunny and lovely

April 22

Farm Notes

Yesterday I was looking back at photos from one month ago, and I was shocked to see just how much the farm has grown! The month of March around here still feels very cold and dreary and hectic, and I always find myself stressing out and questioning if anything is even going to grow… and then just a month later, all of the plants seem to have grown feet overnight (see below for some before and after photos). This time of year is one of my very favorites, as the hours of daylight keep stretching longer, temperatures are pleasantly warm, and there’s no humidity or mosquitos in sight… if only it could stay like this all year long!

March 2022

April 2022

Yesterday marked the third week of our Spring CSA, and it was another week with boxes filled with beautiful spring greens. One fun addition to our full shares this week was green garlic, which is basically immature garlic that looks (and taste) very similar to a leek… if you’re interested in learning more, here’s a helpful article all about green garlic!

CSA Week 3 Full Share

Tunnel tomatoes!

I’m also happy to report that all of the tomatoes inside our tunnels are in the ground! We grow a mix of cherry tomatoes, red slicers, funky heirlooms, as well as paste/roma tomatoes – 14 different varieties in all this year. We will still be planting a few rows of tomatoes outside, but I’m waiting until early May once everything has warmed up a bit more, and there’s no threat of a sneaky late frost. If you are starting to plant your tomatoes, make sure to give them plenty of room… they get big! I recommend giving at least 2 feet of space around each plant (spacing them any closer will reduce air circulation around the plants and may result in disease/fungal pressure). In the coming weeks I’ll share lots more about tomato care, pruning, etc – so stay tuned.

For a full tour of the garden this week, be sure to check out my virtual farm walk from today, either on Facebook Group HERE or our google drive folder HERE.

Last but not least… it’s time for our April giveaway!

Each month this year, I’m giving away some of my favorite tools for the garden and the kitchen, just as a thank you for being a part of this community. These giveaways aren’t sponsored – it’s just me wanting to share some of the things I find most helpful, in hopes that it will help inspire and empower you to eat like a farmer. :)

This week, I’m excited to giveaway one of my all time favorite farm to table cookbooks… Dishing Up the Dirt by Andrea Bemis! Andrea is a badass farmer, mother, and cookbook author based in Oregon, and I just LOVE this cookbook. The recipes are straightforward and unfussy, but they are still unique and seriously bursting with flavor… it’s the ultimate cookbook for eating like a farmer! She has tons of great recipes on her website, and I love following along with her journey on Instagram.

TO ENTER THE GIVEAWAY – There are two ways that you can enter this giveaway (just choose 1):

  1. Comment on this post in our private Facebook Group and share what destination (anywhere in the world) you’d most like to visit and eat your way through! If you aren’t already a member of our private Facebook Group, just request access here.

  2. OR Click the “Comment” button at the bottom of this journal entry and share what destination (anywhere in the world) you’d most like to visit and eat your way through!

You have until Thursday, April 28th @ midnight to enter, and I’ll announce one randomly selected winner on Friday, April 29th. One entry per person please.

Kitchen Notes

I’m not exactly sure how it happened, but all the sudden we have SO MANY beautiful radishes ready to be harvested, and I’m having to get creative on what to do with all of them! I love slicing radishes raw into salads, dipping them into butter, and/or roasting them until crispy – but my favorite way to preserve radishes to last for weeks and months is to turn them into quick pickles.

I know that when most people hear the world pickle, you automatically think of cucumbers… but actually, you can pickle just about anything! The process of pickling is just preserving food by immersing it in vinegar, as the highly acidic environment inhibits the growth of harmful bacteria and extends the life of fresh produce. Today I’m sharing my (very simple) recipe for making quick pickles, which I’ll be using this weekend to make some yummy pickled radishes! If you’re more of a visual learner, tune into my YouTube video all about making your own quick pickles.

HOMEMADE QUICK PICKLES

Photo Credit: Love & Lemons

INGREDIENTS + EQUIPMENT

  • 1 pound of fresh seasonal vegetables (such as cucumbers, carrots, cauliflower, green beans, summer squash, radishes, asparagus)

  • Optional seasonings: fresh herbs, whole spices, garlic, lemon zest, ginger, etc.

  • 2 pint-sized (or 1 quart-sized) wide mouth jars with lid

Basic Brine

  • 1 cup vinegar (I usually use distilled white vinegar)

  • 1 cup water

  • ¼ cup sugar

  • 1 tablespoon kosher salt 

INSTRUCTIONS

  • Prepare the jar: Wash your mason jar and lid in hot soapy water, rinse and let air dry.

  • Make the pickling liquid: Combine the vinegar, water, salt, and sugar in a small saucepan over high heat. Bring to a boil, stirring to dissolve the salt and sugar. 

  • Prep the vegetables: Wash + dry the vegetables, peel (if necessary) and cut vegetables into desired shapes/sizes.

  • Pack the vegetables and flavorings: Pack the vegetables, herbs/spices/aromatics into the jars in layers, making sure there is a 1/2 inch of space from rim of the jar to the tops of the vegetables. Pack as tightly as you can without smashing.

  • Pour brine over the vegetables: Carefully fill each jar to within 1/2 inch of the top with the brine. Note: this recipe makes enough brine for 2 pint-sized jars, or 1 quart of pickles. 

  • Remove air bubbles and seal jars: Gently tap the jars against the counter to remove air bubbles. Top off with more brine if needed. Screw on lids until the rings are tight.

  • Cool and refrigerate: Let the jars cool to room temperature. Store the pickles in the refrigerator. These will taste good after 48 hours, but are much better after a couple days to a week. Keeps for months – the cleaner you keep the jar, the better!

Today’s Stats

  • Low temp: 52F

  • High temp: 81F

  • Sunrise: 6:35am

  • Sunset: 7:57pm

  • Moon phase: Waning Gibbous

  • Additional notes: Warm, sunny, and beautiful!

April 15

Farm Notes

We’re getting back into the growing + harvesting groove around here, as we wrapped up Week 2 of our Spring CSA yesterday! There’s a pretty amazing abundance of spring greens right now – from swiss chard to lettuces, arugula, baby kale, bok choy, and radishes – with more variety becoming available each week. Below is a snapshot of one of our full shares from this week… once again, it was not easy to fit all these bodacious veggies into their boxes!

Week 2 Spring CSA box!

I’ll admit I’m a little sad to say goodbye to some of these greens, but it’s already time to make room for tomatoes! Starting today, we’re clearing out several rows in our caterpillar tunnels and planting the majority of our tomatoes (a mix of heirlooms, slicers, and cherries). I’ve found there are several benefits to growing tomatoes in a covered tunnel – first, you’re able to plant a bit sooner than usual, because it’s warmer in the tunnels + less chance of frost damage. Growing tomatoes under cover also means that you can control how much water the plants get, and you won’t be dealing with too much rain, which can cause tomatoes to have major fungal issues. All that said, I know most folks don't have tunnels in their backyards, and you can absolutely still grow amazing tomatoes out in the open!

For an extensive look at what’s growing here at the farm right now (plus lots of tips for your own gardens), I just took a virtual tour around our farm, which you can watch here on Facebook or via our private google drive folder here. In this week’s farm walk, I dig into specifics for properly harvesting a wide range of spring greens.

In other news, I’m excited to announce our first in-person workshop here at the farm in over two years! Join me on Saturday, May 14th for a Growing & Cooking with Herbs Workshop from 2pm-4pm.

This outdoor workshop is part demonstration and part hands-on, and everyone will get to pot up their own herb to take home. During this workshop, I will cover the following topics:

  • Culinary & medicinal herb identification

  • Recipes, techniques, and tips for cooking with a wide range of herbs

  • Understanding when to use fresh vs. dried herbs in recipes

  • How to properly store fresh herbs to maximize shelf life

  • How to properly and safely chop fresh herbs

  • How to make homemade herbal tea blends

  • How to grow, maintain, and harvest herbs in your home garden

As Farmbelly Club members, you get first dibs on tickets before I release them to the public on Monday (April 18th)! I’m keeping this class nice and intimate (max 10-12 people) and have a feeling tickets will sell out quickly. And no worries if you’re not able to join for this first class, lots more workshops and tours will be announced soon!

Kitchen Notes

In honor of my upcoming workshop all about herbs, this week I’m sharing a spring-centric recipe that’s heavy on the herbs… Asparagus with Pistachio Gremolata! A gremolata is a fancy-ish work for a super simple herby sauce/condiment that is traditionally made from chopped parsley, lemon zest, and garlic. In this recipe, we mix things up a bit by adding some crunchy pistachios to the mix – though you can certainly omit the pistachios or use another nut/seed of choice instead. Enjoy!

Photo Credit: With Two Spoons

ROASTED Asparagus with Pistachio Gremolata

INGREDIENTS

Asparagus

  • 1 bunch fresh asparagus, woody ends trimmed off

  • 2 tablespoon olive oil

  • Salt and pepper, to taste

  • 1 tablespoon fresh squeezed lemon juice

For The Gremolata

  • 1/2 bunch fresh Italian parsley (will make about 1/2 cup chopped)

  • 1 medium clove garlic, minced

  • 2 tablespoons lemon zest

  • 1/4 cup roasted and salted pistachios, chopped

INSTRUCTIONS

  1. Preheat your oven to 400 F. 

  2. Prepare the asparagus: First snap or trim off the woody end of each asparagus stalk. Spread the asparagus in a single layer on a foil-lined baking sheet and drizzle lightly with olive oil, tossing gently to coat evenly. Sprinkle generously with salt and pepper. Roast for 15-20 minutes, until asparagus begins to brown and gets a little crispy on the ends. 

  3. Make the gremolata: Chop the parsley with a chef's knife until it is finely chopped. Using a microplane or fine-toothed grater, grate the garlic clove over the parsley. Using the same grater, grate the lemon zest on top of the garlic (doing the garlic and lemon in this order will help to rid the microplane of garlic odors). Add your chopped pistachios to the parsley mixture and continue to chop, mixing in all the ingredients as you go. Use your knife to scoop the gremolata mixture into a bowl and set aside. 

  4. To serve: When the asparagus comes out of the oven, toss gently with the lemon juice and top with the gremolata, season with additional salt and pepper as needed.

Today’s Stats

  • Low temp: 49F

  • High temp: 73F

  • Sunrise: 6:44am

  • Sunset: 7:51pm

  • Moon phase: Waxing Gibbous

  • Additional notes: Mostly sunny and lovely

April 8

Farm Notes

And just like that, the first week of our Spring CSA is in the books! Yesterday was an awesome day – the weather was cloudy and cool, which was perfect for harvesting heaps of greens for all our CSA members. These first few weeks will be heavy on the greens… our boxes were filled with lettuces, swiss chard, bok choy, radishes, and even some local honey for our Full Share members.

A peek at a Full share for Week 1 of our Spring CSA!

Between all the wild (and especially chilly) weather we’ve had this spring, along with navigating how to run the farm with a 6 month old baby, I’m feeling especially proud of all the veggies that went out into the world yesterday… and I’m especially grateful for all the families who trust me to be their farmer!

It always brings me so much joy to see folks out here enjoying the farm, and I’m so excited to share that next week I’ll be announcing some upcoming workshops and tours here at Farmbelly HQ! Stay tuned for all the details… and as Farmbelly Club members, y’all get first dibs on all our upcoming events at the farm.

While we are overflowing with gorgeous spring greens at the moment, we’re already in summer mode and over the next few weeks will be flipping beds and planting out our tomatoes, peppers, eggplant, zucchini, cucumbers, etc. All of these summer crops are frost sensitive, so I’m just waiting about 2 more weeks, after which I’m pretty confident that freezing temps will be behind us till the fall. And I’m sending all the positive green thumb vibes to all y’all growing gardens this year… as always, if you have any questions about planning out your summer gardens, don’t hesitate to reach out!

Kitchen Notes

Now that all the greens are BACK for spring, I thought it would be a good time for a refresher on the art of making your own vinaigrettes / salad dressings! I definitely didn’t grow up making my own dressings, but once I learned how simple it was to make, I’ve never looked back. If you’re more of a visual learner, here’s a fun video tutorial I made showing you how to make your own vinaigrettes with just a few ingredients you surely already have in your pantry. Below are a few helpful tips for making your own vinaigrettes, along with a very simple recipe for a homemade lemon vinaigrette!

VINAIGRETTES 101

1) Remember Your Ratio (1:3)

  • The traditional ratio for vinaigrettes is 1 part acid to 3 parts oil – but if you prefer more acidic dressings, use a 1:2 ratio of acid to oil (ie twice as much oil as acid).

  • When making a vinaigrette oil is typically extra-virgin olive oil (ideally cold pressed, in a dark glass container), but you can also use grapeseed oil, sunflower oil, canola oil, etc. 

  • The acid can be either vinegar (white/red wine vinegar, apple cider) or citrus (lemon, lime)

2) Balance Your Vinaigrette

  • Salt is crucial to temper the acid while amplifying flavor. Don’t be shy!

  • Sweeteners like sugar, honey, maple syrup, and agave are optional, but help temper acidity.

  • Aromatics like spices, fresh herbs, shallots, garlic, ginger, and lemon zest add tons of flavor.

3) Emulsify + Stabilize Your Vinaigrette

  • Tahini - made from ground sesame seeds, pairs well with lemon, olive oil, garlic and honey.

  • Miso - Miso is a fermented soybean paste that is widely used in Japanese and Korean cuisines.

  • Mustard - lends a creamy and delightfully tangy flavor to vinaigrettes. 

Simple Lemon Vinaigrette

INGREDIENTS

  • Juice of 2-3 lemons (if you don’t have lemons, use 1/4 cup white wine vinegar)

  • Olive oil

  • Dijon or Whole Grain Mustard

  • Maple syrup or honey

  • Salt and Pepper, to taste (don’t be shy with the salt!)

INSTRUCTIONS

  • Juice your lemons and pour the juice into a mason jar. Add twice as much olive oil as lemon juice to the jar. Add a good squeeze (a tablespoon or so) each of mustard and maple syrup (or honey). If you'd like, add some minced garlic, fresh herbs, and/or lemon zest for added flavor. Add salt and pepper to taste and shake, shake shake! Taste the dressing and adjust seasoning - you're looking for a good balance between sour, sweet, and salty.

Todays Stats

  • Low temp: 38F

  • High temp: 64F

  • Sunrise: 6:53am

  • Sunset: 7:45pm

  • Moon phase: Waxing Crescent

  • Additional notes: Mostly sunny and lovely

April 1

Farm Notes

Thank goodness, we made it to April! I don’t know about y’all, but the past month has just felt HARD – between hustling to get thousands of plants in the ground (and keeping them alive through major frosts), battling with squirrels who seem hell bent on eating all our plants, sick family members, inconsistent childcare, issues with our well water, etc – it’s all felt a bit overwhelming. So while I love spring, I always forget that around here, the month of March is absolutely non-stop. Alas! We’ve made it through one of the busiest times of the growing season, and I feel like we (and the plants!) are finally hitting our stride.

Just this morning, I was walking around the farm and could see signs of new life that had been dormant only a few weeks ago. Suddenly, the freshly planted asparagus has shot up, the new blackberry plants are leafing out, blueberry bushes are blooming, potatoes have emerged above ground, and our lettuces are looking extra-lush. The longer + warmer days have made a world of a difference, and seeing all the new growth has put some much needed pep in this tired farmer’s step.

In other exciting news, our Spring CSA officially starts next week! I can’t believe it’s already here, but I’m happy to report that we have an abundance of gorgeous swiss chard, lettuces, asian greens, radishes, etc that will be heading home with our awesome CSA members next Thursday (if you are a CSA member, I’ll be sending an email to you on Monday to remind you about all the details for our first pick up on Thursday, April 7th).

And while our early spring veggies have been busy growing and are getting ready to be harvested, I’ve been busy seeding more of our summer crops like zucchini, cucumbers, and okra. These are crops that are easily started at home and usually only need about 4 weeks from the time of seeding to when they can be transplanted, so if you’re starting your own seeds, give these plants a try! A reminder that THIS is a great free online tool to figure out when to start seeds for each crop based on your climate/frost dates.

Another thing I wanted to help clarify for any new gardeners is which plants should be planted directly into your garden as a seed, versus which plants are best transplanted as an established seedling. Here is a quick guide on which plants to grow from seed vs. seedlings:

Crops to plant as SEEDS:

  • Carrots, beets, arugula, baby kale, looseleaf lettuces, radishes, turnips, mustard greens, beans and peas, corn

Crops to plant as SEEDLINGS:

  • Tomatoes, eggplant, peppers, onions, most brassicas (kale, cauliflower, broccoli, etc), okra, fennel, most herbs (basil, thyme, rosemary, etc)

A note that cucurbits (ie summer and winter squash, cucumbers, melons) can be planted either directly by seed or as seedlings. If starting from seed, it takes 3-4 weeks from when you start the seed to being ready to transplant in the bed.

Hopefully this info is helpful as your spring gardens get growing! As always, don’t hesitate to reach out if you have any questions or just need someone to bounce ideas off… I’m here for you! :)

Kitchen Notes

Every spring without fail, I start craving anything + everything GREEN. Which is why I love this recipe for a Spring Greens Soup, lightly adapted from the blog Kale & Caramel. The original version of this soup features roasted fennel, which I love, so I’ve gone a step further and added roasted cauliflower for extra body and sweet, caramelized goodness.

So while this 100% plant-based soup definitely falls into the “healthy” category – it’s full of flavor thanks to all the sweet roasted veggies, bright acidity from lemon juice + zest, zippy greens and vibrant herbs. It may seem like a lot of ingredients, but I’ll bet they are things you already have on hand – and if not, everything can be easily sourced.

SPRING GREENS SOUP WITH ROASTED FENNEL & CAULIFLOWER

INGREDIENTS

Roasted Fennel & Cauliflower

  • 4 cups sliced fennel bulb, green fronds reserved

  • 4 cups coarsely chopped cauliflower

  • 4 tablespoons olive oil

  • 1/4 teaspoon sea salt

  • 1/4 teaspoon fennel seeds (optional)

  • fresh ground pepper, to taste

For the Soup

  • Roasted fennel and cauliflower, from above

  • 2 cups diced yellow onion

  • 2 tablespoons olive oil

  • 1/4 teaspoon sea salt

  • Freshly ground pepper, to taste

  • 2 teaspoons minced garlic

  • 6 cups vegetable broth

  • 1 lemon, zested and juiced

  • 6 cups spinach

  • 1 cup arugula

  • 1 cup fennel fronds

  • 1/2 cup roughly chopped chives

  • 1/4 cup roughly chopped mint

  • 1/4 teaspoon sea salt, plus more to taste

Toppings (optional)

  • Thinly sliced radishes

  • Carrot top gremolata (see recipe here)

  • Fennel fronds

  • Drizzle of olive oil

INSTRUCTIONS

Roasted Fennel & Cauliflower

  1. Preheat the oven to 400ºF. Line a rimmed baking sheet with parchment paper or foil.

  2. Lay the sliced fennel and chopped cauliflower on the baking sheet in an even layer, and drizzle with olive oil and sprinkle with salt, pepper, and fennel seeds (if using). Toss gently to coat the mixture evenly. Roast for 30-35 minutes until tender and beginning to brown. Flip the vegetables halfway through roasting to ensure even browning.

For the Soup

  1. Heat the olive oil in a large pot or dutch oven over medium heat. Add the diced onion, salt and pepper and sauté until golden brown, stirring occasionally.

  2. Add the garlic and stir another minute. Add the vegetable broth, lemon zest + lemon juice, as well as the roasted fennel + cauliflower and bring the mixture to a simmer. Simmer gently for 10 minutes.

  3. Remove the pot from heat, add the spinach, arugula, fennel fronds, chives and mint. Stir to submerge in the soup, cover, and let the greens to wilt in the heat of the broth for a few minutes.

  4. Transfer the whole pot of ingredients to a high speed blender and blend until completely smooth (you'll likely need to do this in batches). Return to the pot, taste, and add more salt and pepper as needed.

  5. Garnish with an assortment of sliced radishes, a drizzle of olive oil, fennel fronds, etc. A topping of crunchy pistachio + carrot top gremolata is especially lovely.


Todays Stats

  • Low temp: 36F

  • High temp: 65F

  • Sunrise: 7:03am

  • Sunset: 7:39pm

  • Moon phase: New moon

  • Additional notes: Sunny and breezy