January 28

Farm Notes

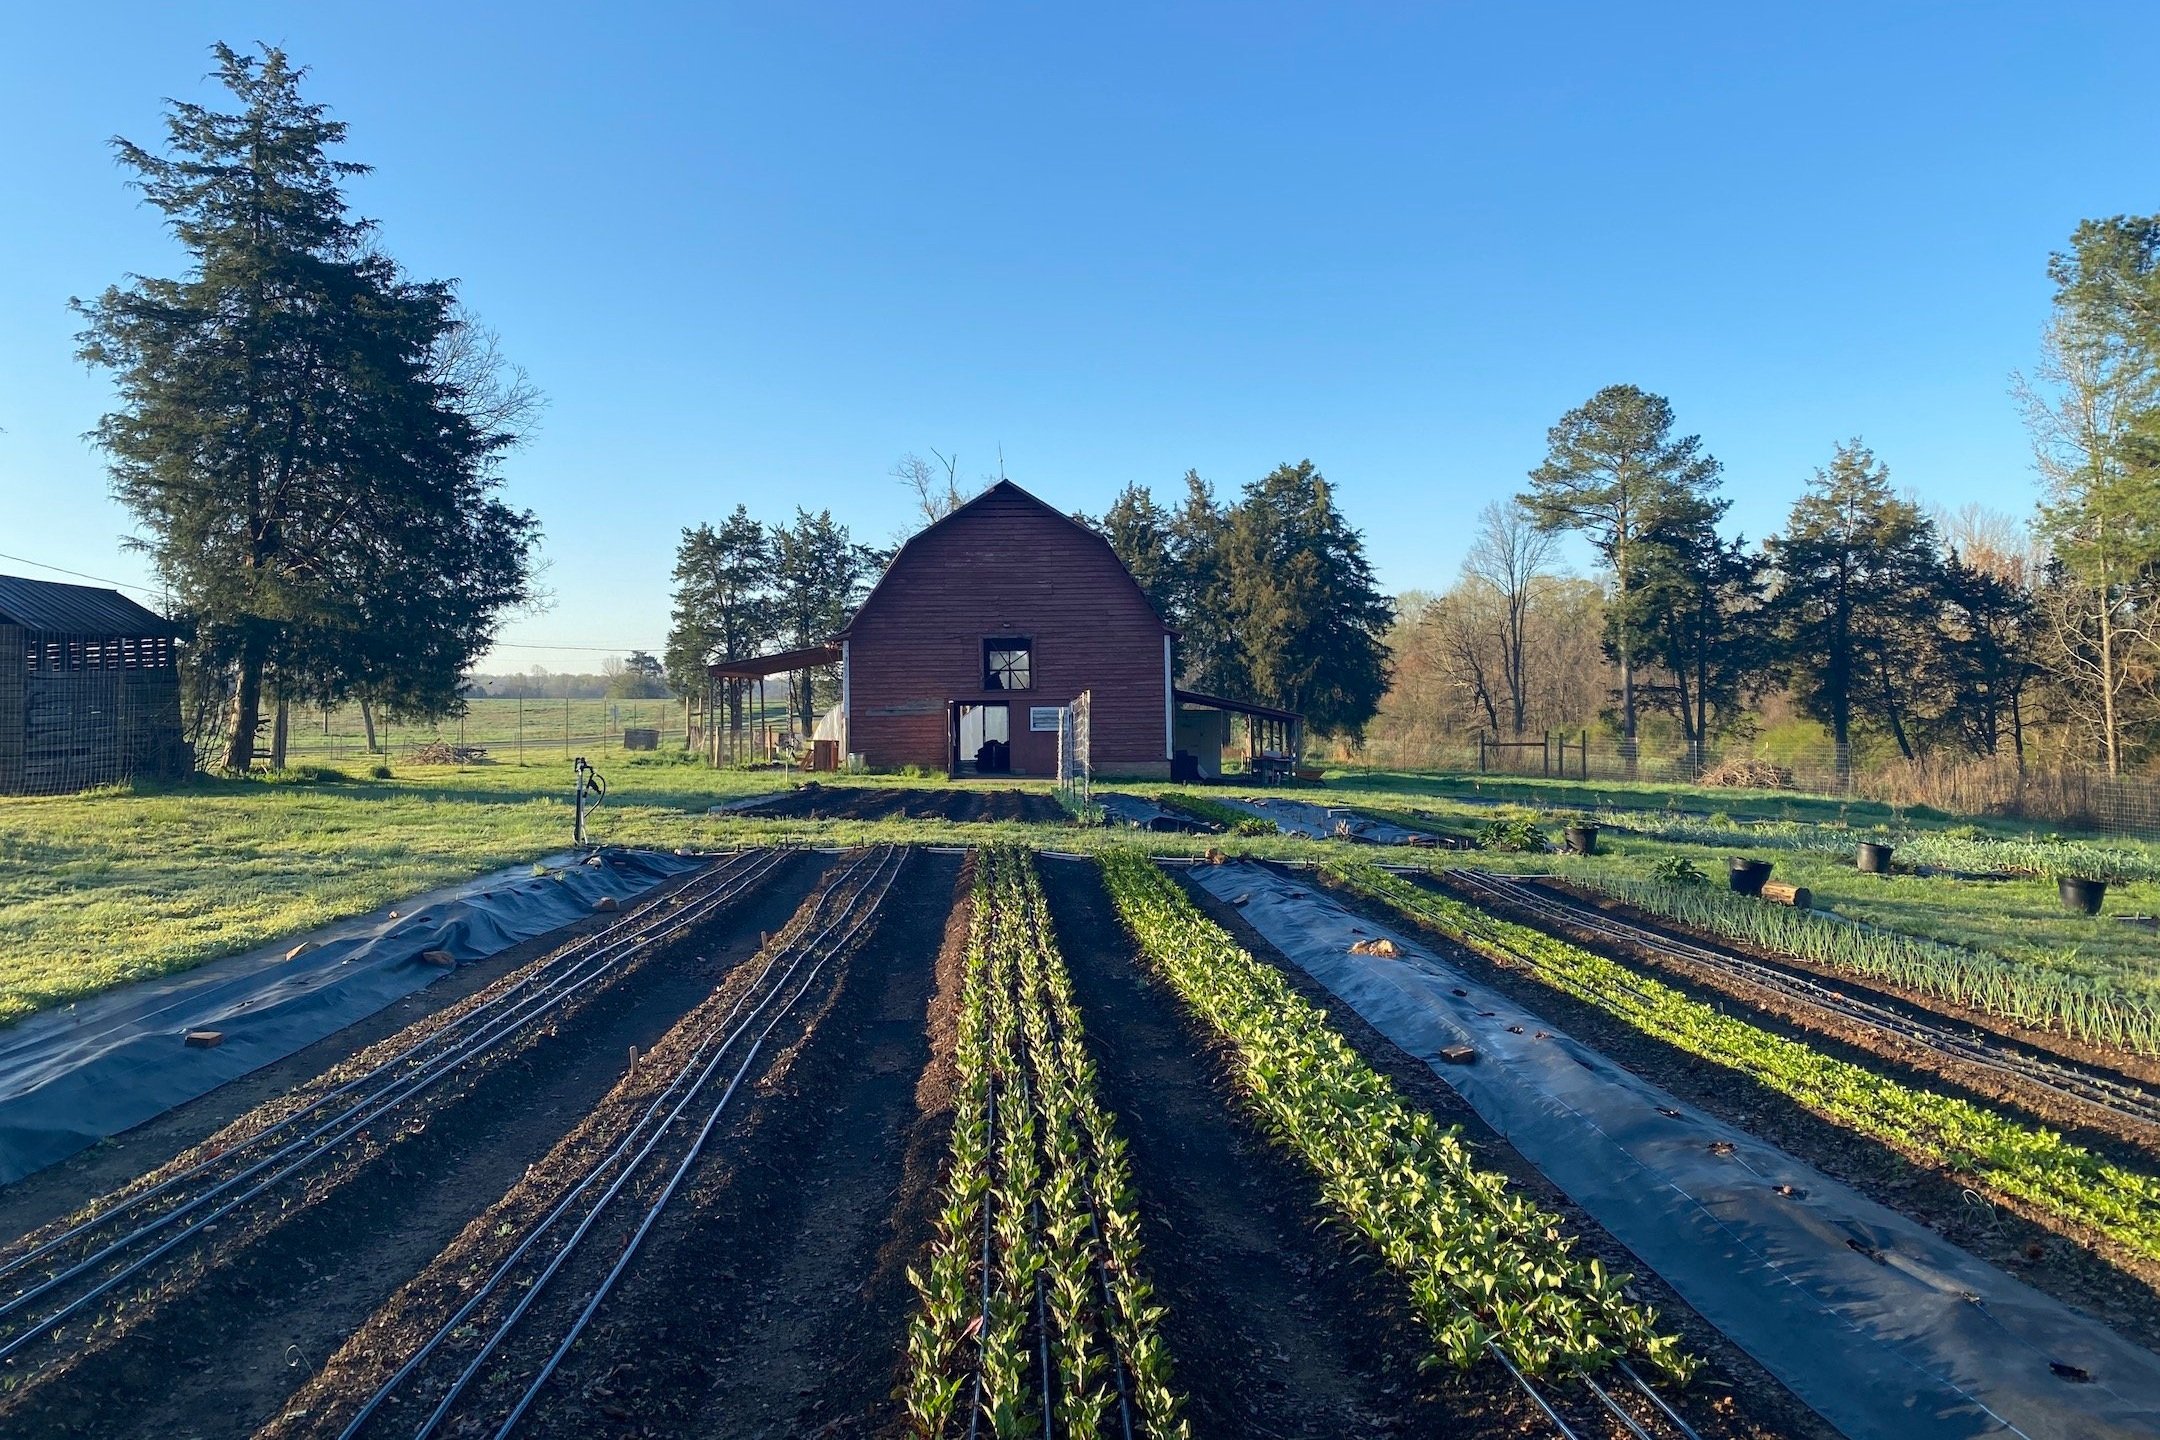
Even though it’s not even February yet, I already feel like spring is basically HERE and my to-do list for the farm grows longer by the day… thankfully the amount of sunlight each day is getting longer too! This week we “broke ground” on our new perennial garden, and I am SO excited to watch this space transform. Right now, it is honestly the ugliest spot on the farm (see photo below for proof)… but with a little love (and a lot of muscle), I know that this will soon be one of our favorite places to sit and hang out among the plants.

Our soon-to-be perennial garden!

Rough sketch design of our new perennial garden.

I’ve been calling this our perennial garden because, well, it’s where we plan to plant lots of perennials that will stay in the same place year after year (as opposed to annuals, which only last in the ground for one season)! Some of the perennials that we will be planting include… blackberries, asparagus, ramps (wild onions), artichokes, herbs like rosemary, thyme, sage, and lemongrass; medicinal plants like comfrey, yarrow, and plantain; as well as flowers like milkweed, coneflower, black-eyed susans, etc.

Whether you live on a big farm or have a small home garden, planting perennials is definitely a commitment – because hopefully, that plant will stay in the same spot for many, many years! Which means it’s important to do your homework to source high quality perennial plants, and to choose + prepare your growing site appropriately.

All this winter I’ve been busy doing research for this new garden space, and I want to share some of the resources that I’ve gathered with y’all!

BOOKS ABOUT PERENNIALS

WHERE TO SOURCE PERENNIAL PLANTS

ONLINE PLANTING GUIDES

Kitchen Notes

It’s easy to get stuck in a cooking rut as we head into doldrums of February – so this colorful, hearty winter slaw with a zippy sesame ginger vinaigrette is a fresh take on the same old veggies you’ve been cooking with all winter! It’s a very simple and flexible recipe, just use whatever winter veg – like carrots, beets, cabbage, turnips, kohlrabi, et – that you have on hand.

WINTER VEGGIE SLAW WITH SESAME GINGER VINAIGRETTE

INGREDIENTS

Photo Credit: Jonathan Lovekin

For the slaw

  • 2-3lbs assorted winter veggies (carrots, beets, kohlrabi, turnips, and cabbage are all great), shredded

  • 1 bunch cilantro OR parsley, roughly chopped

For the vinaigrette

  • 1 garlic clove

  • 1 teaspoon finely minced ginger

  • 3 tablespoons rice vinegar

  • 1 teaspoon soy sauce

  • 1 teaspoon yellow miso paste

  • 1 teaspoon honey

  • 5 tablespoons canola oil 

  • 2 tablespoons toasted sesame oil

  • 2 tablespoons toasted sesame seeds

PREPARATION

  1. To prepare the slaw, carefully shred the vegetables with a box grater into a large bowl.

  2. One handful at a time, squeeze any moisture out of the shredded vegetables and place them in a separate bowl (this prevents the slaw from getting watery).

  3. Add the chopped herbs (cilantro or parsley) to the bowl with the shredded veggies. 

  4. To make the sesame ginger vinaigrette, simply combine ingredients together in a small processor and blend until smooth. Taste and adjust seasoning as needed. 

  5. Pour the vinaigrette into the salad bowl and toss together to combine. Allow to sit for 20-30 minutes before enjoying, if possible. Taste and adjust seasoning as needed.

Today’s Stats

  • Low temp: 26F

  • High temp: 47F

  • Sunrise: 7:21am

  • Sunset: 5:40pm

  • Moon phase: Waning Crescent

  • Additional notes: Snow!

January 21

Farm Notes

It’s been a few years since we’ve had a proper winter here in North Carolina, but this year it seems we’re getting the real deal! I have mad respect for all the farmers who live in northern climates where freezing temps and snow are a common occurrence… I’m afraid I’ve gone a bit soft after living in Southern California for several years, so I’m grateful that NC usually stays pretty mild. This weekend is going to be COLD, so you better believe this softie is going to be staying inside!

Yesterday we were able to get a few hours of work in before the freezing rain began… we finished putting protective wire around our newly planted fruit trees, cleared out some lingering plants inside our tunnels, and spent some time measuring out + dreaming up the new perennial garden! Over the next few weeks I’ll share some sketches and plans for this new garden, and I’ll walk you through our whole process for taking a bare piece of ground into a thriving and beautiful space.

A main feature of this garden will be a nice gathering space in the middle, which we will use for outdoor workshops, tours, farm dinners, etc. It’s been two years since we’ve been able to host any classes on the farm due to the pandemic, but I’m cautiously hopefully that 2022 is the year that we can safely gather again. Y’all will be the first to know about upcoming outdoor workshops this year, and I plan to announce some exciting new events in the next few weeks.

Speaking of exciting announcements, today I get to share the winner of last week’s cookbook giveaway… CONGRATS Lauryn Douglas! I hope you love the cookbook Grow, Cook, Nourish as much as I do. :) Thanks to everyone who entered the giveaway… I have lots more planned for this year, so stay tuned!

Kitchen Notes

When the days are long and cold and you’re stuck inside, why not make some cake? I’m not a big baker by any means, but I was recently inspired to make this Blood Orange, Almond & Ricotta cake – recipe is from Smitten Kitchen, who I can always depend on for delicious, tried and true recipes. It’s peak blood orange season over in California, so now’s a great time to snag some blood oranges if you have access to them, and then I highly encourage you to make this cake. It’s the kind of cake that doesn’t feel TOO decadent, and you can (and perhaps should) absolutely enjoy it for a luxurious breakfast alongside some tangy greek yogurt.

Blood Orange, Almond & Ricotta Cake

Recipe by Smitten Kitchen

INGREDIENTS

  • 1/2 cup brown sugar

  • 1 tablespoon water

  • 3 large eggs, separated

  • 2/3 cup (135 grams) granulated sugar

  • 2 blood oranges

  • 1/2 cup (4 ounces or 115 grams) unsalted butter, softened

  • 2/3 cup (165 grams) ricotta

  • 1/3 cup (45 grams) cornmeal

  • 1 cup (135 grams) firm-packed almond flour or meal

  • 1/2 teaspoon fine sea salt

  • 1/4 cup apple or apricot jam (optional, for glossy finish)

INSTRUCTION

Heat oven to 300 degrees F. Butter a 9-inch round cake pan and line the bottom with a round of parchment paper.

Stir brown sugar and water together so they form a thick slurry. Pour into prepared cake pan and spread thin. Set aside.

Whip egg whites in a medium bowl with an electric mixer until they hold thick peaks. Set aside.

Place granulated sugar in a large mixing bowl. Finely zest both oranges over it.

Cut both oranges in half. Cut one of the halves into paper-thin slices and arrange slices over brown sugar base in cake pan. Juice other three halves (I had about 1/3 cup juice) and set juice aside.

Add butter to zest and granulated sugar in large mixing bowl and beat with an electric mixer (you can use same beaters you just did for egg whites) until light and fluffy. Add egg yolks, one at a time, and beat to combine. Add juice and ricotta; mix until smooth. Sprinkle salt over batter, then add almond flour and cornmeal and mix until just combined. Gently fold in egg whites.

Scoop batter in large dollops over prepared cake pan base. Gently spread batter flat, trying not to disturb orange slices underneath. Bake in heated oven for 35 to 40 minutes [updated to warn that this took longer for many people, but remains accurate for my oven– better to check early than late], or until a toothpick inserted into the center comes out clean and then (my preference) for 5 more minutes. The final cake is so moist, almost damp, I found the extra baking time beneficial.

Cool cake in pan on rack for 5 minutes, and then run a knife around the side and invert onto a cake plate. If any orange slices don’t come out easily, just gently arrange them on the top of the cake. If desired, heat jam until loose and brush over cake top for a glossier finish. Let cool and cut into slices. Delicious served with an extra dollop of ricotta, creme fraiche or barely sweetened whipped cream.

HELPFUL NOTES from Deb Perelman of Smitten Kitchen: always zest before juicing, to avoid bad moods. Zest should always go straight into sugar, for maximum flavor release against the grit. Always whip egg whites before egg yolks, so you don’t have to wash your beaters in the middle of prep.

Today’s Stats

  • Low temp: 15F

  • High temp: 27F

  • Sunrise: 7:25am

  • Sunset: 5:32pm

  • Moon phase: Waning Gibbous

  • Additional notes: Snow!

January 14

Farm Notes

It’s been a frosty week here at the farm, and we’ve got some winter weather coming our way this weekend. Looks like Sunday is going to be a blustery mix of freezing rain / sleet / snow… now doesn’t that sound like fun?! The main concern with winter storms on the farm is that the snow and/or ice can be very heavy on our caterpillar tunnels, and if you don’t go out every few hours to knock off the snow/ice, the tunnels can collapse under the weight. I’m not too terribly worried, but I’ll definitely be watching this storm closely!

One project I started tackling this week that I am very excited about was beginning to lay out our new perennial garden area (read more about the inspiration for this new garden in this Farmbelly Journal post). The area for the perennial garden is about 80 x 40 feet long and it’s a total blank slate – which can actually be a bit intimidating! One thing that helps me start to visualize how to best design a new growing space is by putting stakes in each corner, and tying bright orange twine between the stakes (see photo to the right). If you are also planning out a new garden area this season, and not sure where to start, I definitely recommend using this stake + twine method to start laying out your ideas and to help visualize your space.

And now for a fun announcement… it’s time for another cookbook giveaway! I love sharing my favorite books with y’all and will continue to host giveaways throughout the season... this time, I’m excited to give away an amazing farm to table cookbook – Grow, Cook, Nourish – written by Darina Allen, the founder / matriarch of the Ballymaloe Cooking School, which is located on a magical 100-acre organic farm in the Irish countryside. I attended the culinary program at Ballymaloe back in 2013, and it absolutely changed my life (and the way I look at food) forever.

Grow, Cook, Nourish is a vegetable-focused cookbook with 500+ recipes, AND it also digs into tons of tips and information for how to grow each vegetable. This book is a wealth of information, and it epitomizes what it means to “eat like a farmer”!

TO ENTER THE GIVEAWAY – There are two ways that you can enter this giveaway (just choose 1):

  1. Comment on this post in our private Facebook Group and share which spring vegetable you are most looking forward to cooking with! If you aren’t already a member of our private Facebook Group, just request access here.

  2. OR Click the “Comment” button at the bottom of this journal entry and share which spring vegetable you are most looking forward to cooking with!

You have until Thursday, January 20th @ midnight to enter, and I’ll announce one randomly selected winner on Friday, January 21st. One entry per person please.

Kitchen Notes

Last weekend, I cooked up a juicy, crispy-skinned roast chicken, and it was DELICIOUS. As we were cleaning up, I saw my dear husband going to throw away the picked-over chicken carcass, and I screamed “NO!” and quickly snatched it from the clutches of our trash can. You see… I had big plans for that chicken, and I was determined to squeeze every bit of goodness out of it by making some homemade chicken broth this week.

While we should never feel ashamed about buying chicken (or veggie) broth from the store, it so wonderfully easy (and healthier and waaay more economical) to make yourself… so today I’m excited to share a very simple recipe for homemade chicken broth. For vegetarians, just omit the chicken in this recipe and you’ve still got a splendid broth that is ready to incorporate into soups, stews, sauces, risotto, etc.

HOMEMADE CHICKEN BROTH 

INGREDIENTS 

  • 1 chicken carcass

  • 2 onions, cut into quarters (peels can stay on)

  • 4 smashed garlic cloves

  • 4 ribs celery, roughly chopped

  • 4 carrots, roughly chopped

  • 2 bay leaves

  • A few sprigs (or stems) of fresh parsley and/or thyme

  • 1 teaspoon black peppercorns

  • Other optional ingredients to add that will add flavor and depth: leek tops, carrot tops, parmesan rind, seeds from inside a winter squash, etc

PREPARATION

  • Place the chicken carcass, chopped vegetables, herbs and any additional aromatics in a large (at least 5 quarts) pot.

  • Cover the vegetables with an inch or two of water (around 3.5-4 quarts of water) and bring to a boil, uncovered. 

  • Reduce the heat, maintaining a gentle simmer, and cook for 1 hour and 30 minutes. Spoon off and discard any foam that rises to the surface.

  • Strain the stock ingredients through a fine mesh strainer and let it cool to room temperature. Store the stock in quart jars and refrigerate or freeze (I love freezing broth in these Souper Cubes). Fresh homemade stock will last one week in the fridge and several months in the freezer.

Today’s Stats

  • Low temp: 26F

  • High temp: 52F

  • Sunrise: 7:27am

  • Sunset: 5:25pm

  • Moon phase: Waxing Gibbous

  • Additional notes: Sunny & chilly

January 7

Farm Notes

Let’s talk about making your garden/farm planting plans for 2022!

Regardless of how big or small your growing area may be, I highly recommend creating a visual planting plan at the beginning of each season, where you can plan out which crops will go where over the course of a year. To help you visualize what I’m talking about (and to offer you a template to use if this is helpful for you), here is an excerpt of our planting plan for March and April of 2021 (also see photo below):

Example planting plan from March 2021.

In the planting plan, I include information about how a certain crop will be spaced within the row (for example, when we plant tomatoes, I specify that we will plant one row of tomatoes down the middle, and each plant is spaced 18” apart). I also mark on the spreadsheet the expected planting date – which I’ll update after we do the actual planting, as my expected planting dates aren’t always accurate!

I use a template titled Seeding Calendar, where I keep track of when I need to start seeds to have them ready to transplant into the garden at the right time. While I work with other farms/nurseries to start the majority of our seedlings, I enjoy starting my own seeds for things that are a bit funky (like edible flowers), and for seeds that only take a few weeks to start (like anything in the cucurbit family - cucumbers, zucchini, etc). Not sure when to start seeds indoors? Here’s a great guide that is customized by zip code that is an awesome resource!

I find that this process of mapping out the whole season is incredibly helpful, and means that when thousands of seedlings arrive here and are ready to be planted, I know exactly where everything is going. It’s also useful for planning out future growing seasons, because I make sure to rotate different crop families – for example, I’ll make sure that I don’t plant our brassicas (broccoli, cabbage, kale, etc) in the same place two years in a row. The reason we rotate crops is to ensure we don’t deplete the soil of nutrients, and because it really helps with pest/disease management to move the different crop families around each season. For more information about crop rotation and why it’s important, check out this article.

So if you have a home garden, make a planting plan! Just create a layout for your garden space on a spreadsheet (or even with pen on paper) and start filling in details about which plants you’d like to grow, and where they will go. If you have any questions or need some help with this planning process, just give me a holler!

Kitchen Notes

Real talk. My kitchen inspiration this week isn’t exactly the epitome of “farm to table”… but until a few days ago, I’d never made homemade enchiladas before, as I assumed they were complicated and time consuming to make. Alas! The other day while scrounging in the kitchen, I realized we had all the ingredients for enchiladas, and decided to give them a try. It may look like a lot of ingredients and steps, but I promise that the whole process goes WAY quicker than you expect. But pretty please don’t skip the step of making your own enchilada sauce! It will be well worth the tiny bit of extra effort, and will be way tastier + healthier than the store-bought stuff. For this recipe, the enchilada filling has ground beef + beans, but you can totally substitute with other proteins like shredded pork or chicken, or make them vegetarian by subbing with sautéed veggies like mushrooms, peppers, zucchini, etc.

Beef & Bean Enchiladas

Photo Credit: The Beach House Kitchen

INGREDIENTS

For the Enchilada Sauce

  • 3 tablespoons olive oil

  • 3 tablespoons flour (GF flour works too)

  • 1 tablespoon brown sugar

  • 1-2 teaspoons chipotle chili powder (use more or less based on your spice tolerance!)

  • 1 teaspoon ground cumin

  • ½ teaspoon garlic powder

  • ¼ teaspoon dried oregano

  • ¼ teaspoon cinnamon

  • ¼ teaspoon salt, to taste

  • 2 tablespoons tomato paste

  • 2 cups broth (vegetable, chicken, or beef)

  • 1 tablespoon apple cider vinegar

  • Freshly ground black pepper, to taste

For the Enchiladas

  • 1 tablespoon olive oil

  • 1 yellow onion, finely chopped

  • 2 garlic cloves, minced

  • ¼ teaspoon salt, to taste

  • 1 lb ground beef

  • 1 can (14-oz) black beans, rinsed and drained

  • 1 can (14-oz) can pinto beans, rinsed and drained

  • 8 tortillas (or burrito wraps)

  • 1.5-2 cups shredded cheese

  • Handful fresh cilantro, roughly chopped (optional garnish)

INSTRUCTIONS

  1. First make the enchilada sauce – Measure out the dry ingredients (the flour, brown sugar, chili powder, cumin, garlic powder, oregano, cinnamon and salt) into a small bowl. In a medium-sized pot over medium heat, warm the oil until it’s sizzling, then pour in the flour + spice mixture. While whisking constantly, cook until fragrant and slightly deepened in color, about 1 minute. Whisk the tomato paste into the mixture, then slowly pour in the broth while whisking constantly to remove any lumps. Raise heat to medium-high and bring the mixture to a simmer, then reduce heat as necessary to maintain a gentle simmer. Cook, whisking often, for about 5 to 7 minutes, until the sauce has thickened a bit and a spoon encounters some resistance as you stir it. Remove from heat, then whisk in the vinegar and season to taste with additional salt and/or pepper.

  2. Make the beef and bean enchilada filling – Preheat your oven 350F. Heat olive oil in a skillet over high heat. Add onion, garlic, and salt and cook for 2 minutes. Add ground beef and cook for 4-5 minutes, breaking it up as you go, until most of the meat has browned. Next add the rinsed and drained black + pinto beans to the skillet, as well as 1/4 cup of your enchilada sauce. Stir to combine and continue cooking until the ground beef is fully cooked. Taste and add additional salt if needed.

  3. Assemble and bake the enchiladas – Smear a bit of the enchilada sauce on the bottom of a 9x13 pyrex baking dish. Assemble the enchiladas by scooping the enchilada filling on the lower third of a tortilla. Roll up the tortilla and then place in the baking dish, seam side down. Repeat with remaining filling and tortillas. Pour enchilada sauce over the enchiladas and top with the shredded cheese. Bake for 10 minutes covered, then 10 minutes uncovered. Serve hot and enjoy!

Today’s Stats

  • Low temp: 18F

  • High temp: 37F

  • Sunrise: 7:28am

  • Sunset: 5:19pm

  • Moon phase: Waxing Crescent

  • Additional notes: Very cold and clear!