Farm Notes
Yesterday was one of those days when I’m reminded exactly why I love farming. On an early spring day with zero humidity and 100% sunshine, I’m wildly grateful to be outside, in the dirt, moving my body, and having something beautiful and productive and nourishing to show for it at the end of the day. Aaaand it’s days like yesterday that I need to remember come August, when it’s 100% humidity and hot and dry and I’m asking myself who the hell would want to be a farmer?!
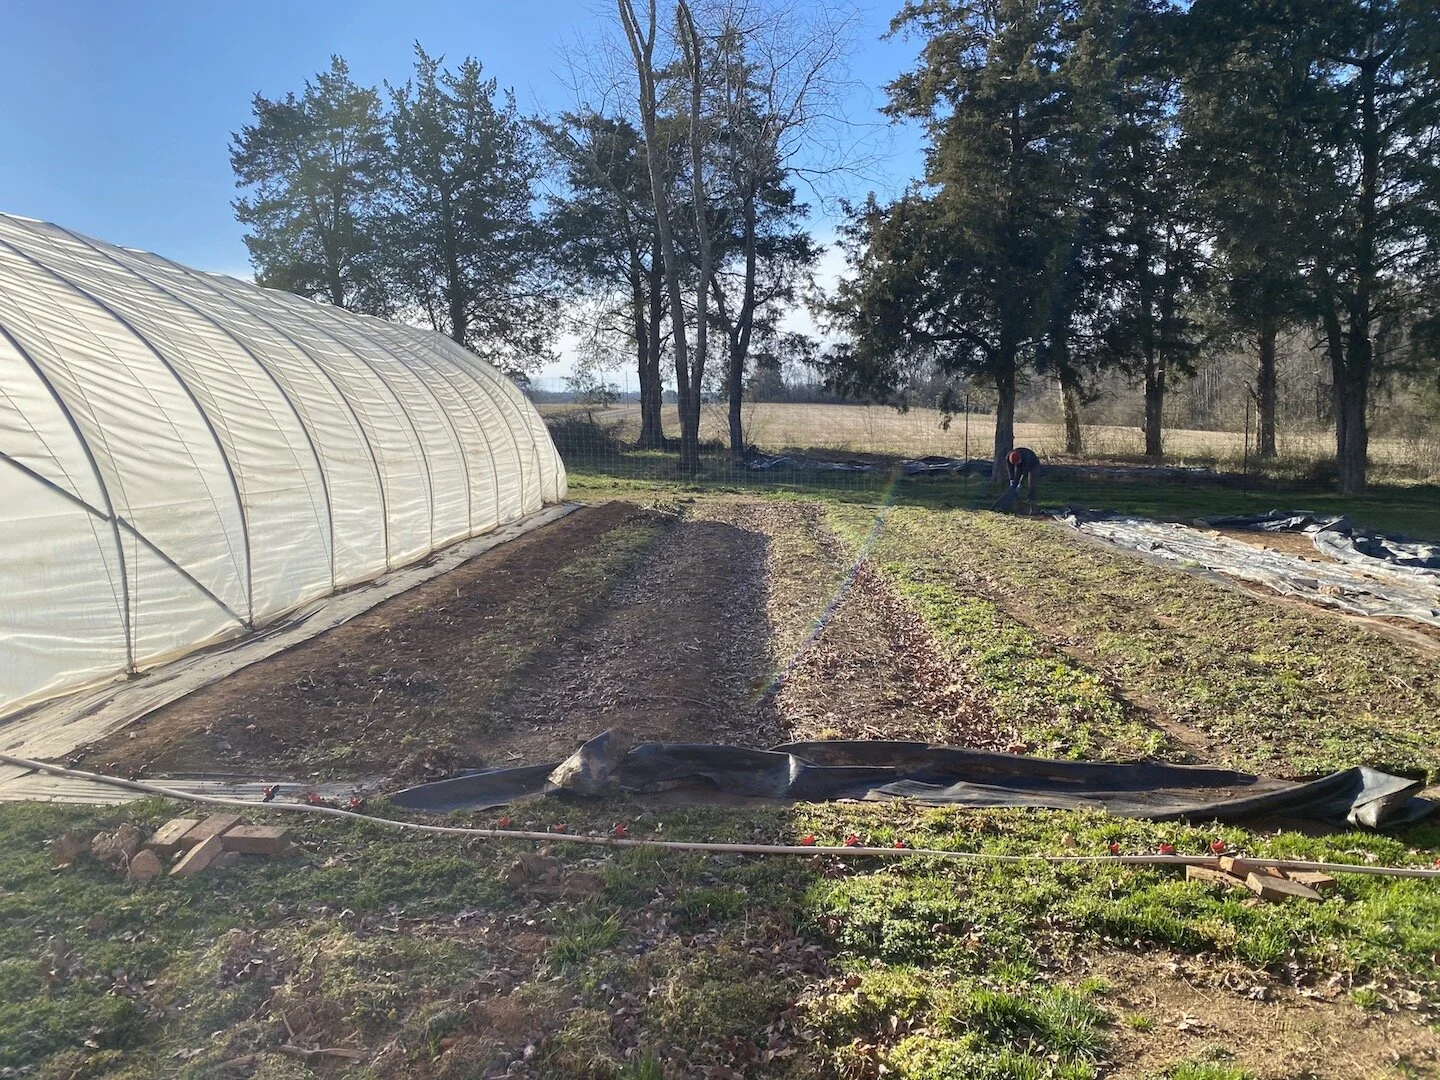
With help from my friend and fellow farmer Erin, we crossed off some big items from our to-do list yesterday. We finished prepping the beds inside our other caterpillar tunnel, and we got it completely planted by the end of the day! Here’s what we planted (with a few notes about spacing, in case it’s helpful):
2 beds of lacinato kale – our beds are 30” wide, and we can fit 3 rows of kale in each bed. We space each kale plant about 12” apart within each row.
1 bed of swiss chard – 3 rows per bed, planted 12” apart.
1 bed of head lettuces – 3 rows per bed, planted 9” apart.
After planting out the beds, we first watered them in by hand with a hose and long soaker nozzle, and then we hooked up 3 drip tape irrigation lines per bed. Even if you have drip irrigation at your garden/farm, I’ve found that it’s best to first water new seedlings by hand to make sure they get nice and settled into their new home, and then we’ll use the drip lines for irrigation for the remainder of their time in the ground.

A fully planted tunnel is a beautiful sight!
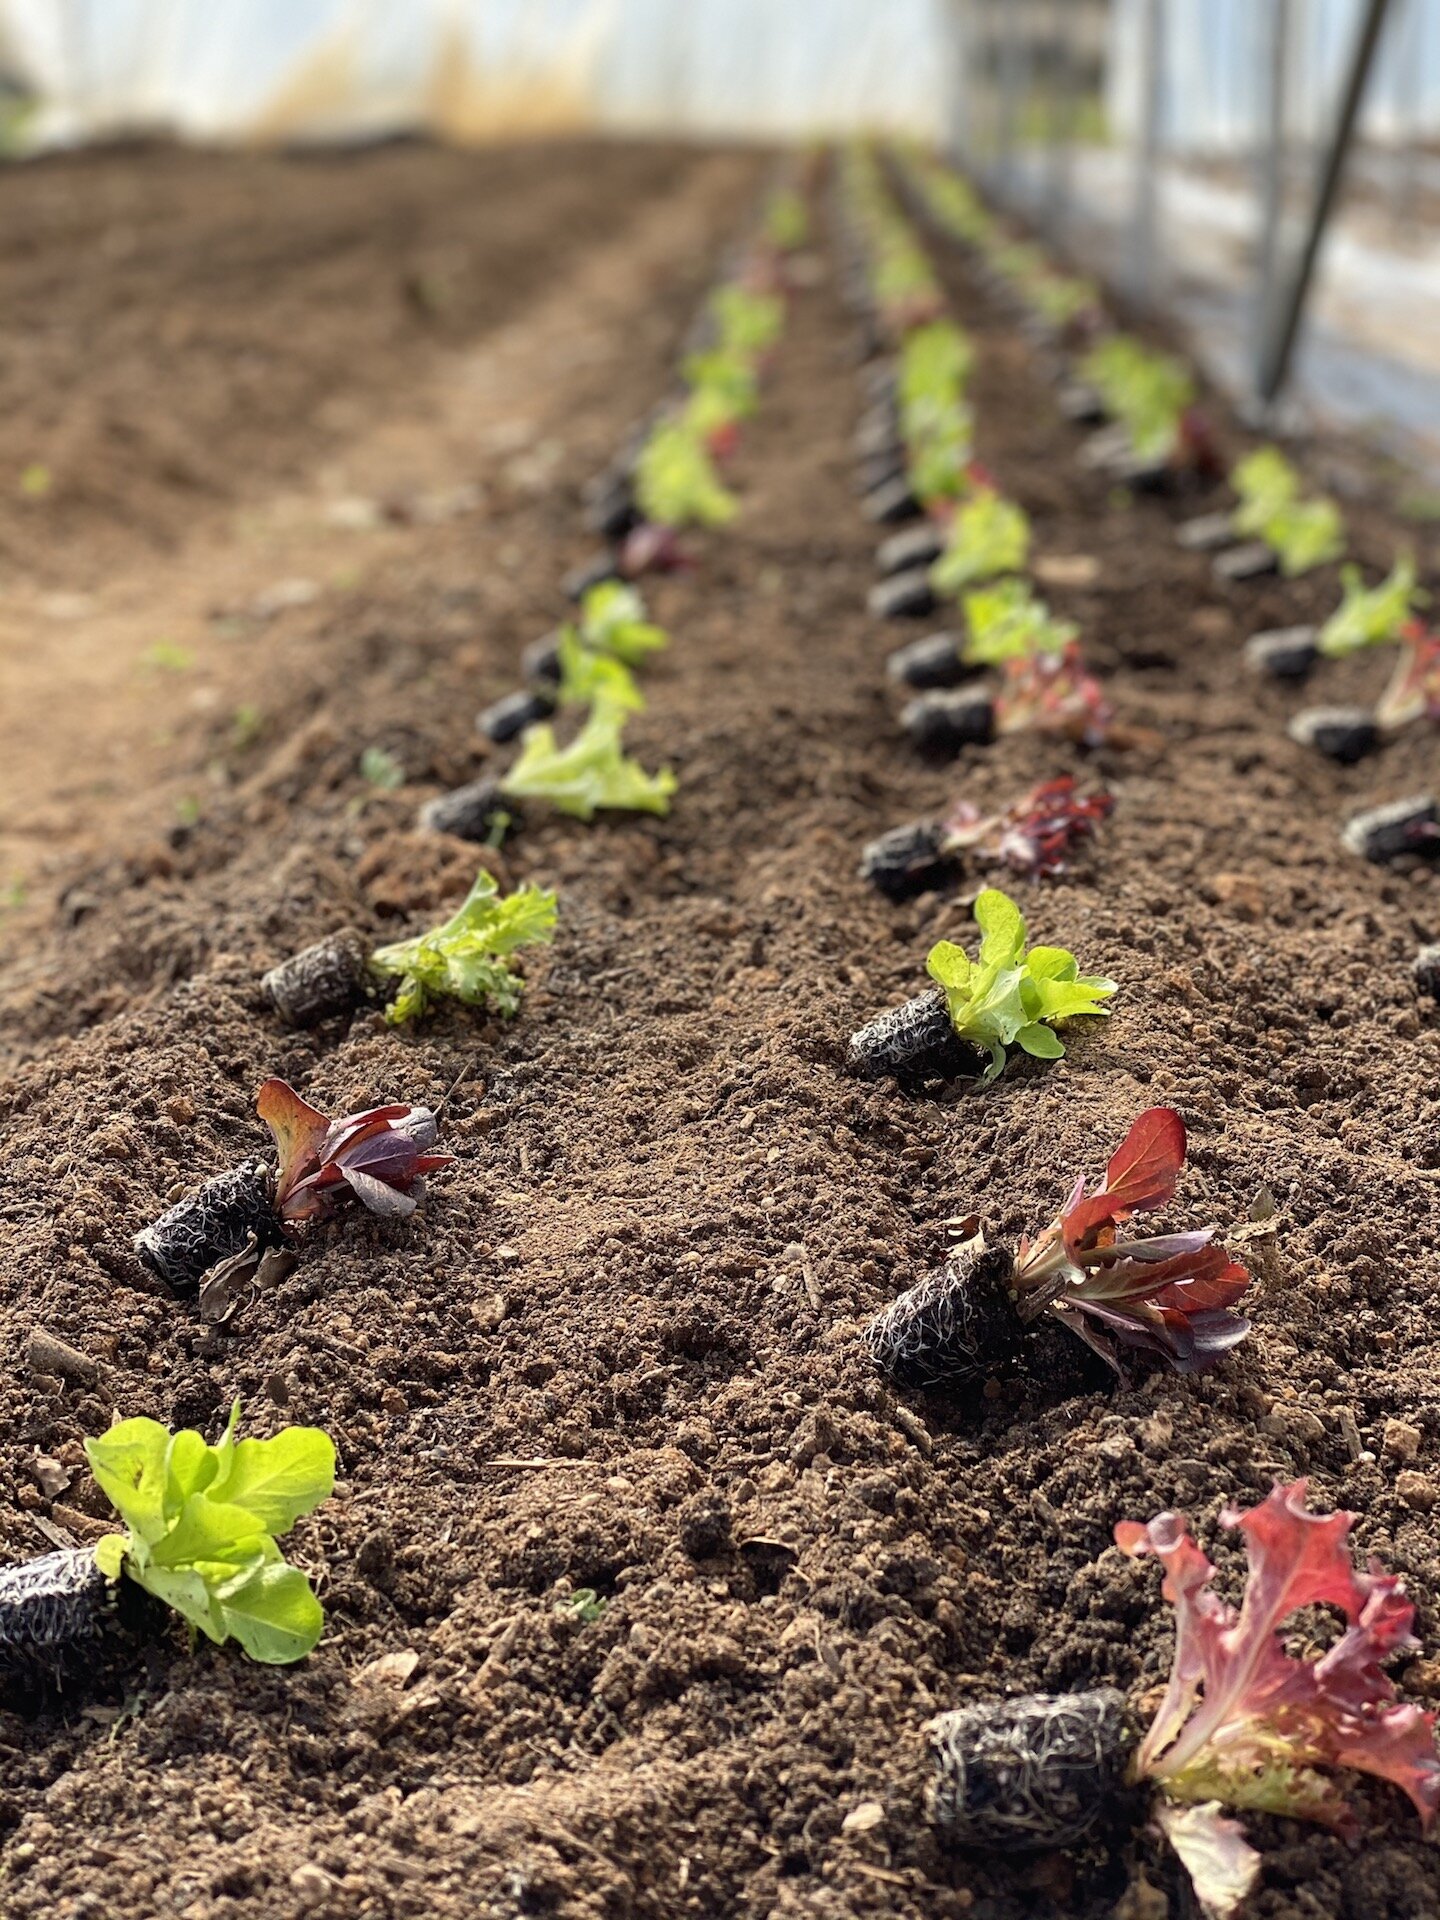
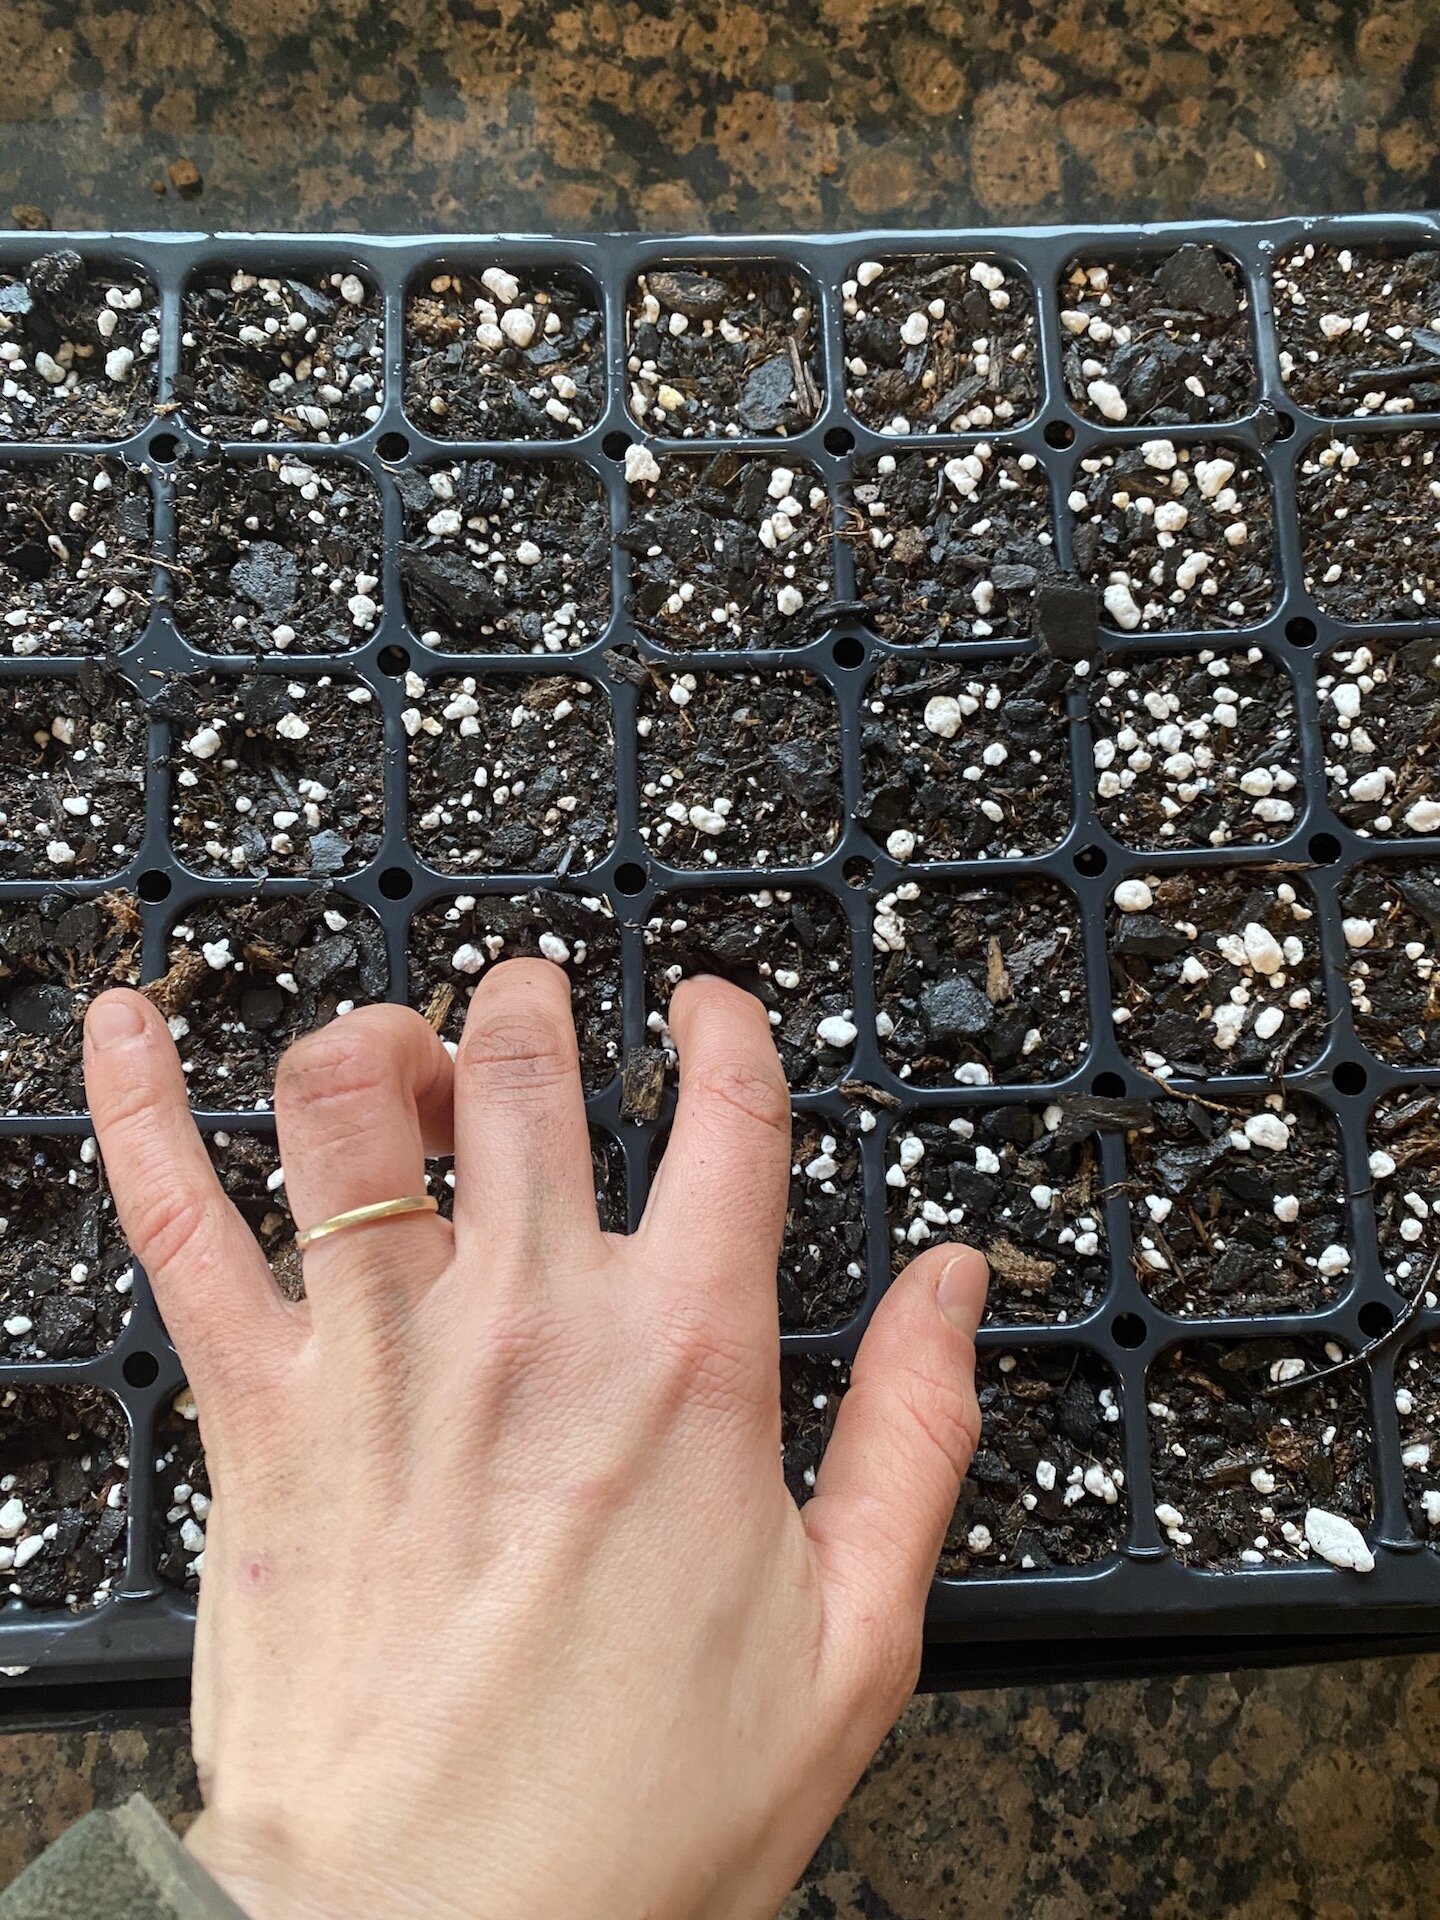
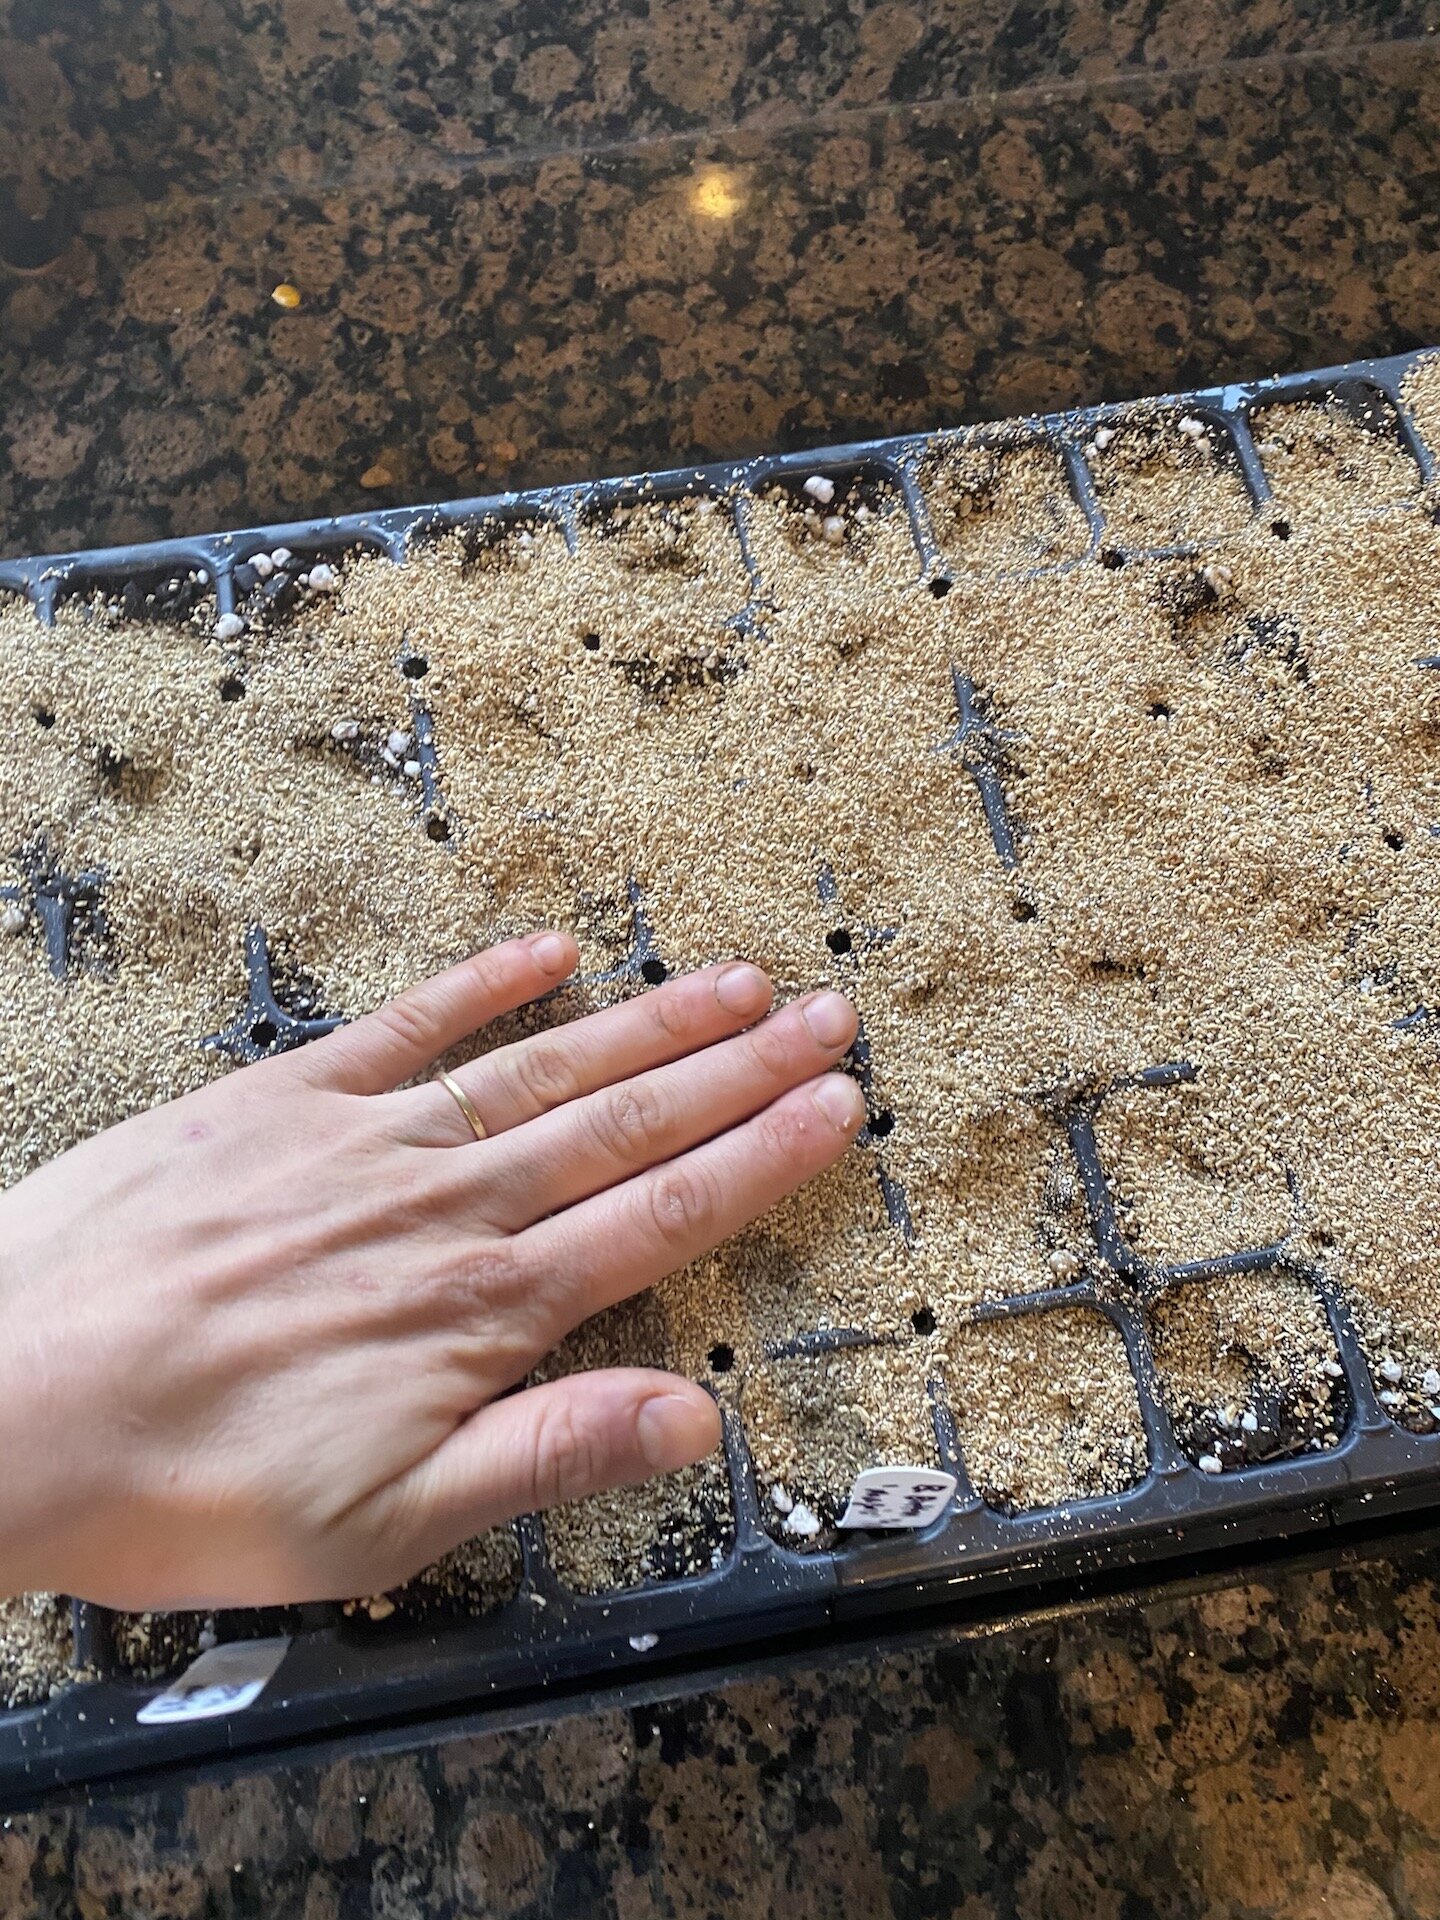
Baby lettuces going in!

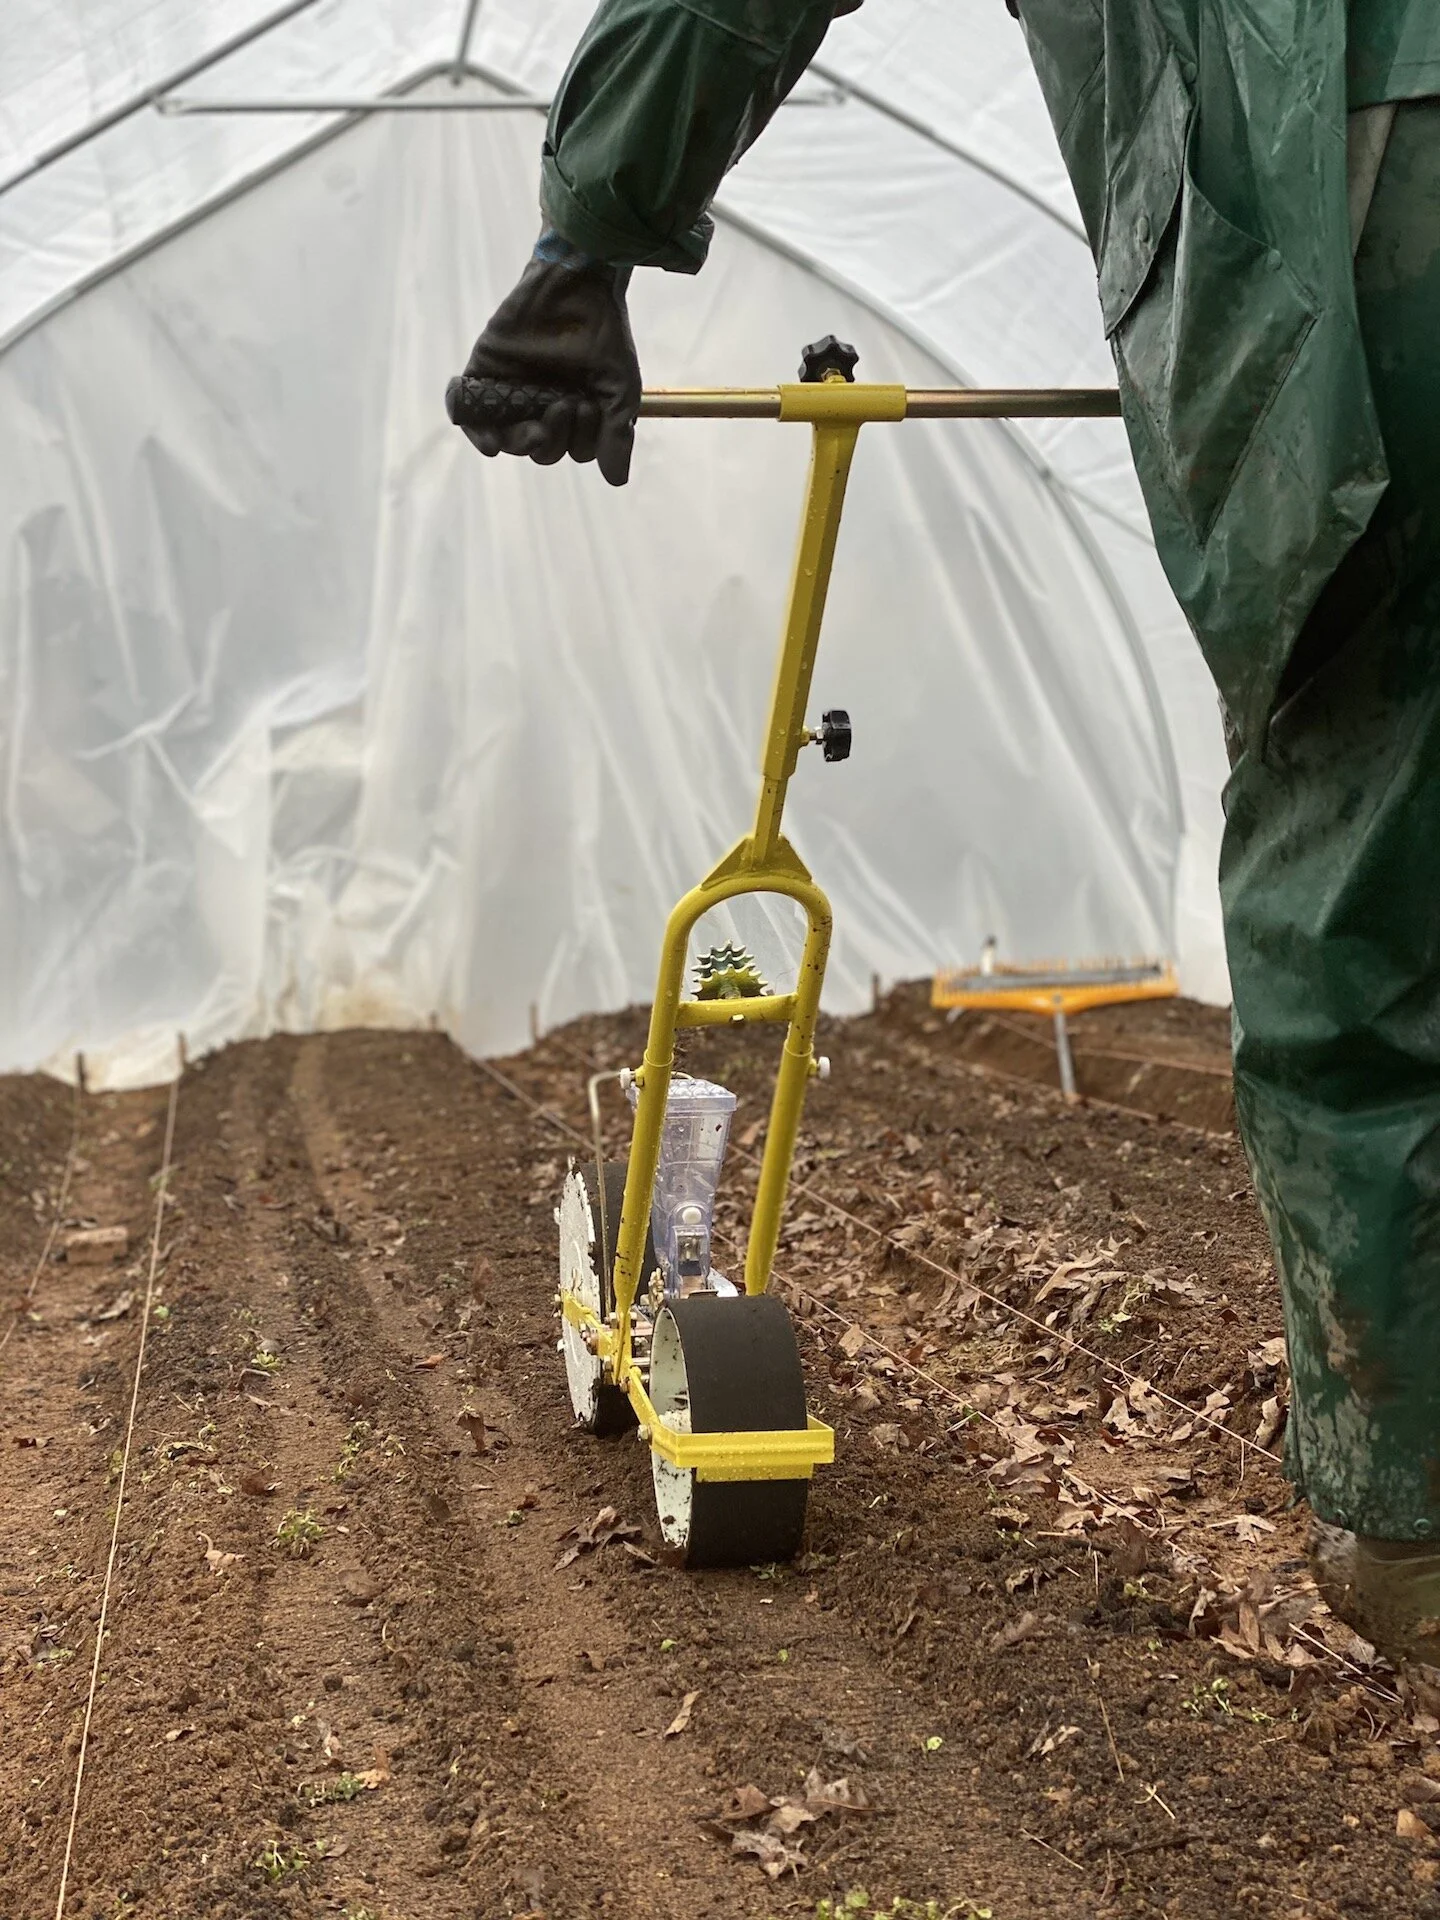
This is our “farm hack” for marking rows.. a big rake with some excess irrigation pipe taped on works like a charm!
Kitchen Notes
Last night Matthew and I cooked up some delishhh herb-filled beef patties with an equally herby yogurt sauce to enjoy alongside some Green Power Salad leftovers, and it was a feast! My favorite dishes tend to have a few things in common… like lots of herbs, bright lemon and tangy yogurt, so this meal checked all the boxes! It’s easy enough for a weeknight dinner, but feels special enough for the weekend. Happy cooking friends!
Herbed Pistachio Patties with Arugula & Yogurt Sauce
Makes ~16 patties

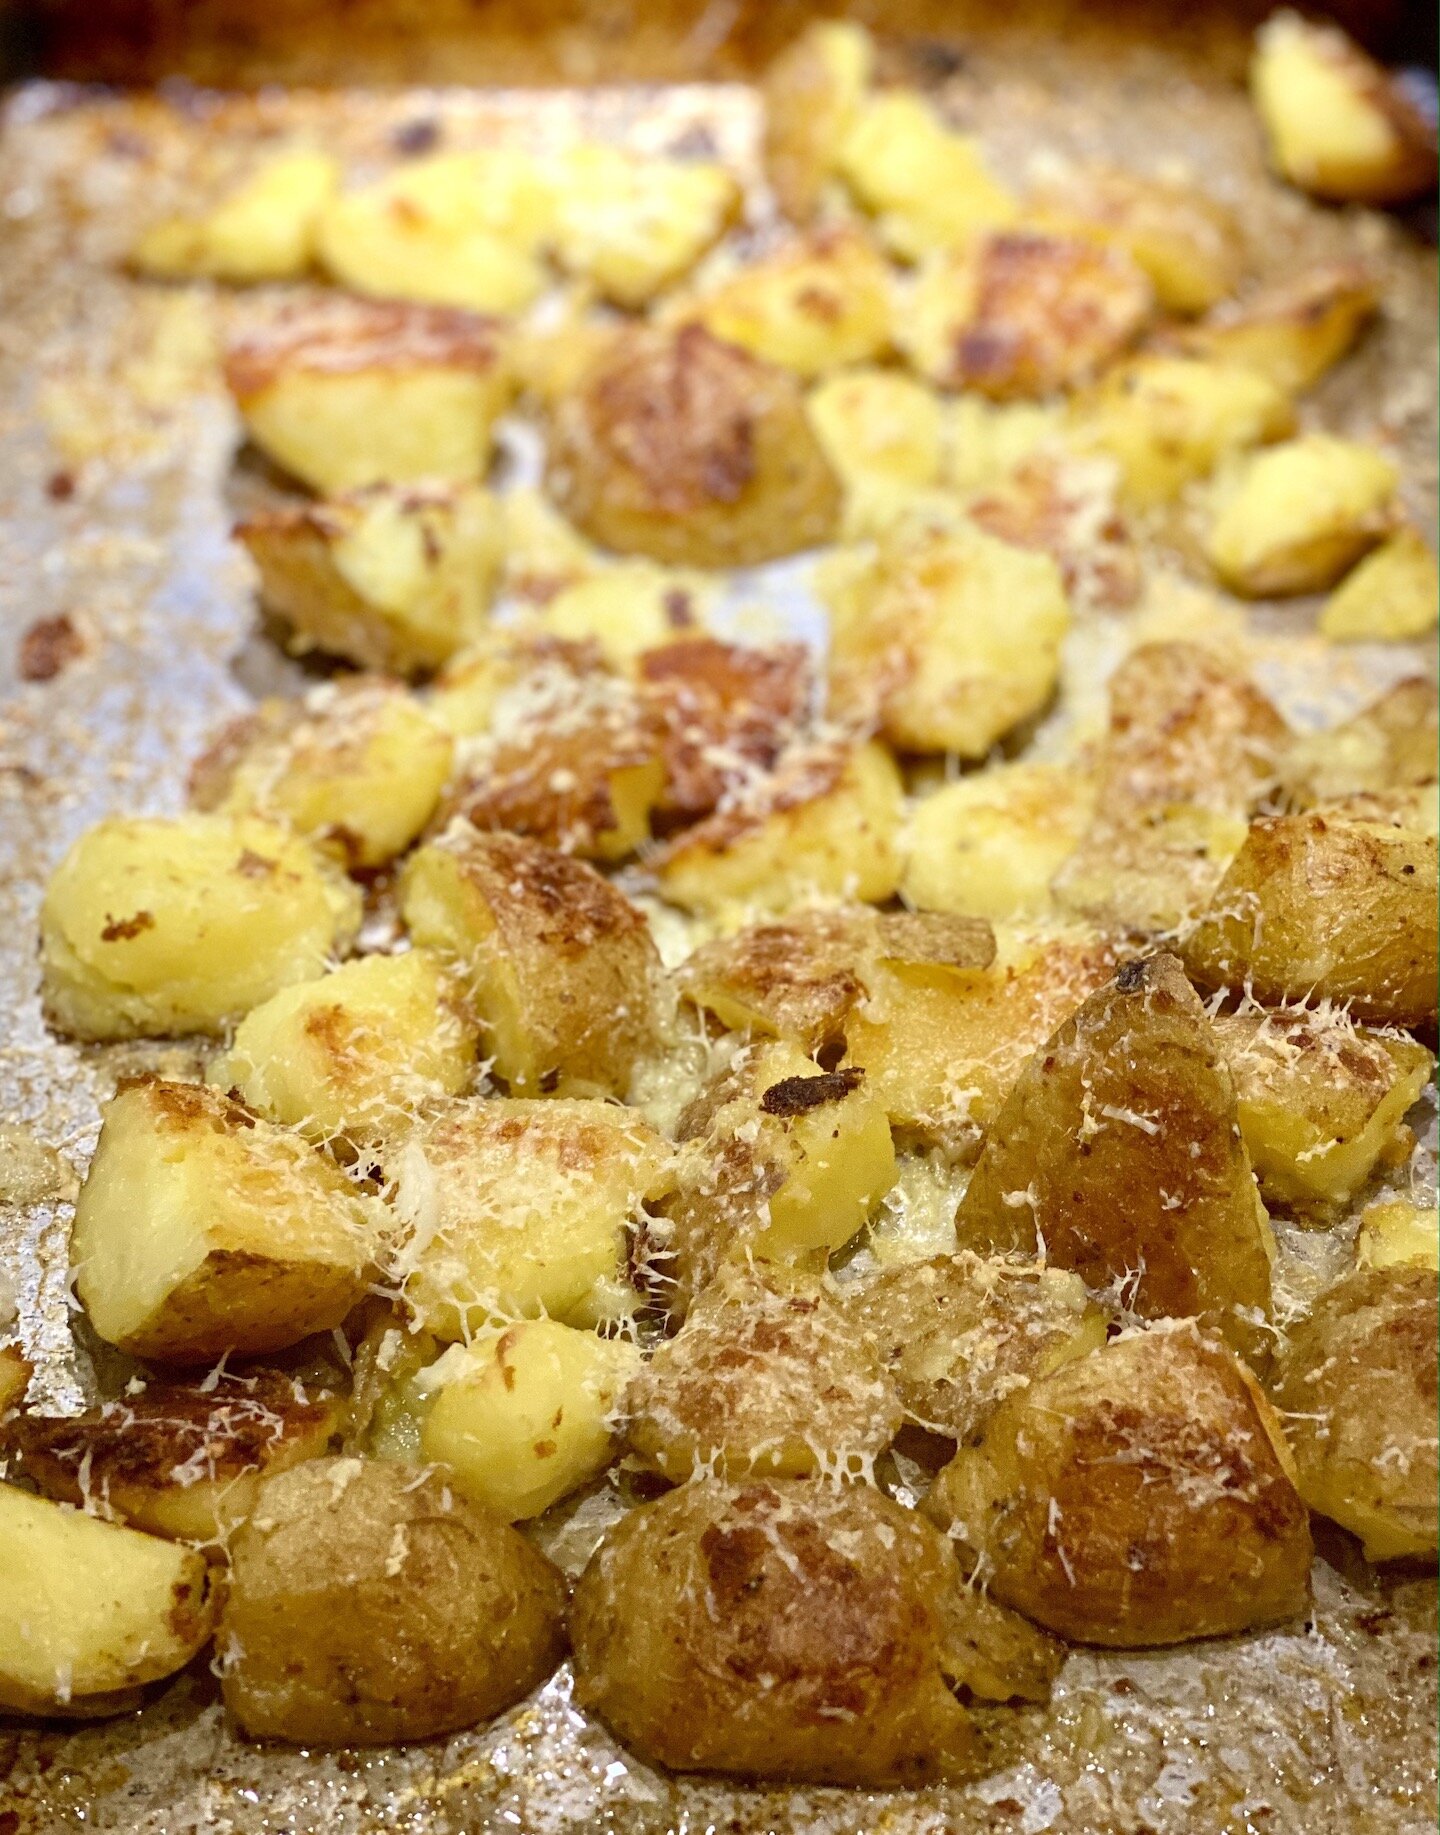
Photo credit: Cooking Light
INGREDIENTS
For the patties
1/2 cup shelled pistachios
1 packed cup arugula, plus several cups more for serving
1/4 cup chopped fresh mint
1 yellow onion, quartered
1 large garlic clove, peeled
1.5 lbs ground beef
1 tablespoon olive oil
1 teaspoon kosher salt, plus more to taste
Freshly ground pepper
Vegetable oil (for pan-frying)
Lemon-Herb Yogurt Sauce
1 cup plain greek yogurt
2 tablespoons lemon juice + 1 teaspoon lemon zest
1 tablespoon olive oil
1 clove garlic, minced
1/4 cup freshly chopped herbs (like mint, parsley, chives, etc)
Kosher salt, to taste
INSTRUCTIONS
Make the yogurt sauce: Mix together all the ingredients for the yogurt sauce in a bowl and keep in the fridge until needed.
Make the patties: Put the pistachios in the bowl of a food processor. Blitz for a few seconds, to roughly chop, then put into a medium bowl. Add the arugula to the processor, blitz for a few seconds to roughly chop, then add to the bowl of pistachios. Continue with the onion and garlic, to form a smooth paste, and add to the bowl. Add the ground beef, 1 tablespoon olive oil, 1 teaspoon salt, and a good grind of pepper into the bow. Mix well to combine, then shape into about 16 patties (~2 ounces each).
Cook the patties: Put 1 tablespoon of vegetable oil into a large non-stick frying pan and place over medium-high heat. One the oil is hot and shimmering, add the patties – as many as you can fit without crowding the pan – and cook for 6-7 minutes total, turning halfway through cooking, until golden brown and cooked through. Keep warm while you repeat with the remaining patties. If you need to, add another tablespoon oil to the pan during the process. Alternatively, you can also cook the patties on your grill!
To serve: Toss a few cups of arugula with a bit of lemon juice and olive oil and pile the greens on a platter. Serve the patties on top of the arugula alongside the yogurt sauce.
Today’s Stats
Low temp: 37F
High temp: 47F
Sunrise: 6:51am
Sunset: 6:09pm
Moon phase: Full moon
Additional notes: Cold and rainy all day.