July 30

Farm Notes

Holy guacamole, it’s been a hot one! It seems like around the country, we’re feeling the summer heat, and I hope that you (and your plants / animals) are taking care and staying cool in this sweltering late July season.

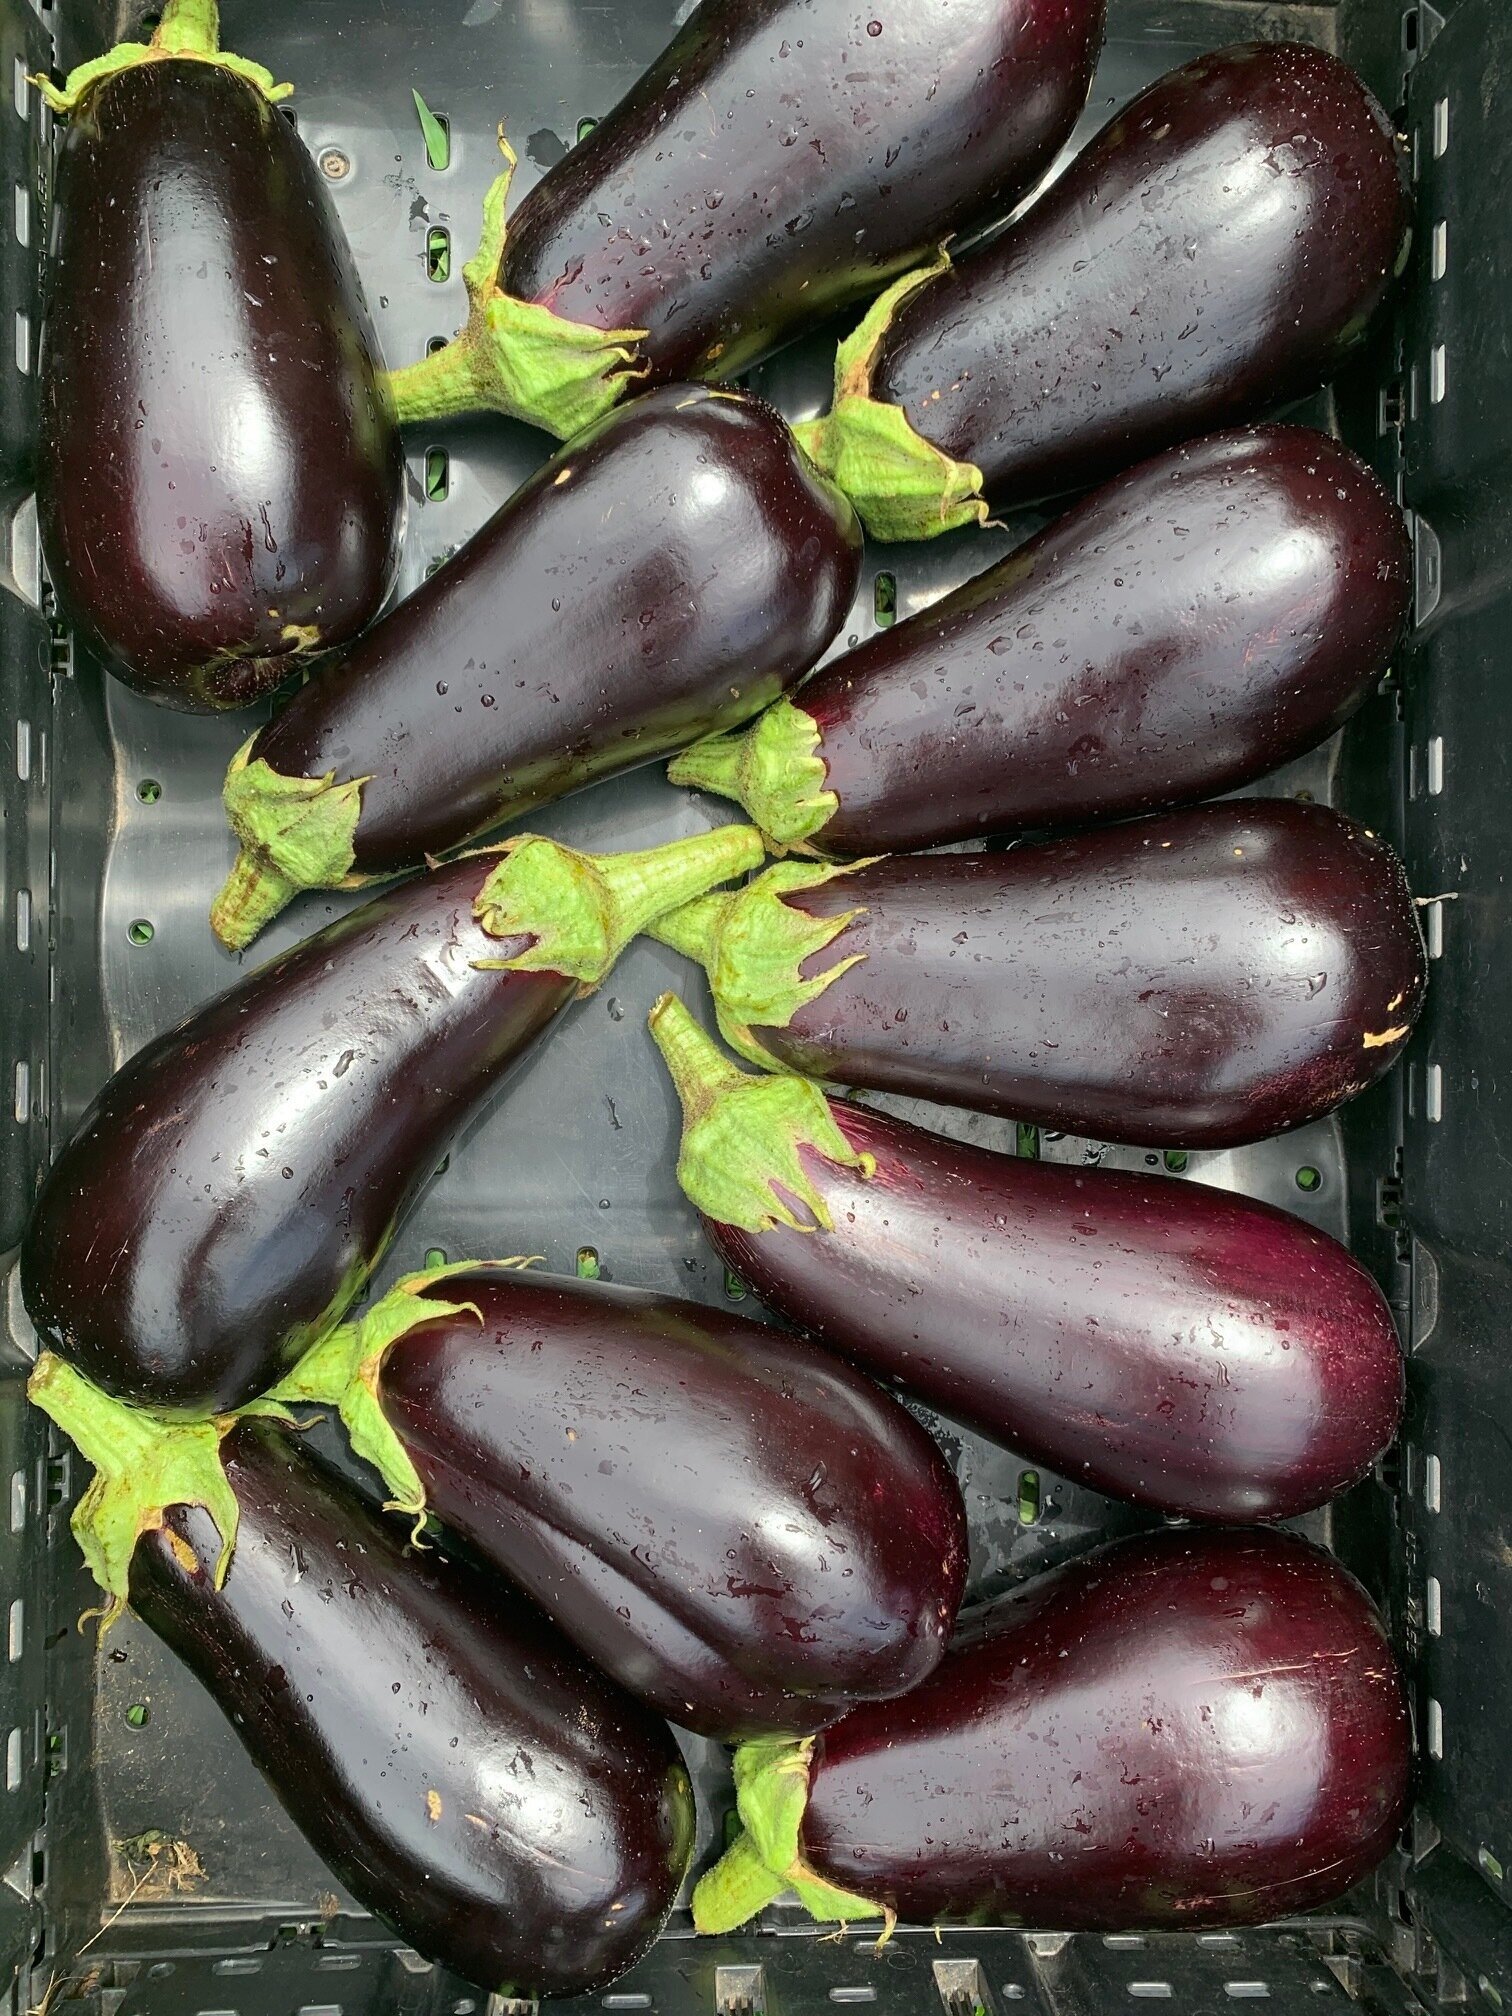
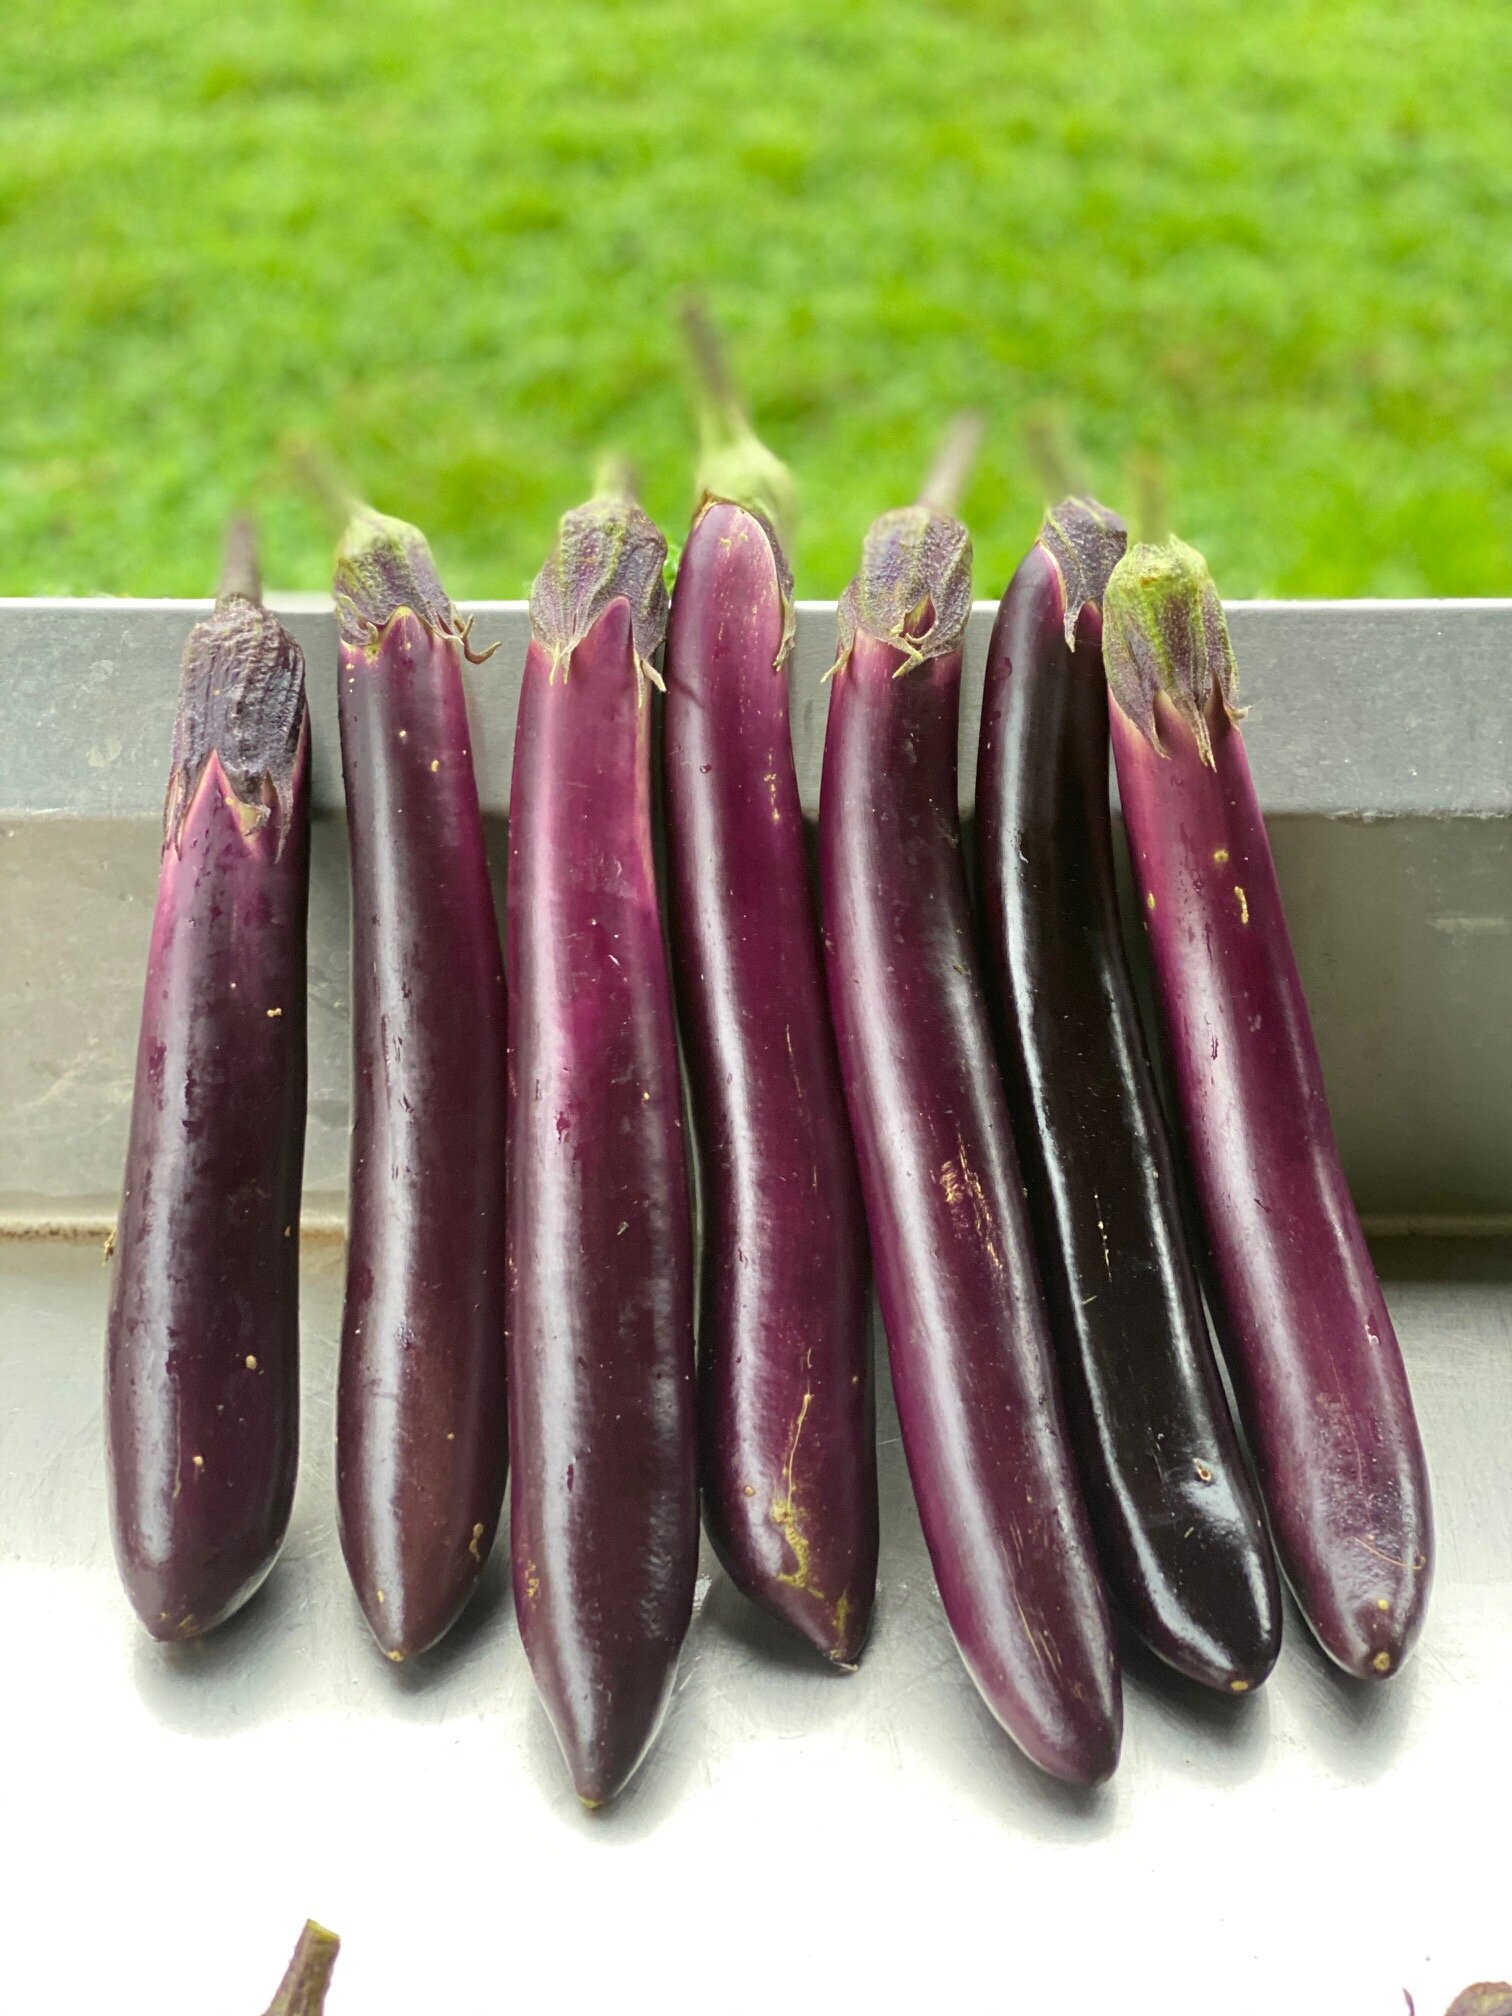
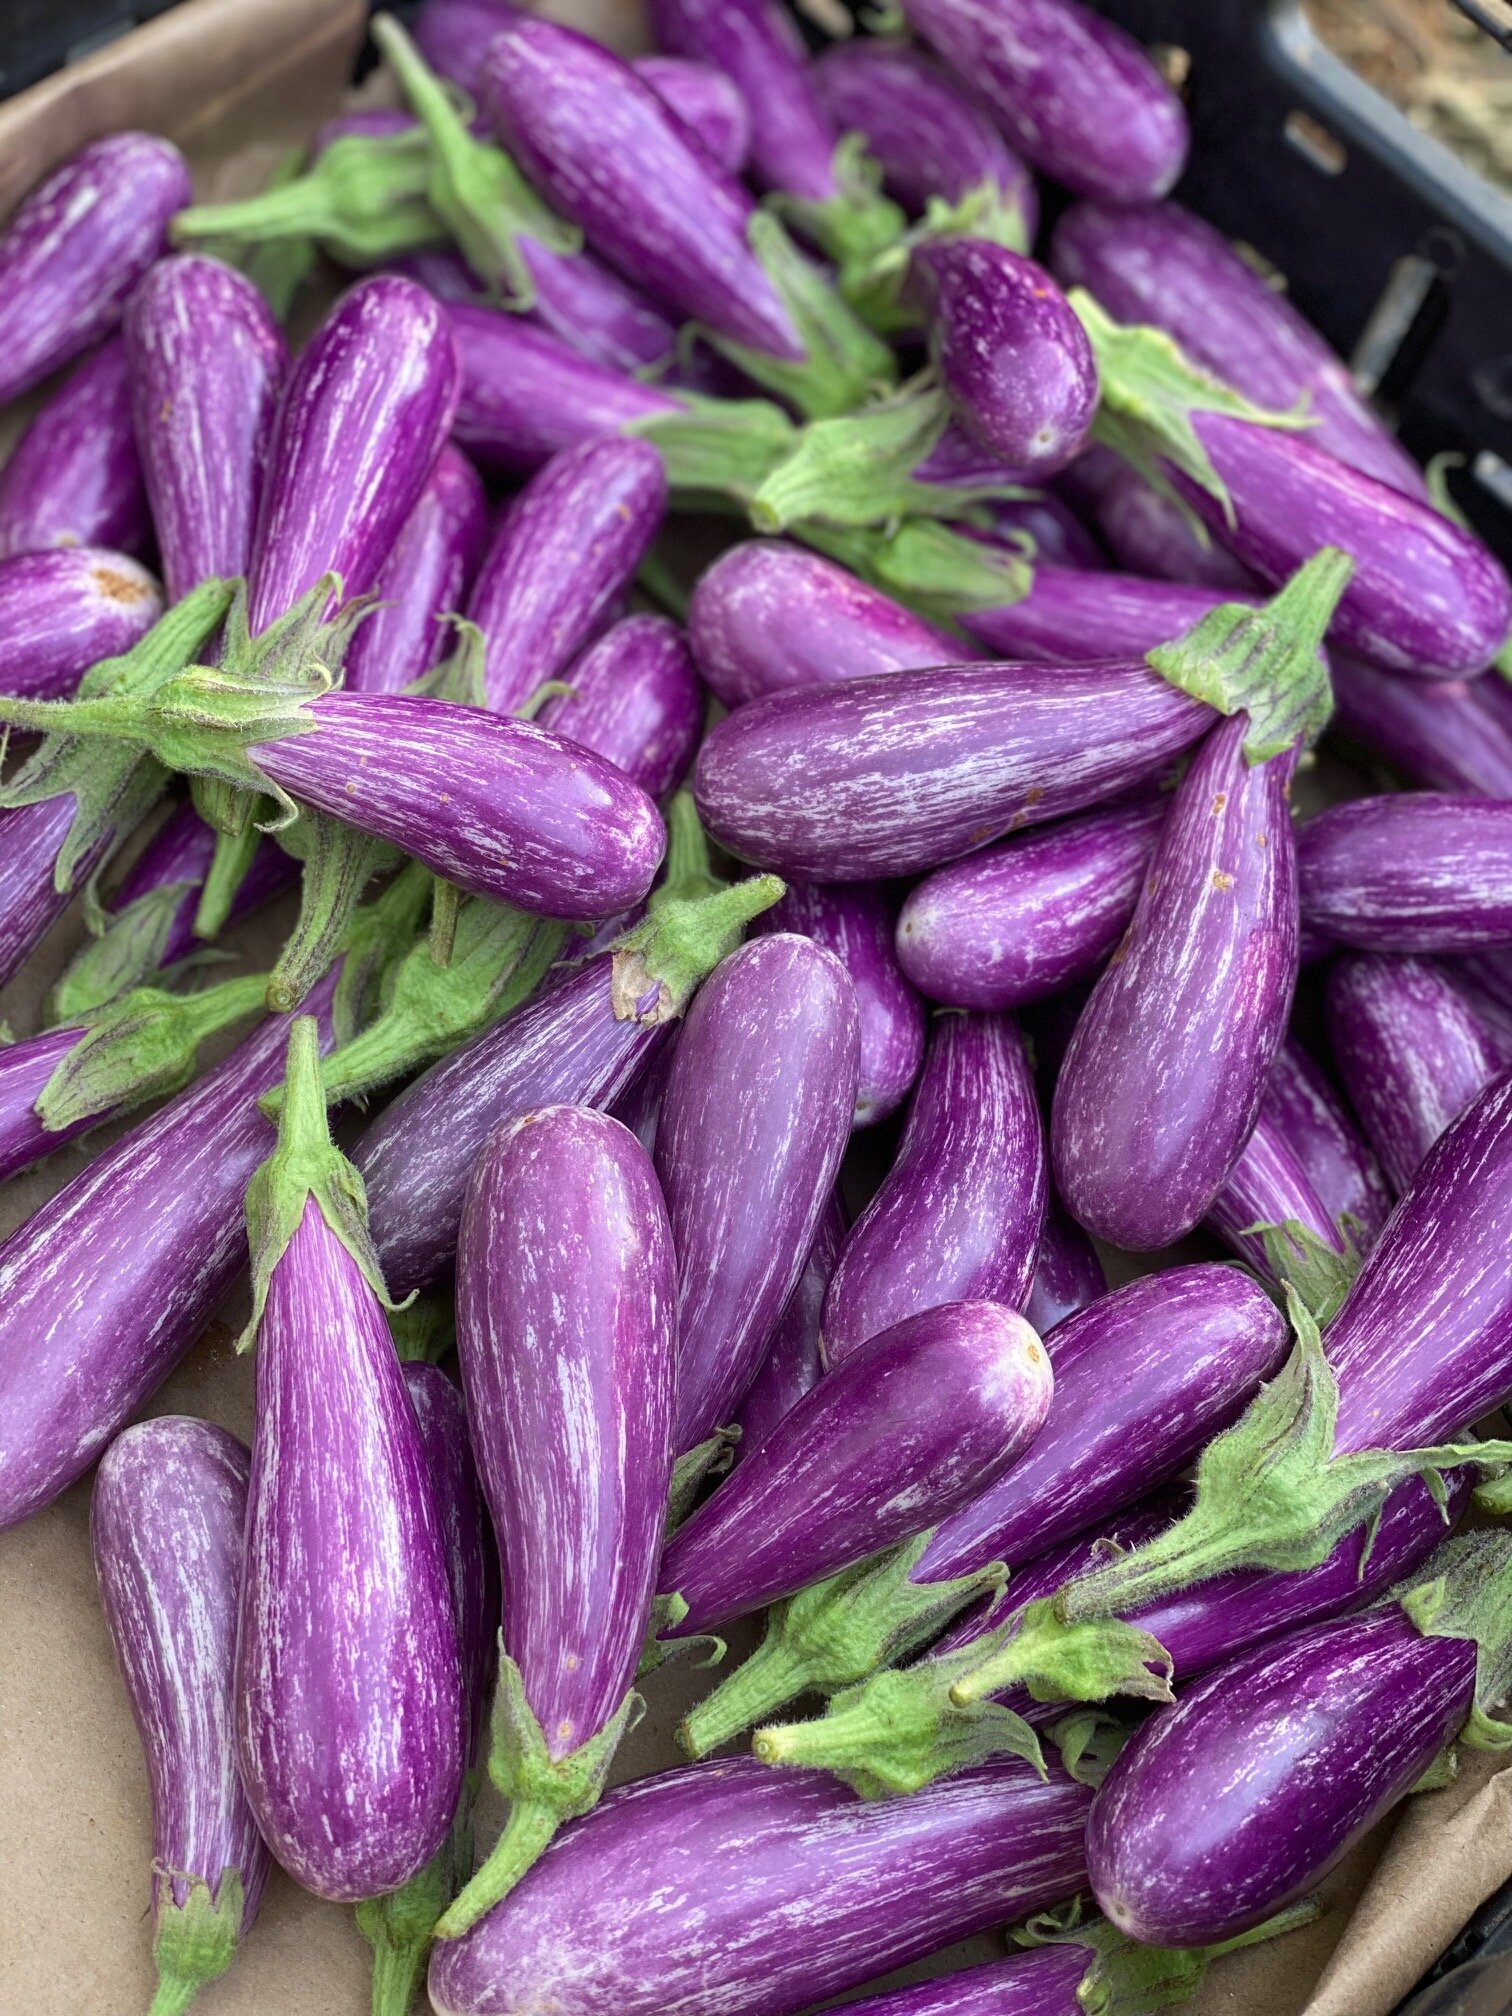
Heat and all, this week on the farm we’ve continued to have abundant harvests of summer veggies… alllll the peppers, tomatoes, okra, eggplant, etc etc! This week we’ve especially hit our stride when it comes to peppers – right now we’re harvesting shishitos, padrons, jalapeños, poblanos, serranos, sweet italian peppers, and colorful sweet bells… and we have a few more varieties still to come! I’d say my favorite pepper right now are the shishitos… I’m a total baby when it comes to heat, and these peppers are mild but still full of flavor, and I love blistering them in a hot pan with some oil, garlic, and a quick squeeze of lemon juice. Shishitos are often compared to (and confused with) padron peppers, which are a bit shorter/squattier and definitely pack more heat! Below is a photo of both kinds of peppers, in case it’s helpful to keep them straight (shishitos on the left, padrons on the right):

Shishito (on the left, smaller in size) and Padron (on the right, larger in size) peppers!

Shishito (on the left, smaller in size) and Padron (on the right, larger in size) peppers!

As for some other farm updates… we’re still hustling to get beds prepped for fall planting, which will begin next week and continue through mid-August. It always feels a little crazy to be planting so many tender cool weather crops in the blazing August heat, but somehow the little plants (mostly) pull through and make for a delicious fall, which will be full of dark leafy greens, colorful root veggies, and hearty winter squash.

Speaking of getting ready for fall – this week we got a load of beautiful compost that will last us through the fall/winter and into early spring. While we do compost our excess food and garden material here at the farm, the process of making super high quality compost that will properly nourish our veggies is a real science, so we buy in all of the compost that we use to amend our soil. Maybe someday we’ll dial in our composting to the point where I would feel confident using it on our beds, but for now we’re really happy with the product we get from Brooks.

PS – We’ve actually snuck off the farm again for a few days, as my brother is getting married this weekend in Kansas City! It’s always a lot of work to get off the farm, and I’m so grateful to all the friends and neighbors who help me keep everything humming along whenever we’re away.

Kitchen Notes

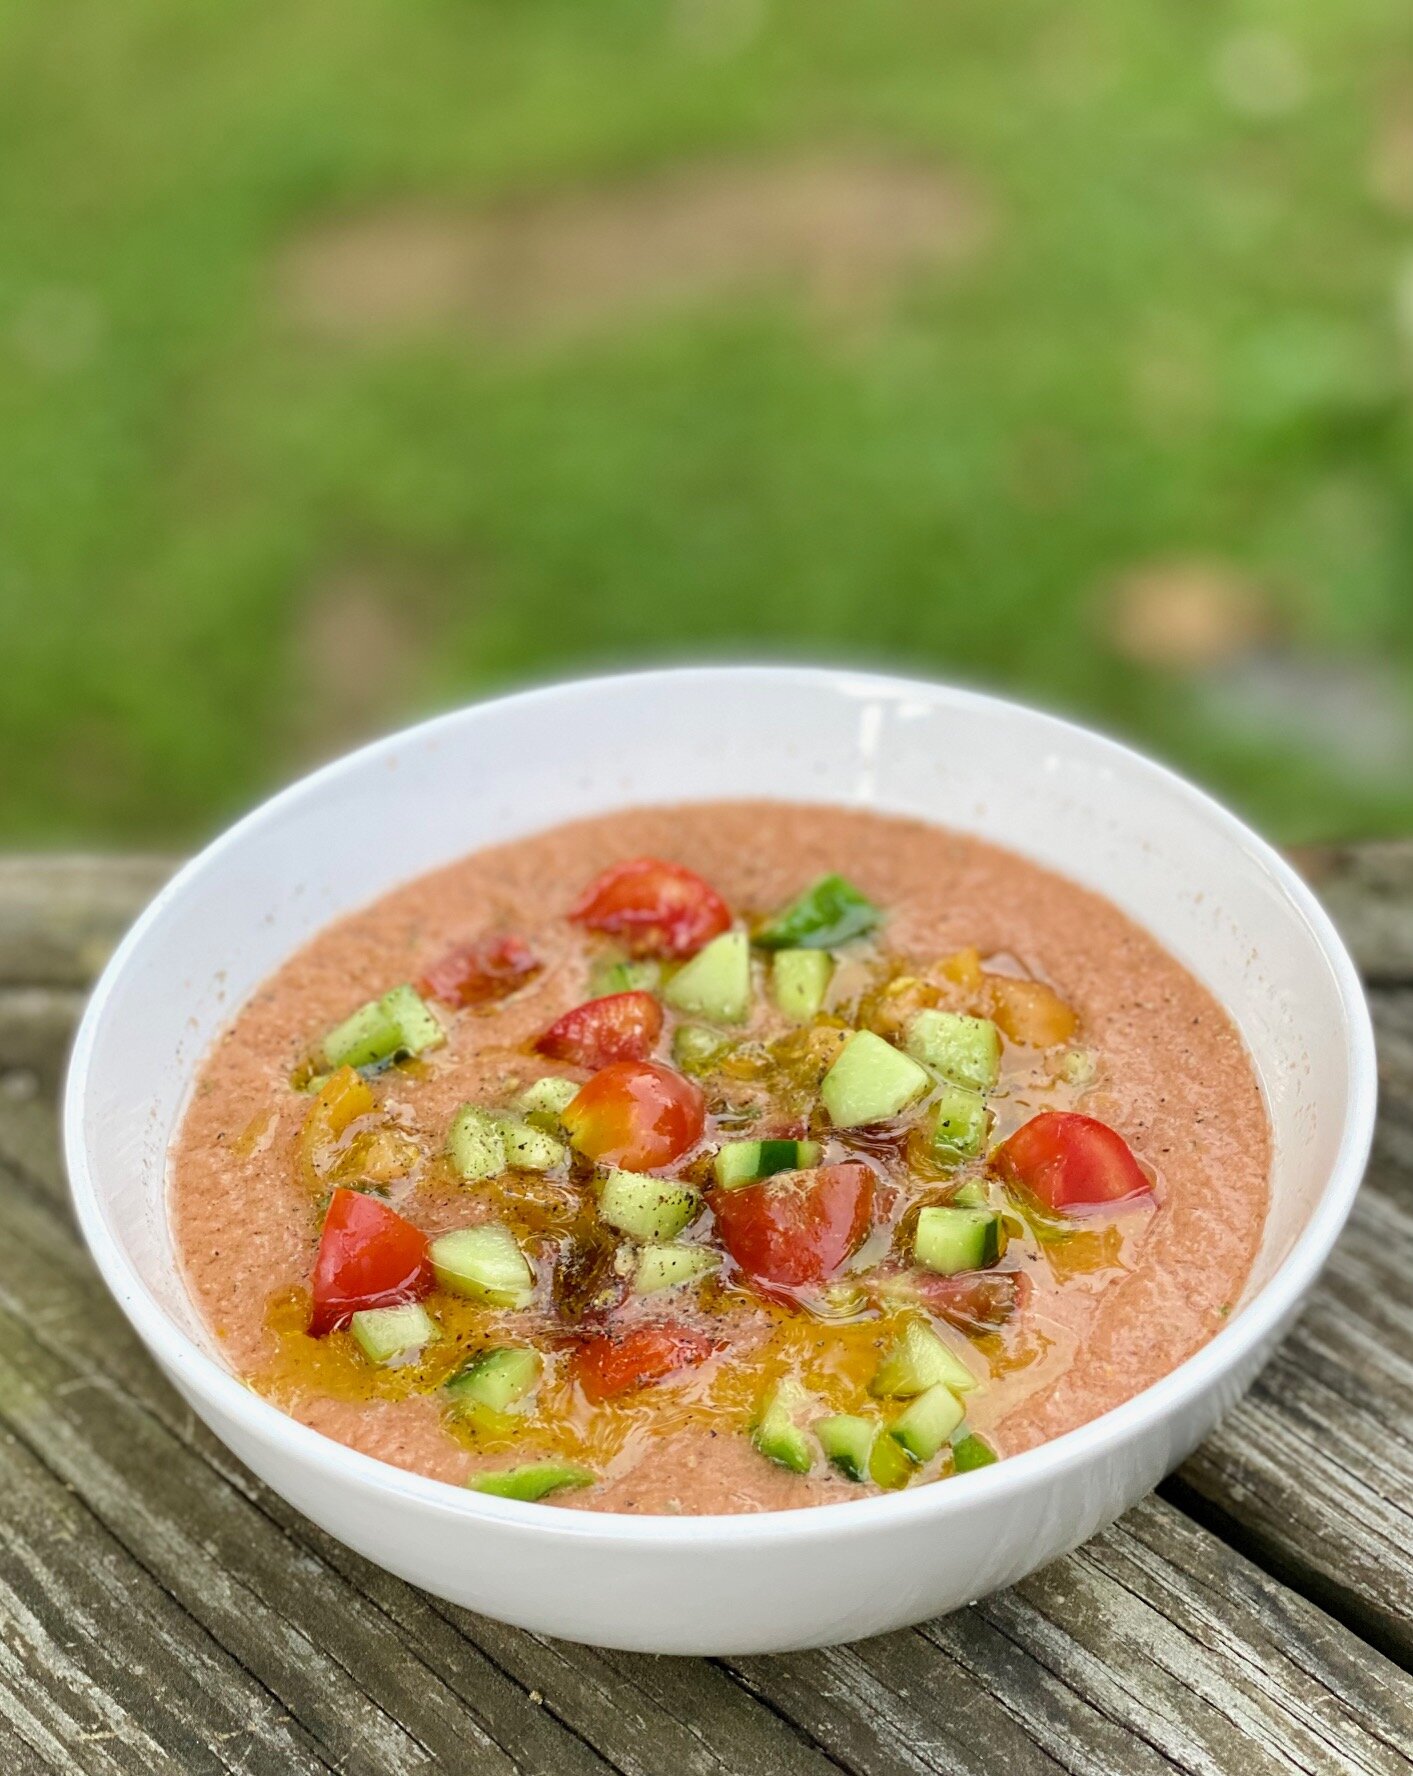
This week I made a giant batch of one of my favorite summer dishes… roasted ratatouille, served over a giant bowl of creamy polenta and topped with fresh basil from the garden. It’s my kind of meal for so many reasons – 1) it uses up heaps of excess (and imperfect) summer veggies, 2) requires minimal prep/mess, and 3) tastes even better the next day (ie perfect for leftovers). I’m excited to share the recipe here… which is a very loose and forgiving recipe, and is a much quicker technique than a traditional ratatouille recipe (which calls for sauting each vegetable separately in a pan… ain’t no one got time for that)! So feel free to mix it up and use whatever you have on hand, and I hope you enjoy this dish as much as we do. :)

ROASTED RATATOUILLE

Ratatouille-2.jpg

INGREDIENTS

  • 1 large eggplant, chopped to 1” dice

  • 2 bell peppers (red, orange, or yellow), chpped to 1” dice

  • 2 zucchini/summer squash (green and/or yellow), sliced into rounds or half moons

  • 1 red onion, sliced into half moons

  • 3-4 cloves garlic, smashed

  • 2-3 tablespoons olive oil

  • 1 spring fresh rosemary, finely chopped

  • 2 teaspoons fresh thyme, finely chopped

  • 1/2 teaspoon dried oregano

  • 2-3lbs tomatoes (heirlooms, slicers, or cherries), roughly chopped

  • Kosher salt and pepper to taste

  • 2 tablespoons balsamic vinegar

  • Fresh chopped basil (to garnish)

PREPARATION

  • Preheat oven to 400°F. 

  • Chop the eggplant, peppers, zucchini, red onion and smashed garlic and combine on a rimmed baking sheet. Toss the vegetables with 2 tablespoons of olive oil and the rosemary, oregano, thyme, and salt and pepper to taste. Make sure the veggies fit in a single layer (if needed, use two trays) and roast for 25 minutes, stirring halfway through to ensure even cooking.

  • After the vegetables in the oven have been cooking for 25 minutes and are beginning to brown, add the chopped tomatoes to the baking tray.

  • Continue to roast vegetables, turning with a spatula once or twice to ensure even cooking for about 30 more minutes, or until tender and browned and most of the liquid has evaporated. Season with a few tablespoons of balsamic vinegar, and add any additional salt and pepper to taste.

  • Serve warm on a large platter garnished with a few splashes of good olive oil and  finely chopped fresh basil.


CREAMY POLENTA


Today’s Stats

  • Low temp: 73F

  • High temp: 95F

  • Sunrise: 6:22am

  • Sunset: 8:25pm

  • Moon phase: Waning Gibbous

  • Additional notes: Sunny, hot and humid

July 23

Farm Notes

While it was so nice to have a few days off the farm last week, inevitably I returned to ALL the plants that were over-due for harvesting, weeds that exploded overnight, and general farm chaos that had to be reigned in. Thankfully, I had some great reinforcement help this week and I’m finally feeling like things are more under control(ish)! Right now we are deep in prep for fall planting, which means lots of weeding, broadforking, amending the soil, and just generally making room for cooler weather crops like brassicas (kale, broccoli, cabbage, collards, etc), radishes, turnips, beets, carrots, herbs, lots of greens, etc.

Buckwheat cover crop looking lush before cutting it down.

Buckwheat cover crop looking lush before cutting it down.

Speaking of prep for fall – we were able to sneak in a quick cover crop rotation in the rows where our early summer zucchini grew. We had a TON of pest pressure in those beds, and I could tell that they needed some extra love, so a few weeks ago we seeded the beds thickly with buckwheat, which is an awesome/quick-growing summer cover crop. Yesterday, we used a weed whacker to cut down the buckwheat and left all the plant matter on top of the soil. Then we immediately covered the beds with a black tarp to speed up the decomposition process so the beds will be ready for fall planting in about a month. While the window is closing, there is still some time to plant a summer buckwheat cover crop if any of you are looking to add some good organic matter to your garden this season. If you have any questions about cover crops and how to work them into your garden, just let me know!

We use a weed whacker to cut back the buckwheat and leave the plant matter on the beds to decompose.

We use a weed whacker to cut back the buckwheat and leave the plant matter on the beds to decompose.

Black tarps working their magic to help speed up the cover crop decomposition in the heat of summer.

Black tarps working their magic to help speed up the cover crop decomposition in the heat of summer.

The other highlight from this week is that the sweet corn is ready! Unfortunately, we didn’t have room to plant much corn this year, but the ears we do have are beautiful and delishhhh.

Kitchen Notes

Let’s talk gazpacho! There are so many different variations on this chilled summer soup, but it’s culinary roots can be traced back to Spain and Portugal.

At its most basic, a gazpacho is a chilled soup made of ripe summer tomatoes blended with peppers, cucumber, shallots/onion, and garlic, and seasoned with vinegar and good olive oil. Many traditional recipes also call for some day-old bread blended in with the veggies for some extra body, though it’s totally up to you (I omit the bread as I like to keep everything veggie-centric). Some gazpachos are blended to be completely smooth, while others are part blended / part diced veggies for some extra texture and crunch.

Here is my basic recipe for gazpacho, but you totally can (and should!) get creative and make this soup your own, using whatever summer veggies/herbs/fruits you have on hand.

SIMPLE SUMMER GAZPACHO

IMG_5599.jpg

INGREDIENTS

  • 3-4 lbs ripe heirloom, slicer, and/or cherry tomatoes (4-5 cups chopped)

  • 1-2 cucumbers (1-2 cups chopped)

  • 1-2 bell peppers, any color (about 1 cup chopped)

  • 1 shallot or 1/2 red onion (about 1/2 cup chopped)

  • 1 clove garlic

  • 1/4 cup fresh basil leaves

  • 2 tablespoons red wine or sherry vinegar

  • 1/4 cup olive oil

  • Kosher salt and freshly ground pepper

PREPARATION

  1. Prepare your ingredients by roughly chopping all of the tomatoes, cucumber, bell peppers, shallot/onion, garlic, and basil and combine in a blender or food processor and blend until smooth. NOTE: If you’d like some extra texture/crunch for your gazpacho, set aside some of the tomato, cucumber, bell pepper and shallot/onion and chop in a small dice, which you can add to the blended portion of the soup later.

  2. Add the vinegar, olive oil, kosher salt (start with 3/4 teaspoon), freshly ground pepper, 1/4 cup fresh basil leaves and blend all of the ingredients until smooth. Taste and adjust seasoning as needed – you may want to add more salt or vinegar to really make all the flavors pop.

  3. Stir in your diced veggies (if using) into the blended portion of the soup and chill in your fridge for 1-2 hours before enjoying (if time allows).

Today’s Stats

  • Low temp: 65F

  • High temp: 88F

  • Sunrise: 6:18am

  • Sunset: 8:29pm

  • Moon phase: Waxing Gibbous

  • Additional notes: Sunny and humid

July 20

Farm Notes

Today marked Week 6 of our Summer CSA! I can’t believe that here are only 3 weeks left of this session, then we will take a 3 week “break” (and by break, I really mean prep + plant like mad for fall) before we return with a 12-week Fall CSA session.

Speaking of the Fall CSA… more details + the opportunity to sign up will be coming very soon! We’re planning to start the Fall CSA the 2nd week of September, and it will run through the end of November/early December. In the next week or two I’ll first open fall sign-ups to our current CSA customers, and if any spots remain I’ll open them more widely. I’ll be totally upfront that there will be fewer shares available for this fall session, as I know that I’ll want to focus my energy on the sweet baby boy that we are preparing to welcome to the world (due Oct 1)! I’m so grateful to have an amazing team of ladies who are ready and excited to run the CSA while I take time to focus on our little one, and I just want to make sure that the CSA is an appropriate size/scale that they can easily manage things while I’m taking time off. This is all to say that we’re stoked for a delicious fall season ahead, so stay tuned for more details about all the goodness to come from this little farm and our small but mighty team!

Back to the present, here’s a snapshot of the contents of our Tuesday full shares:

Our Week 6 Tuesday full shares contained allll the tomatoes (cherries, romas, heirlooms and slicers), fairytale and globe eggplant, green beans, new potatoes, garlic and onion.

Our Week 6 Tuesday full shares contained allll the tomatoes (cherries, romas, heirlooms and slicers), fairytale and globe eggplant, green beans, new potatoes, garlic and onion.

Kitchen Notes

Okra is a summer veggie that keeps you on your toes… the pods start coming in at a trickle, and with each passing week the harvests begin to slowly (but exponentially) increase… and by the time late July rolls around, the okra goes GANGBUSTERS. We aren’t quite at "gangbusters” level just yet, but in the next 1-2 weeks we will definitely be hitting #peakokra…. so I feel like it’s a good time to talk about some of my favorite ways to cook this (sometimes divisive) veggie.

Okra has a reputation for being “slimy” – which isn’t inaccurate! My general philosophy for getting the most enjoyment out of okra is to either A) embrace the sliminess and make a stew/sauce (like this stew), or B) get rid of any hint of slime by roasting/grilling/broiling the pods at a high heat.

Today I’m going to share a recipe for the latter strategy, for simple roasted okra – which I LOVE to pair with some romesco sauce. This is a “no recipe” kind of recipe… just 4-5 ingredients and 15ish minutes in a hot oven, and you’re ready to dig in.

Crispy Roasted Okra

INGREDIENTS

  • 1 pound okra

  • 1-2 tablespoons olive oil

  • Kosher salt, to taste

  • 1 teaspoon paprika

  • Dash of wine wine vinegar or a squeeze of lemon juice

PREPARATION

  1. Preheat oven to 450°F.

  2. Cut the thicker stem end off each okra pod, then cut the okra in half lengthwise and place on a rimmed baking sheet.

  3. Add the olive oil, salt (I usually start with 1/2 teaspoon), and paprika, and use your hands to toss and coat the okra halves. Roast in your oven for 15-20 minutes, stirring the okra twice while cooking for even browning. The okra is ready when it is tender and lightly browned/crispy.

  4. Right when the okra comes out of the oven, add a splash of white wine vinegar or a squeeze of lemon juice for a little extra zip. Taste and add more salt and pepper if needed. Enjoy right away while hot for maximum crispiness!

Today’s Stats

  • Low temp: 65F

  • High temp: 85F

  • Sunrise: 6:15am

  • Sunset: 8:31pm

  • Moon phase: Waxing Gibbous

  • Additional notes: Cloudy, humid, cooler than usual!

July 16

7B241134-90A6-4236-A979-6C15D65281CE.JPG

Farm Notes

Hot dang, it's been a busy (and hot) week at the farm! We’re in the thick of constant harvesting of all the summer goodness... tomatoes and peppers and cucumbers and okra and eggplant and green beans (sooo many green beans). It's wildly rewarding to be reaping the fruits of a season's worth of hard work and careful tending, but the sheer amount of produce that needs to be picked and packed away on a daily basis can also feel overwhelming, especially on 90F+ degree days.

This week we had a few strange events happen on the farm... on Tuesday morning, I woke up to find a deer *inside* our deer fence! I have no idea how that happened, and the deer seemed as bewildered as I was, as she frantically struggled to escape. I was able to quickly open a gate to let the poor thing out, and thankfully it doesn't look like the deer did any damage to our crops. Fingers crossed that doesn't happen again!

Then later in the day on Tuesday, I was kneeling in one of our pathways harvesting cucumbers when I felt a few little bites on my knee. I looked down to see a few ants scurrying around (not a big nest by any means) and didn't think much of it... but within 5 minutes, my entire body broke out into hives! It was incredibly painful (and a bit scary) as I had an intense allergic reaction to the ant bites, and I had to take some Benadryl and put myself to bed early. Alas! The rest of the week has gone smoothly, and I was even able to sneak away to the beach for a few days with family. It's not easy to take a vacation from the farm, and I'm SO grateful for our amazing team who are running the show and taking care of the farm while we take some time away. It takes a village y'all!

PS – It was another delicious week for our Farmbelly CSA members… I can’t believe we are already halfway through our summer session! here’s a snapshot of our Tuesday full shares, which had okra, slicing cucumbers, shishito peppers, cherry & heirloom tomatoes, jalapeno peppers, green beans, and looseleaf lettuce.

24F6DE7D-7178-4A45-A1C5-58C9DA0E7199.JPG

Kitchen Notes

In the thick of these hot and humid days of summer, simple chilled soups are on repeat in our kitchen! Here’s a recipe for one of my favorite cold summer soups - cucumber and avocado with heaps of fresh herbs. I love this soup because it only takes a few minutes to whip up (literally just throw everything in a blender) and it strikes a perfect balance of being super refreshing, but also has lots of healthy fats (from the avocado and yogurt) that it will keep you feeling full and nourished.

CHILLED CUCUMBER & AVOCADO SOUP

WITH FRESH SUMMER HERBS

Serves 5-6

cukesoup.jpeg

INGREDIENTS

  • 1 cucumber | peeled and diced  (handful reserved for garnish)

  • 2 avocados | pitted, peeled, and diced  (1/4 cup reserved for garnish)

  • Juice + zest of 1 lime (or lemon)

  • 1/4 cup coarsely chopped fresh cilantro (handful reserved for garnish)

  • 2 tablespoons chopped fresh basil

  • 2 scallions/green onions | white and light green parts coarsely chopped

  • 1 jalapeno | seeded and coarsely chopped

  • 1 cup nonfat plain yogurt

  • 1 cup cold water

  • 1 teaspoon kosher salt (plus more to taste)

  • Freshly ground pepper

PREPARATION

  1. Puree ingredients in a blender until very smooth. Taste and adjust seasoning as needed.

  2. Chill in the fridge for at least 30 minutes, then divide among 4 bowls and top with reserved cucumber, avocado, a few sprigs of cilantro, and a drizzle of olive oil.

Today’s Stats

  • Low temp: 72F

  • High temp: 90F

  • Sunrise: 6:07am

  • Sunset: 8:37pm

  • Moon phase: First Quarter

  • Additional notes: Sunny, hot, and humid

July 7

Tomato harvesting hands!

Tomato harvesting hands!

Farm Notes

Well friends, we’ve officially hit peak summer here at the farm! There isn’t much new planting that happens in July here in NC (as there aren’t many plants that can thrive/get started in this heat), which means we spend most of our time harvesting all the colorful fruits of the season. The tomatoes, cucumbers, peppers, eggplant, okra, beans, etc pretty much all need to get harvested every other day, and we’re happily (aaaand a bit tiredly…) reaping the rewards from all the tending we’ve given these plants since the spring.

When we aren’t harvesting, we’re doing our best to keep up with weeds, as well as continuing to trellis/support the plants as they grow taller, managing pests, keeping everything irrigated, etc.

Believe it or not, we’re also hard at work planning for fall! We will do our big push of fall planting in mid-August, so now is the time to think about our fall crop rotations and making sure our growing beds will be in good shape and ready for planting in about a month. Back in May we ordered our fall seedlings from Banner Greenhouses, and it’s hard to believe that in a few weeks we’ll be putting cool-weather crops like broccoli, cabbage, kale, collards, etc in the ground!

Right now we’re in Week 4 of our Summer CSA, and I’ve loved putting together the boxes each week for our awesome CSA members. The way our CSA works, we have some folks who pick up on Tuesdays, and some who pick up on Thursdays, so the boxes do vary a bit based on pick up date... though we make sure to evenly distribute the veggie goodness each week, so that everyone will ultimately get all the same items throughout the course of the summer. Here are some shots of our Tuesday full shares from the past two weeks:

Tuesday Full Shares Week 3

Tuesday Full Shares Week 3

Tuesday Full Shares Week 4

Tuesday Full Shares Week 4

Kitchen Notes

Alright friends, let’s talk EGGPLANT! When grown well and cooked right + paired with complimentary flavors, eggplant can be a showstopper. That said, I know eggplant can be a divisive vegetable and miiiiight not be everyone’s cup of tea. So I’m here to get more folks on the eggplant train!

Last week, I dug into all things eggplant in my most recent mini virtual cooking lesson, (which you can watch HERE via our Farmbelly Club private facebook page, or HERE via our shared Google Drive folder) and I wanted to recap all the things you need to know here in the Farmbelly Journal. Today I’m going to dig into the different varieties of eggplant, what to look for when shopping for eggplant + how to store, and lots of cooking tips and recipes.

TYPES OF EGGPLANT TYPES

While there are LOTS of different varieties of eggplant in a range of sizes, shapes, and colors – it’s most helpful to understand the three main types of eggplant: globe, asian, and fairytale.

  • Globe – Globe eggplants are likely what first come to mind when you think of eggplant, and they’re what you’ll most likely find in a grocery store. Globe eggplant are large and meaty and tend to have thicker skins. They are versatile and can be grilled, roasted, stir-fried, etc. I especially recommend using globes if you’re making a dip/sauce (like baba ganoush) from the creamy flesh after it has been cooked.

  • Asian – Asian/Chinese/Japanese eggplant are known for their long, slender shape. I find that asian eggplant have thinner skins and fewer/smaller seeds than globes. Use this type of eggplant for stir-frying, grilling, or sautéing (ie quicker cooking methods).

  • Fairytale – This specialty variety has become more popular in recent years, and is known for it’s adorable, miniature size! They can be prepared in the same way as larger eggplants, but are especially nice when grilled, since they’re so tender and can fall apart/lose their cute shape when roasted (which isn’t necessarily a bad thing, just something to keep in mind).

    Pictured below (L to R) are globe, asian, and fairytale eggplant.

WHAT TO LOOK FOR: When shopping for eggplant, look for heavy, firm fruits with shiny skin. The stems should also be green, which shows that they were freshly harvested.

STORAGE: Eggplant doesn’t like to be super cold, so store in the warmest part of your fridge (usually the front part of the fridge). If you know you’ll be using the eggplant within a day or two from harvesting/purchasing, it is also fine to leave out on your counter.

COOKING TIPS:

  • If you find the outer skin of eggplant to be tough/rubbery, just peel it before cooking with a vegetable peeler! While it’s not necessary to peel eggplant, it’s quick and easy to peel if you don’t prefer the skins.

  • Eggplant has a lot of water/moisture inside, so if you want a super crispy/caramelized eggplant, it’s recommended (but certainly not required) to first chop up your eggplant, sprinkle it with salt, and allow to sit for 15-30 minutes to draw out excess moisture. If you go with this pre-salting route, use a towel to pat the flesh dry before cooking.

  • Another tip for getting nicely caramelized roasted eggplant is making sure to give it plenty of room when cooking… so if you’re roasting and the baking tray feels too crowded, divide up the eggplant into multiple trays.

  • Eggplant is one of those vegetables that really needs to be fully cooked to be enjoyed. When properly cooked, the flesh should be extremely tender! If roasting eggplant, I recommend using a higher heat, around 425F.

  • Be thoughtful about your flavor pairings! Here are some ingredients that pair especially well with eggplant:

    • Tangy/acidic ingredients like plain greek yogurt, bright lemon juice, or tart pomegranates

    • Alliums like garlic, onion, leeks, etc

    • Mediterranean spices like cumin, coriander, cinnamon, paprika, and za’atar

    • Fresh herbs like mint, chives, basil, and thyme

FAVORITE RECIPES:

Still have eggplant questions? Don’t hesitate to send me a message!

Today’s Stats

  • Low temp: 67F

  • High temp: 91F

  • Sunrise: 6:07am

  • Sunset: 8:37pm

  • Moon phase: Waning Crescent

  • Additional notes: Sunny, hot, and humid