Farm Notes
The past few days (and the next few days ahead) have been abnormally cool and less humid than usual for mid-August in North Carolina… I know it’s fleeting, as there is still lots of hot/humid summer weather to be had, but I’ll take it for as long as it lasts!
Last weekend, thanks to lots of support from our parents / Sawyer’s grandparents, Matthew and I took our first baby-free trip away from the farm! We went to Montreal for 4 days, and it was such a breath of fresh air to explore a new city together. We had an amazing time in Montreal (my first time to Canada!) but we were also ready by the end of the trip to get back home to see baby Sawyer and our sweet puppy Arlo (and the veggies and chickens too). As always, leaving the farm is stressful, and coming back home is always a bit overwhelming… thankfully, we’re on a break from our CSA for the next few weeks, so while there is a ridiculous amount of work to do prepping + planting for fall, the workload is considerably less as we aren’t packing 50+ boxes of veggies over the course of the week.
So I’ll be honest, I don’t have as many farm updates this week! I spent all of yesterday catching up on harvesting (okra, tomatoes, peppers, eggplant, beans, cucumbers, etc) and then I focused on getting beds prepped for a big fall planting push that will happen next week! On Tuesday we’ll receive hundreds (maybe even thousands?) of baby veggie seedlings from Banner Greenhouses, so right now we are hustling to get our beds ready for all the new plant babies! Next week I’ll give a detailed look at exactly how we prepare our beds for planting, along with lots of helpful tips for planting your own fall gardens.

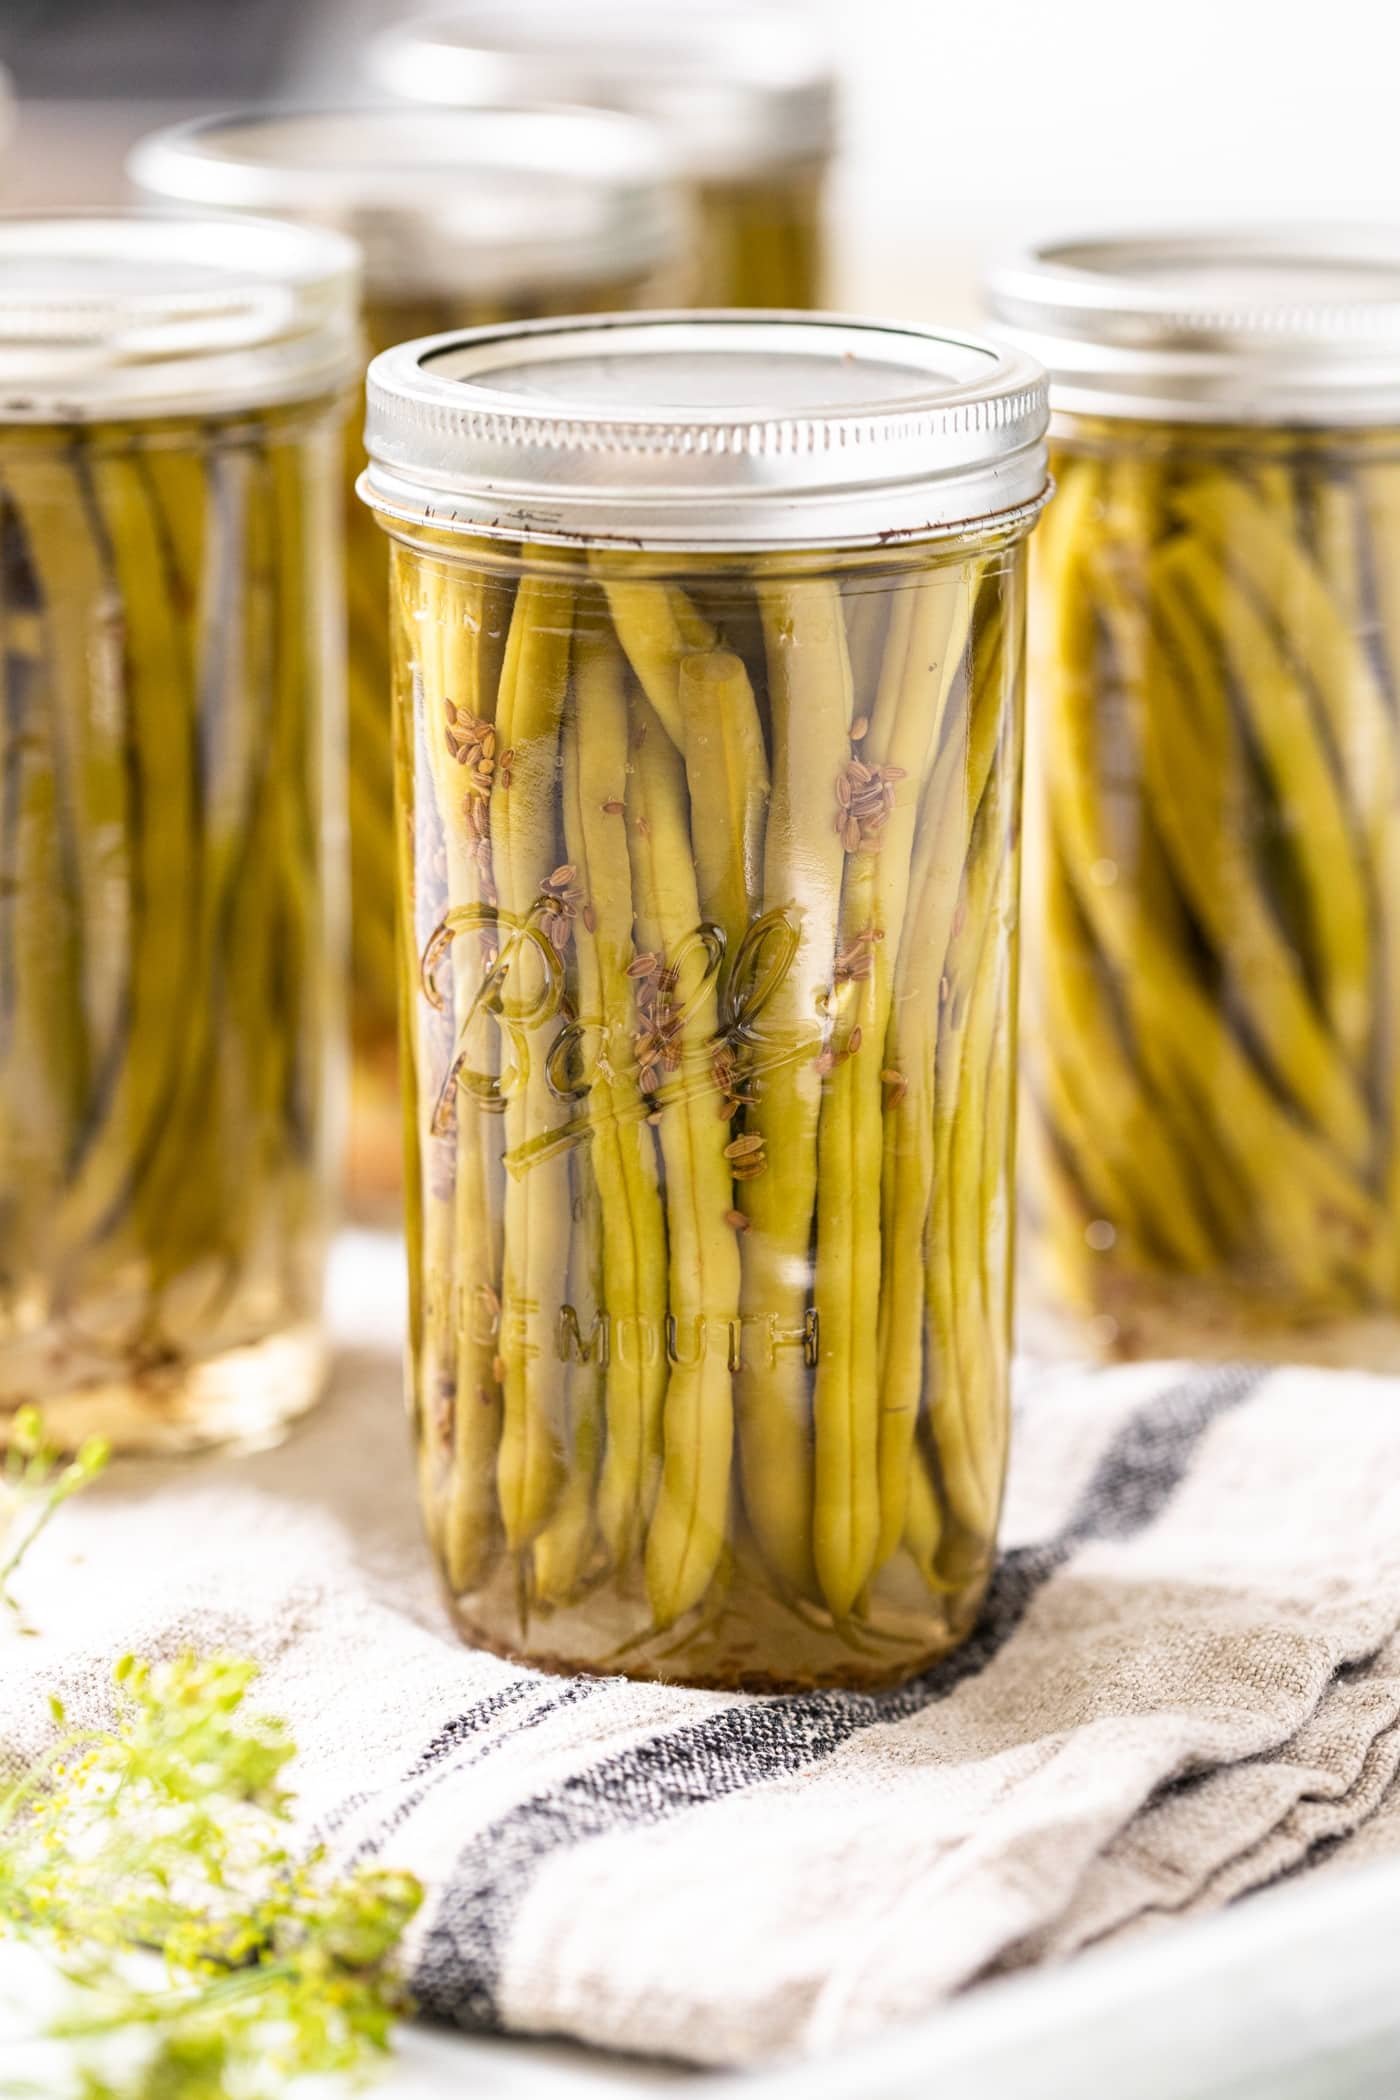
Looking ahead as the weather cools down and we get through this last fall planting push, I’m so excited to host more events here at the farm! Local friends, don’t miss my next workshop, Pickling & Fermenting 101 on Sunday, September 11th @ 3-5pm.
This is one of my favorite classes to teach, and it’s super hands-on as everyone helps harvest veggies that we’ll use to make homemade quick pickles and sauerkraut that you’ll get to take home. Also included in the workshop is a walking tour of our farm, and lots of delicious pickled + fermented dishes to sample and enjoy. More details + tickets available HERE.
PS – I just took y’all on a virtual farm walk, with lots of new things going on around here! For a full tour of the farm + tips for your own gardens, here’s a link to watch! You can also check it out in our private Google Drive folder here (video will be posted here later today).
Kitchen Notes
Let’s talk peppers! Peppers of all kinds are in abundance right now in gardens and farmers markets pretty much everywhere, and there are SO many different varieties of peppers that it can be confusing to know how to best use them all, so I’m here to help break it down! Here are some pepper basics, as well as descriptions + recipe ideas for a range of some of my favorite sweet, mild, and hot peppers.

1) PEPPER BASICS
Peppers range from sweet to very spicy, and a lot in between! In general, peppers will be spicier later in the growing season, and if the weather has been especially dry/hot while the peppers were growing.
Capsaicin (kap-say-sn) is the active component in peppers that make them hot.
The Scoville scale is the scientific measure of a chili’s spice/heat, which ranges from 0 (no heat) to 1-2 million (very, very hot)!
A trick to reduce heat is to remove inner pith/membrane (which have highest amount of capsaicin)
Store peppers in the warmest part of your fridge (usually the front, in a bag, making sure there is no moisture). Or if using in next few days, it’s okay to leave peppers out on your counter.
2) SWEET, MILD, & HOT PEPPER OVERVIEW (+ recipes)
SWEET PEPPERS
Bell Peppers – Versatile sweet peppers with no heat that can be used in an abundance of recipes. Scoville Scale = 0.
Habanada – A special pepper with the flavor of a habanero, but without the heat! Scoville Scale = 0.
Sweet Italian Peppers – Basically a bell pepper, but with a distinct horn-like shape. Use sweet italian peppers like you would any kind of sweet bell pepper (common varieties are Corno di Toro & Carmen). Scoville = 100 - 500.
MILD to MEDIUM FRYING PEPPERS
Shishito – One of my favorite peppers! Very mild heat, delicious smokey flavor when blistered in a hot pan with some oil, garlic, lemon juice, etc. Scoville Scale = 50 - 200.
Padron – Similar to shishito peppers, but with a bit more heat. Scoville Scale = 500 - 2,500.
Poblano – You’ll get some heat with poblano peppers, which are typically used to make chile rellenos! When dried, they’re referred to as ancho chilis. Scoville Scale = 1,000 - 2,000.
HOT PEPPERS
Jalapeno - One of the most well known and loved hot peppers! Very versatile and great for making hot sauce or adding a (manageable) bit of heat to most any recipe. Scoville Scale = 2,500 - 5,000.
Serrano – Serranos are 5x hotter than Jalapenos, but can be used in similar ways as you would a jalapeno. Scoville Scale = 6,000 - 23,000.
Cayenne – This long and slender hot pepper is most often used after being dried and ground into a fine powder, but you can also use fresh! Scoville Scale = 30,000 - 50,000.
Today’s Stats
Low temp: 67F
High temp: 82F
Sunrise: 6:39am
Sunset: 8:02pm
Moon phase: Waning Gibbous
Additional notes: Partly sunny, chance of showers