August 27

Farm Notes

While the weather still hasn’t cooled down one bit, I’m very happy to report that our fall veggies are faring much better compared to this time last week! We ended up removing the black landscape fabric from the majority of the beds where we had planted our fall seedlings, because the black fabric (while great at keeping weeds at bay) was getting waaay too hot for our tender plants to thrive. I also invested in a LOT more shade cloth (see photo below) to put over each bed, which makes a huge difference in keeping everything a bit cooler (and the cloth protects the plants from getting munched on by critters).

IMG_6099.jpg

I also made sure to spray all our new plant babies with fish emulsion – a gentle, organic way to boost plants with the essential macronutrients that they need to grow. Just dilute the fish emulsion in a watering can or sprayer, and apply all over your plants either in the morning or early evening every 1-2 weeks for best results.

Another simple tip for anyone also struggling through hot temps right now is to make sure your plants are getting plenty of water! The best time to water is either in the morning or early evening.

In other farm news… yesterday was a great work day, and we got a bunch more seeds in the ground (regular radishes, beets, and watermelon radishes), planted more lettuce seedlings, harvested the first of our roselle/hibiscus, and tarped a section of the farm where we had some buckwheat cover crop (and plenty of weeds) that are ready to decompose and be turned back into the soil.

This section is ready to be covered with a tarp, which will kill off any remaining cover crop/weeds, so we can plant in these beds again later this fall.

This section is ready to be covered with a tarp, which will kill off any remaining cover crop/weeds, so we can plant in these beds again later this fall.

Tarp is on and looking good!

Tarp is on and looking good!

And don’t worry, I have lots of help to keep this little farm on track while I start to really slow down in preparation for our sweet babe to arrive! Today I hit the 35 week mark of my pregnancy… and it’s crazy to think that in about a month, our whole lives are going to change forever. We are so excited to welcome this little one to our family, and I’m wildly grateful for all the friends and family rallying around us during this whirlwind season. I’ll be sure to keep y’all updated as my due date gets closer… thank you for all your support!

Kitchen Notes

IMG_2177.jpg

Earlier this week, I led a fun virtual lesson all about making homemade tea blends! I’m no expert herbalist, but I hope that the lesson (and the tips I’m about to share here) will help take some of the intimidation out of growing + creating your own homemade herbal teas. To watch the virtual lesson, check it out on our Facebook page HERE or via our private Google Drive folder HERE.

I dig into allll the details in the virtual lesson, but here are some of the basics for crafting your own tea blends at home:

1) GROW – There are so many amazing plants that you can grow at home for your tea blends, so do some research on what varieties you might be interested in growing. My go-to plants to grow for making teas are: lemon balm, lemon verbena, tulsi/holy basil, anise hyssop, lemon bergamot, and mint. All of these plants are super easy to grow, and you can get multiple harvests from them over the course of the growing season.

IMG_0207.jpg

2) HARVEST – The best time to harvest herbs is either around 10am (after the dew has dried, but before it gets too hot), or early evening. When harvesting, don’t make your bunches so big that the plants can’t dry properly. I also recommend stripping the leaves from the bottoms of each stem when making your bunches.

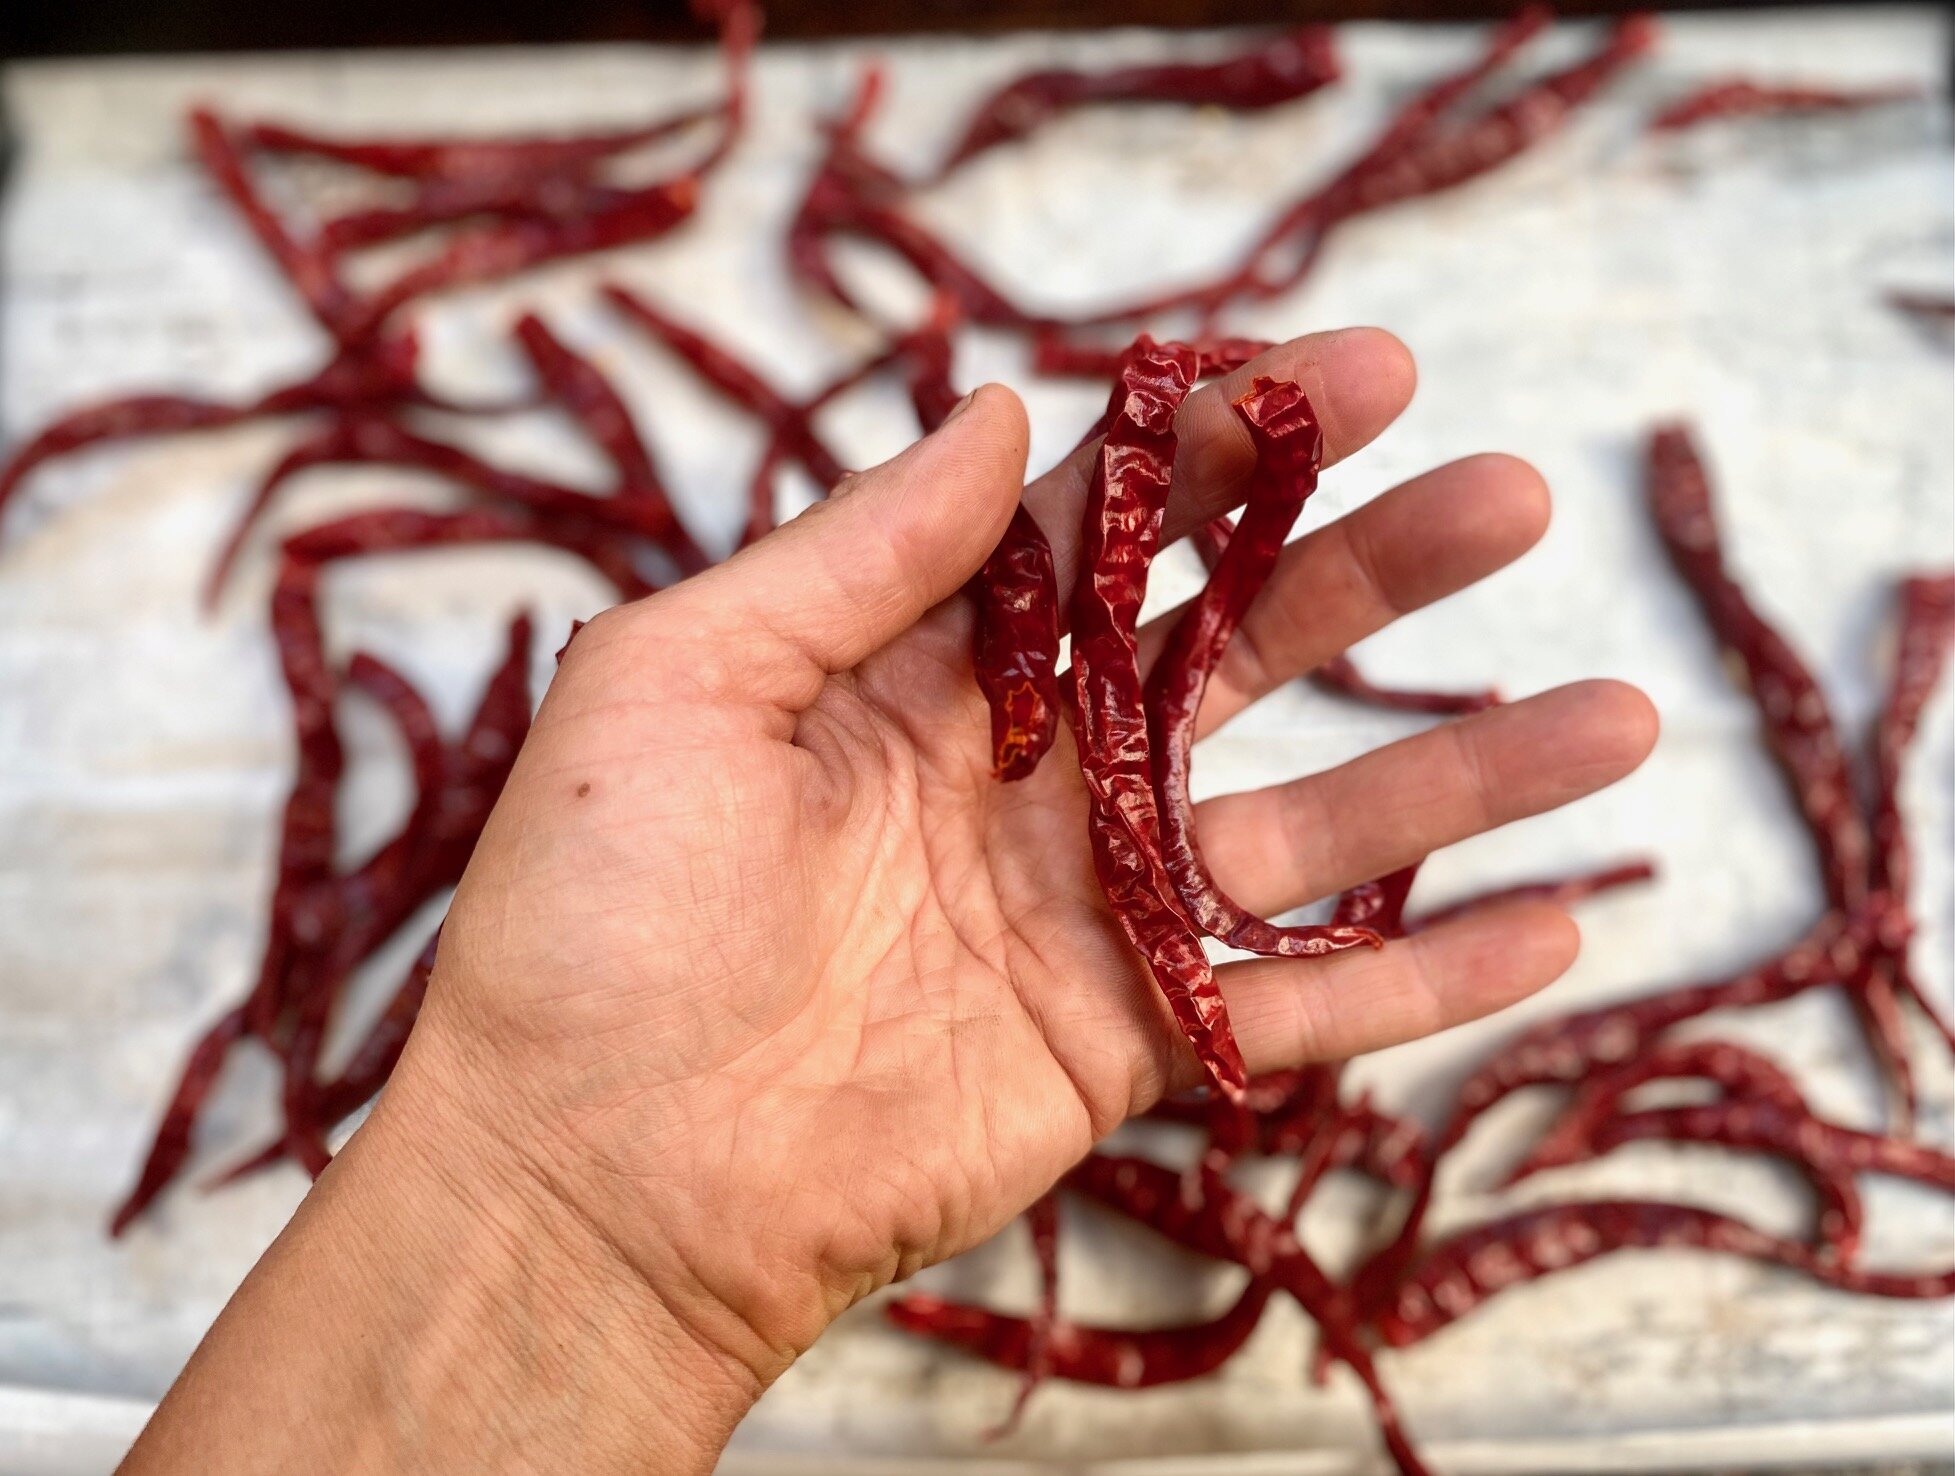
3) DRY – My go-to method for drying is to tie a string along a wall or across a room, and hang each herb bundle upside down along the string, making sure to give the bundles space between one another. To speed up the process, I will often put a dehumidifier in the room where the herbs are drying. The herb bundles are “ready” when they are totally dry to the touch and the leaves are very crinkly – the amount of drying time will vary, but usually takes 10-14 days for me.

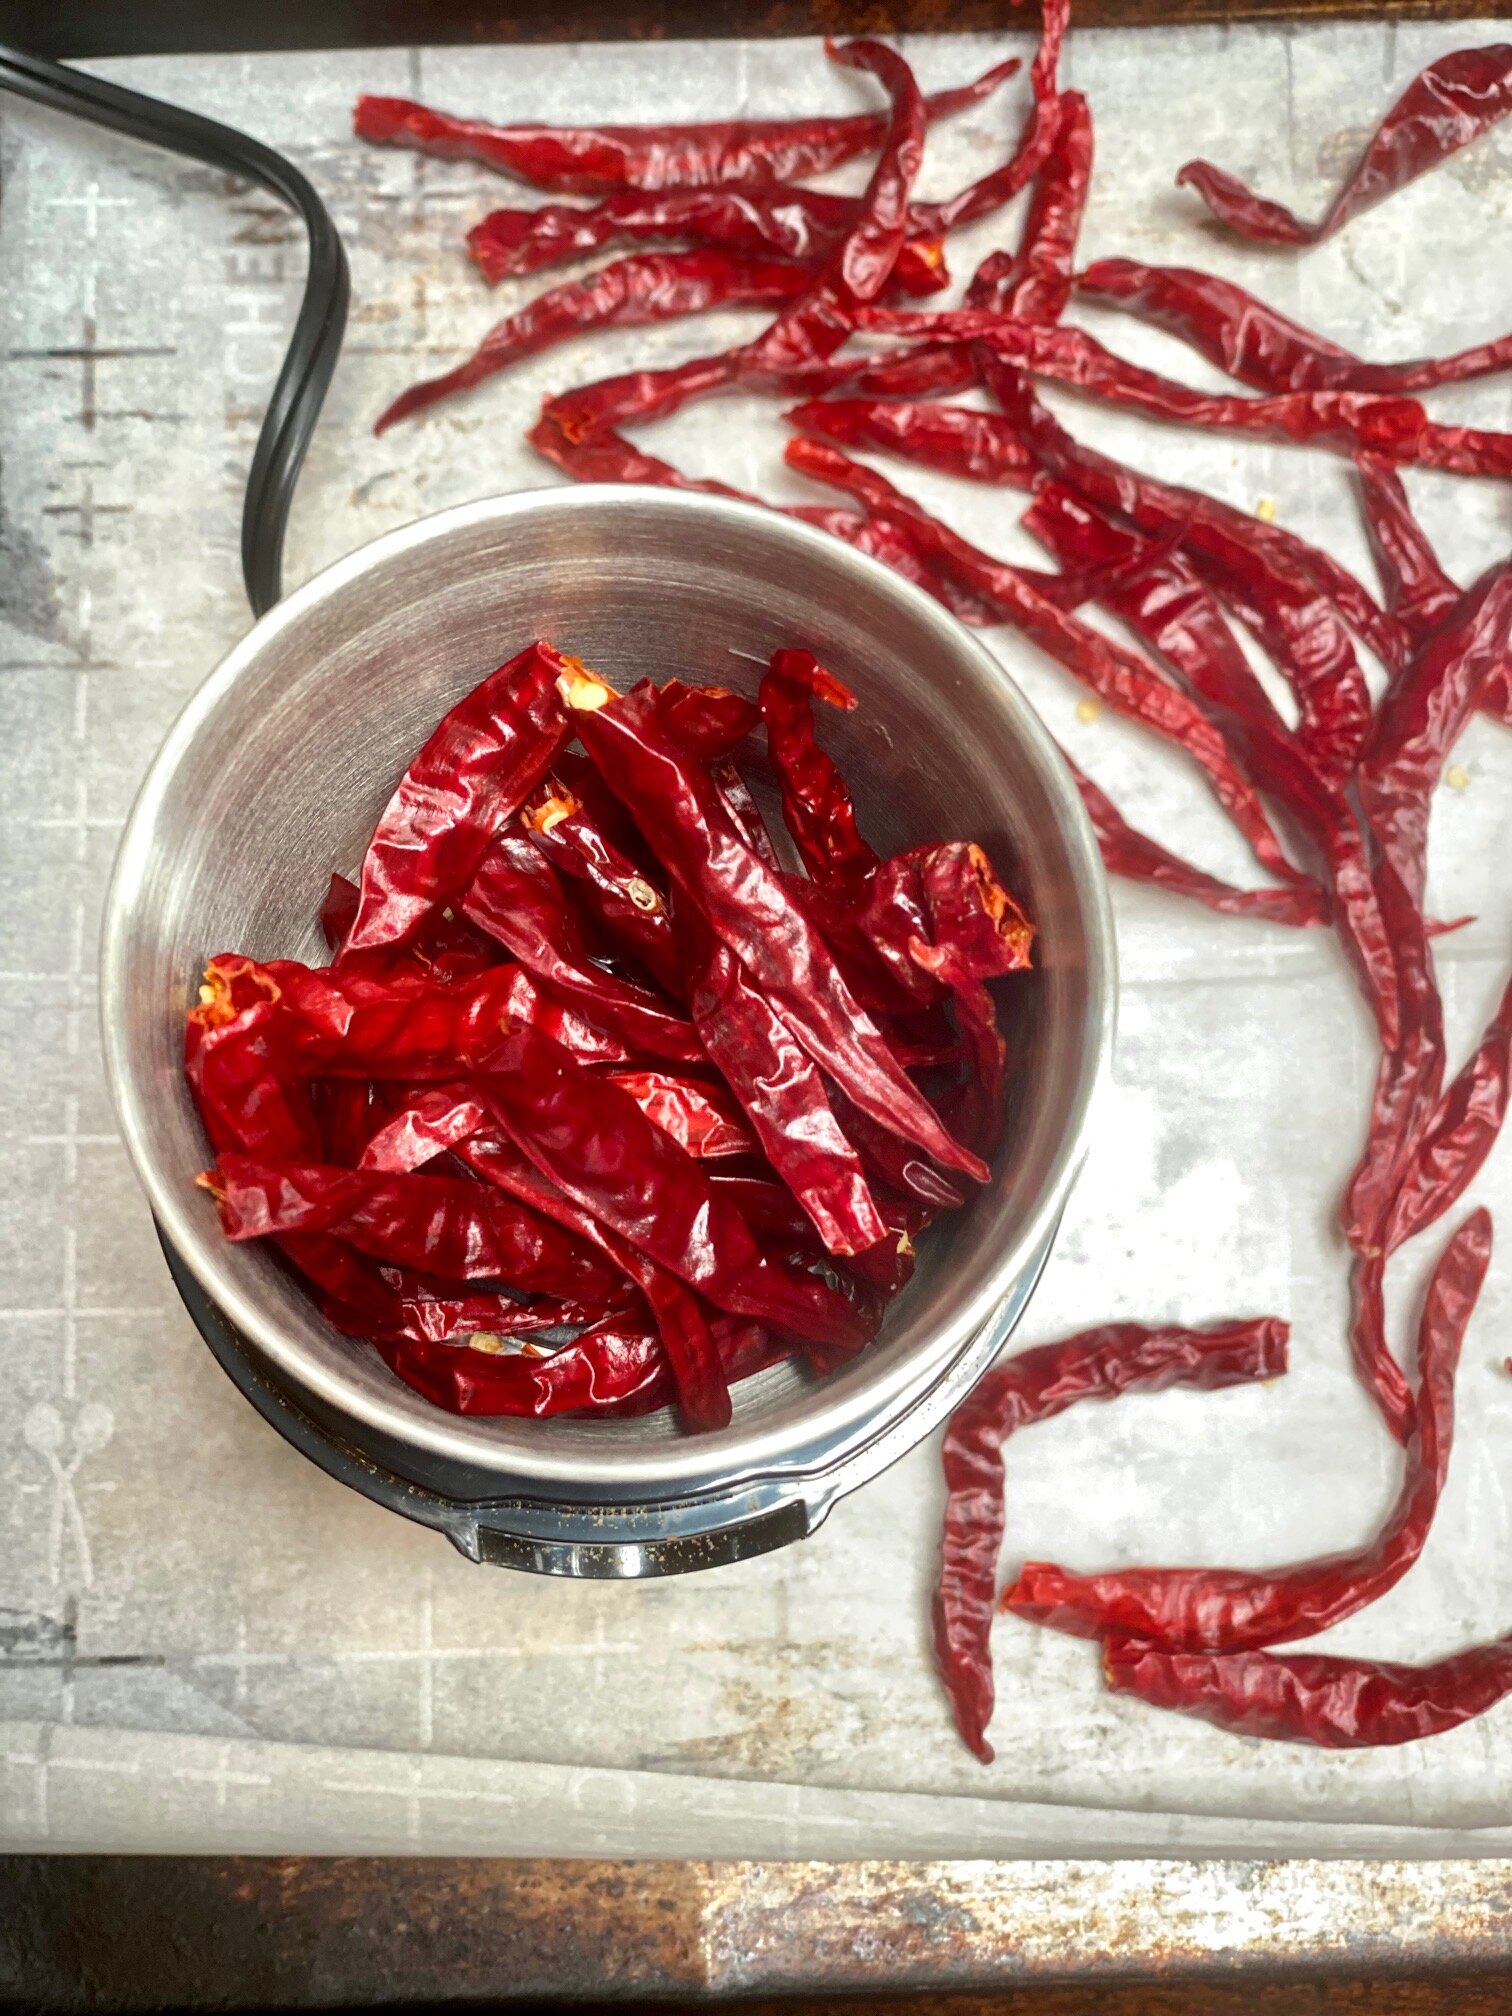
4) PROCESS – Once your herbs are dry, you’ll need to strip the leaves + flowers from the stems. To do this, get a wide bowl and use your hands to strip the leaves/flowers from the stems, and discard the stems. If you’re processing several different plant varieties, make sure to keep them all separate as you are processing them. This can be a time-consuming process, but I find it’s quite enjoyable once you get into a rhythm! Once all the plant matter has been collected, I will usually pulse them in a food processor to break down the size of the leaves a bit (though I’m careful not to break them down TOO much… you don’t wan’t to be left with a pile of dust)! You can certainly skip this step if you life your tea blends to have large leaves.

5) BLEND – Now is the extra fun part! I like to experiment with different tea blends, and I’ll start by making small test batches, where I play with different ratios of various plants in each unique blend. To test a blend, I’ll go ahead and make a cup of tea by putting a tablespoon or two of the tea into a tea bag and steep in hot water. Taste and make adjustments to the ratios of your blend to fit your taste. A note that you can absolutely make an herbal tea with just one type of plant (ie all mint or lemon verbena), it’s totally up to you!

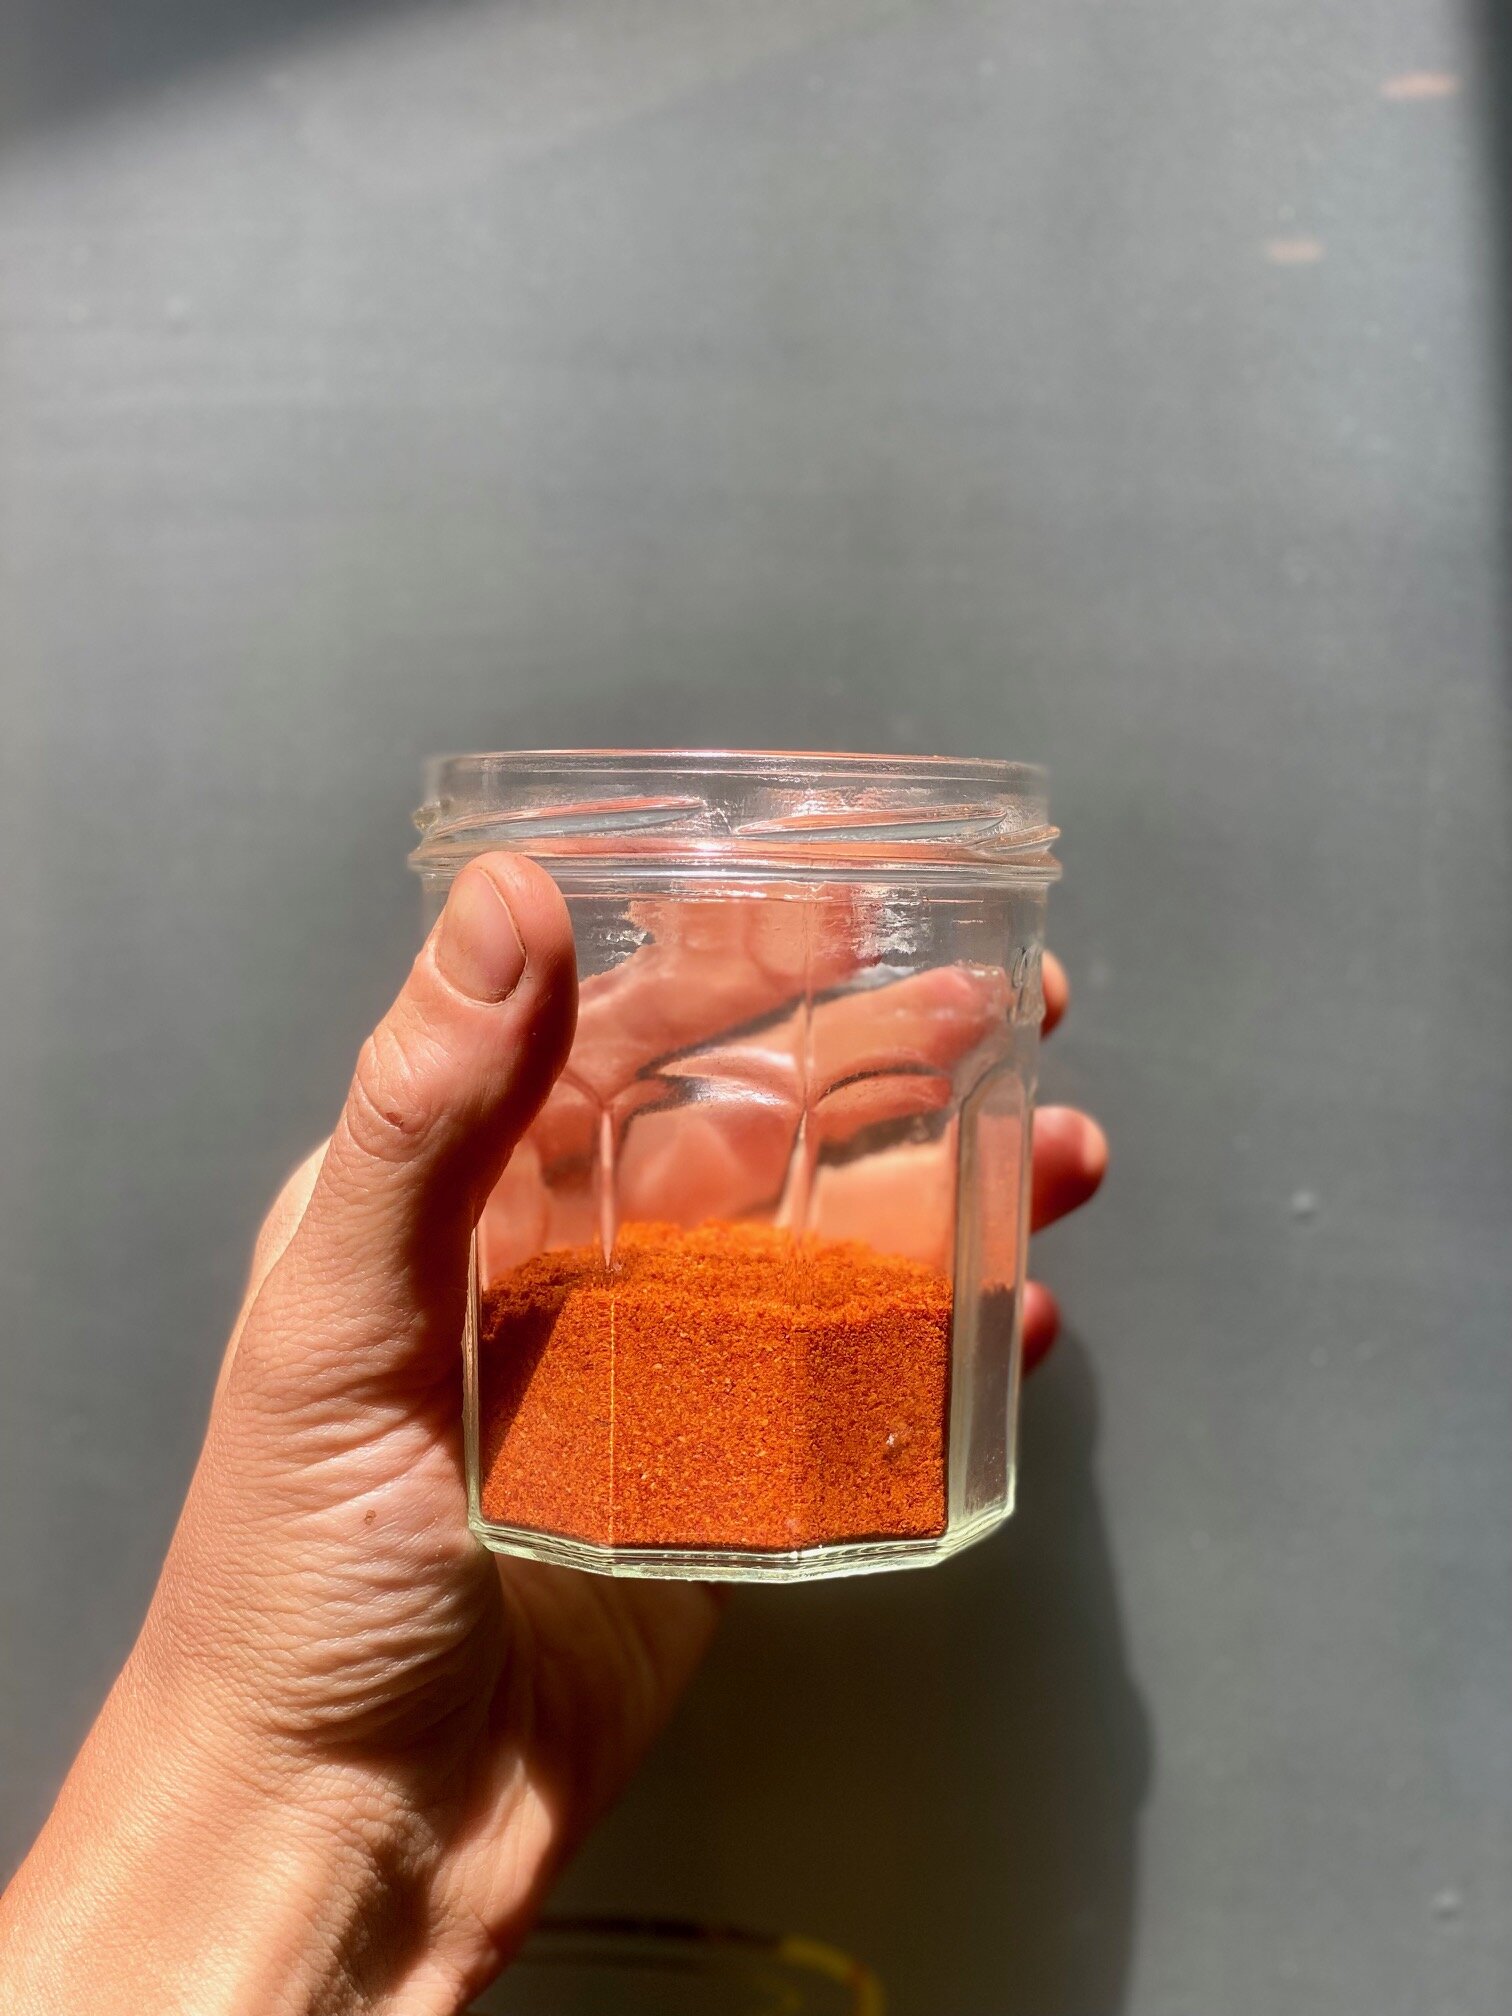
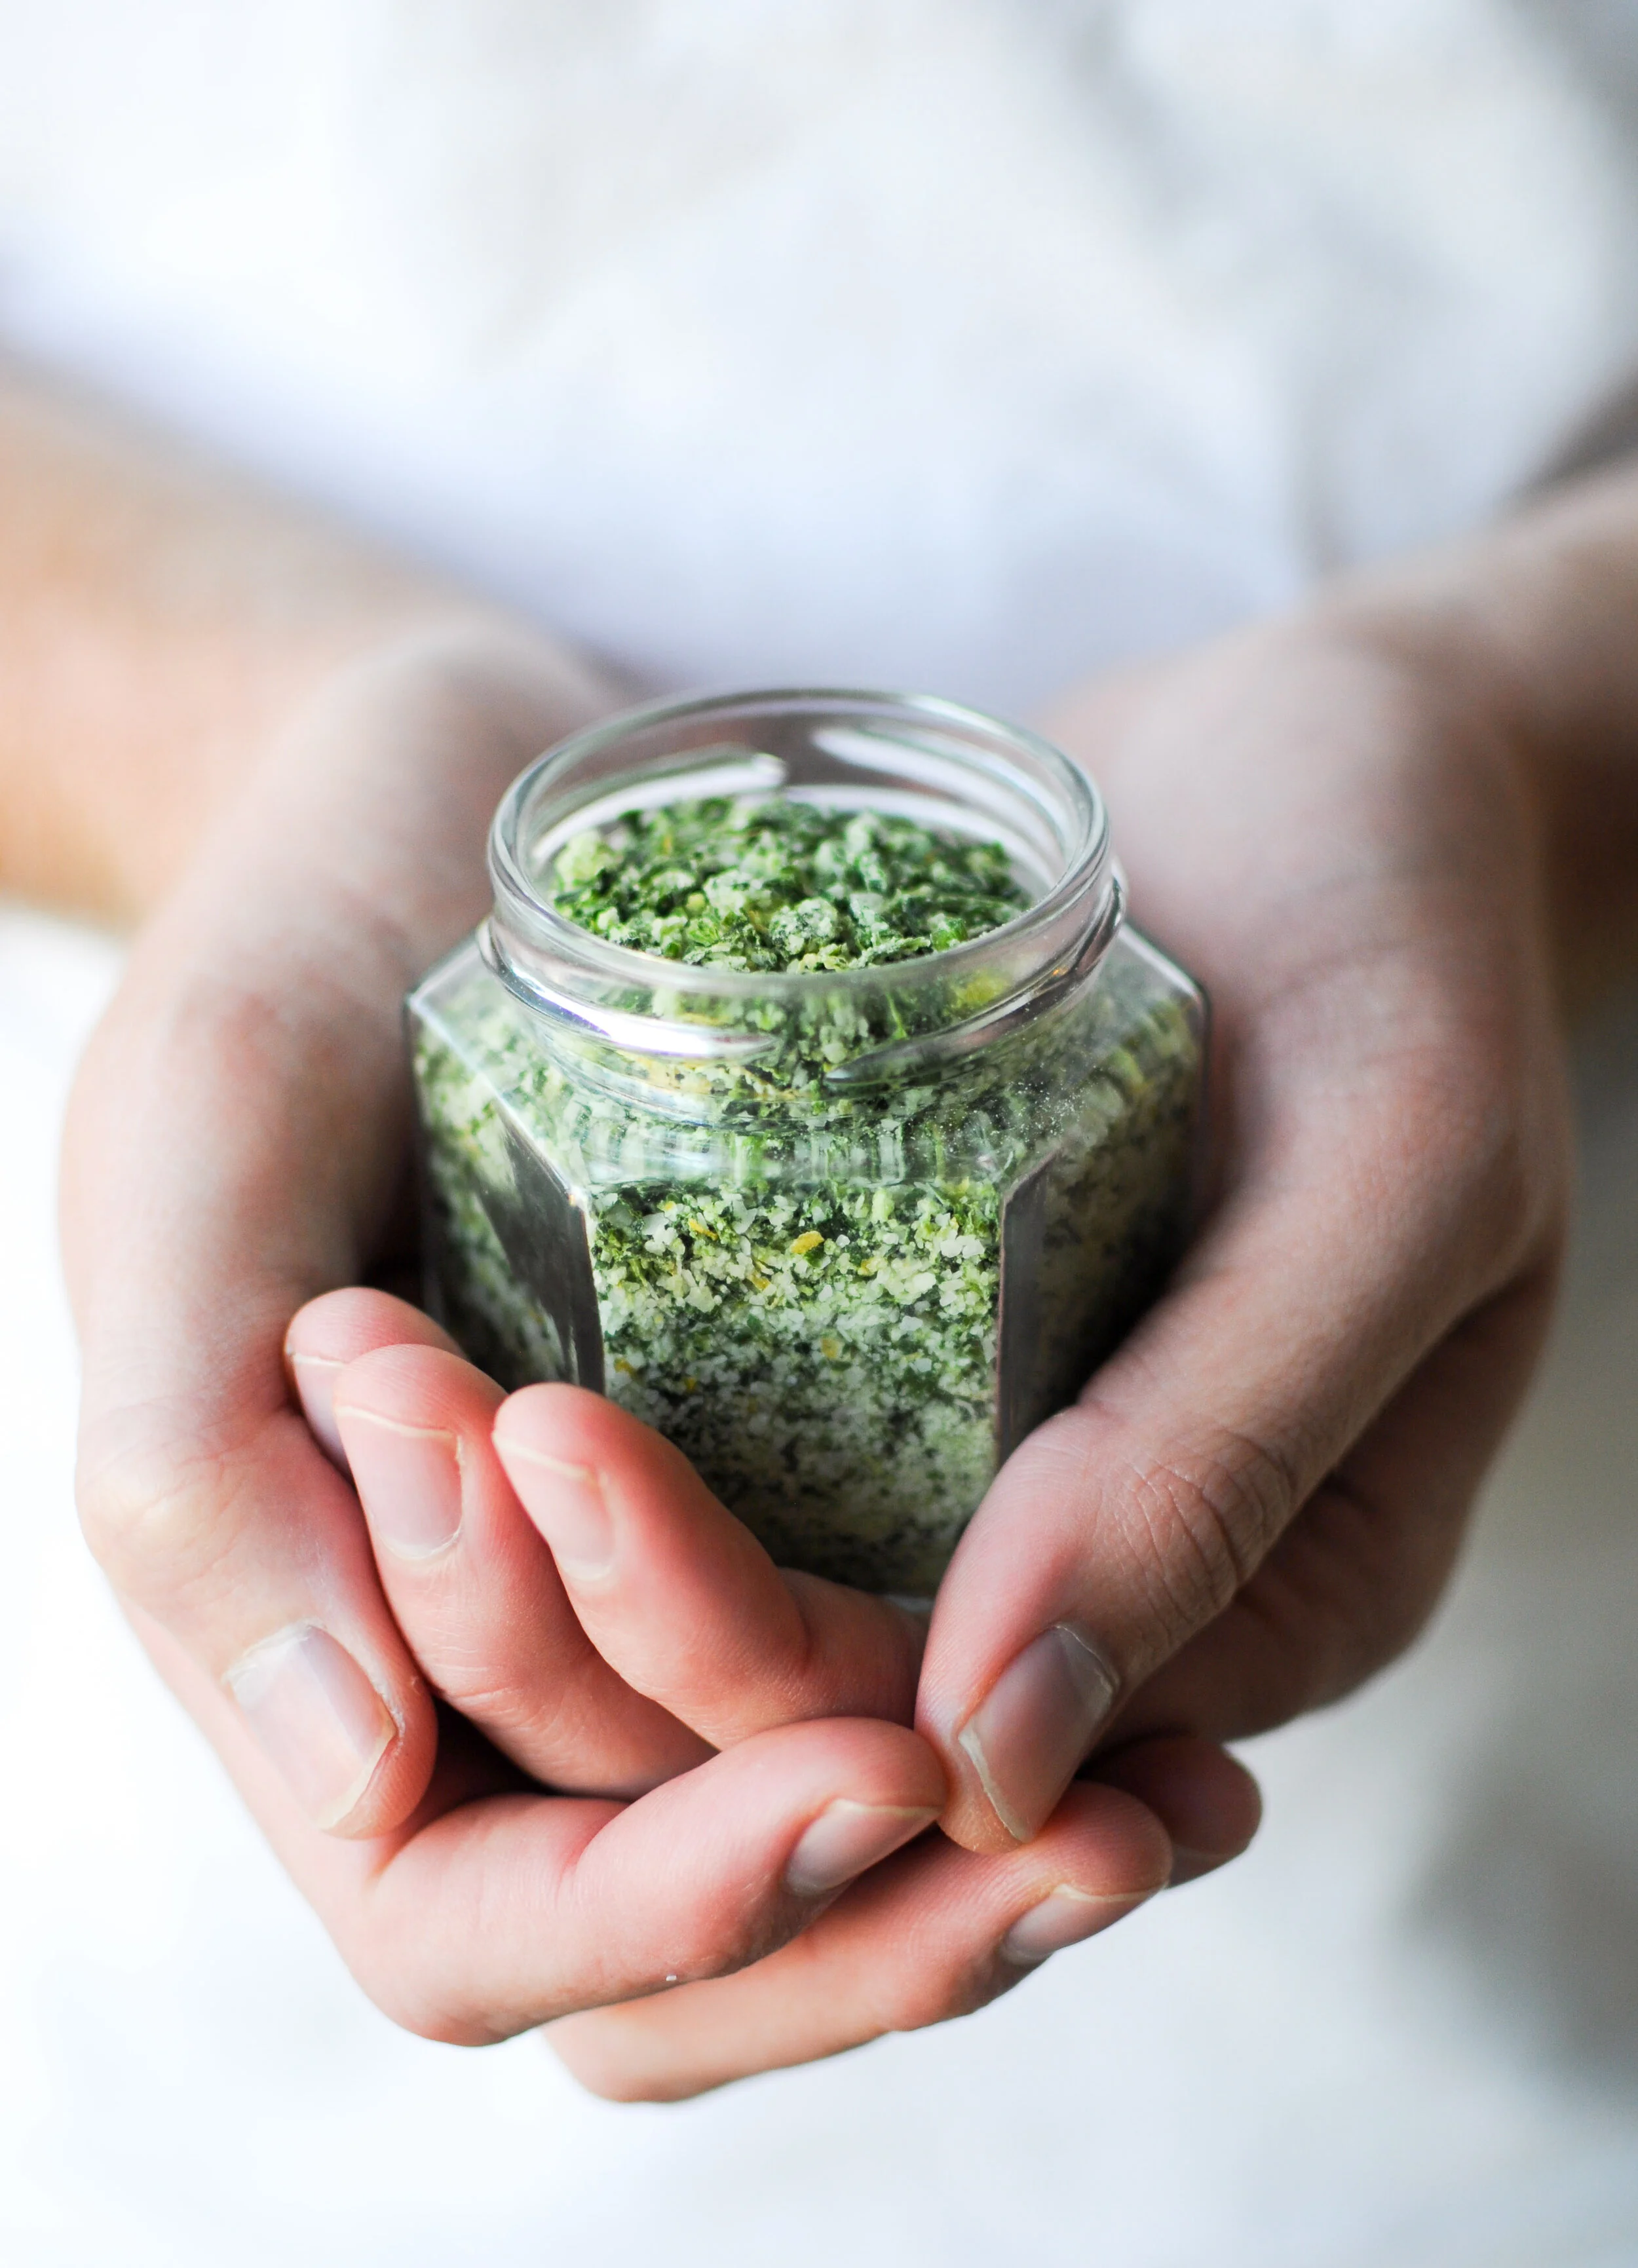
6) ENJOY – Once a tea blend is ready, store in a clean glass jar or container. To enjoy, I will put a tablespoon or two into a tea bag and steep in hot water, often with a spoonful of honey! :)

Today’s Stats

  • Low temp: 72F

  • High temp: 94F

  • Sunrise: 6:44am

  • Sunset: 7:53pm

  • Moon phase: Waning Gibbous

  • Additional notes: Hot and humid

August 24

Washed out beds after an intense rainstorm on Sunday.

Washed out beds after an intense rainstorm on Sunday.

Farm Notes

I’m going to keep it real here – the past week has been HARD. It started off great – all of our growing beds were prepped and looked beautiful, our fall seedlings had arrived, and we were ready to roll. But as I shared about in my previous post… I quickly realized that our fall seedlings weren’t as strong as I’d expected, and they really struggled in this August heat.

To make matters worse, in the days after we planted out most of our seedlings, we had several super intense rain storms which pummeled our tender seedlings and caused many of our beds to lose precious soil. And that’s not all! We’re also suddenly having a lot of trouble with rabbits coming in and munching on our plants. It feels like we just can’t catch a break, and it’s been wildly frustrating.

Thankfully, I’ve been able to find some extra seedlings to fill in the ones we’ve lost, and I have lots of extra hands helping out here pretty much every day to get back on track. So if any of ya’ll are struggling with your late summer gardens, know that I’m right there with you! Though we aren’t out of the woods quite yet… it looks like this weekend is going to be extra hot, so I’m about to invest in a lot more shade cloth, which will help with keeping our veggies cool AND will keep these pesky rabbits at bay.

Anyone else ready for fall?!!

IMG_6061.jpg

KITCHEN NOTES

Because I’m forcing myself to stay indoors/in air conditioning between the intensely hot hours of 11am-3pm, I’ve been keeping myself busy recently with some kitchen projects. This week, at the top of my to-do list is whipping up some homemade hot pepper powder/spices! Making your own ground pepper powder is ridiculously easy – all you need are some peppers, an oven, a few hours of patience, and a spice grinder or food processor. If you have a dehydrator, you can totally use it to dry out the peppers – I’m using the oven here because I know not everyone has a dehydrator, and I can dry bigger batches of peppers using an oven.

For this recipe, I used cayenne peppers, but you can absolutely use whatever peppers you have on hand. Not only will these be the freshest spices you’ve ever cooked with, but they make wonderful gifts!

DIY GROUND PEPPER POWDER

INGREDIENTS & MATERIALS

PREPARATION

  1. Preheat your oven to 180F.

  2. Cut off the stems and any bad spots off each pepper. If you would like to have less heat in your powder, slice each pepper in half lengthwise and use a spoon to remove the pith/membrane and seeds (I usually skip this step). Place your prepped peppers on a baking sheet(s) in a single layer.

  3. Place the peppers in the warm oven and bake until they are fully dried, checking them every so often to ensure they aren’t burning. The amount of time will vary based on the peppers you’re using – it usually takes about 3-4 hours for cayenne peppers to dry.

  4. Once the peppers have cooled, place them in batches in your spice grinder and pulse until at the desired powder consistency. Voila! You now have homemade pepper powder. Store in an air tight container for up to 6 months for maximum freshness – or you can freeze to keep even longer!

Today’s Stats

  • Low temp: 72F

  • High temp: 93F

  • Sunrise: 6:43am

  • Sunset: 7:55pm

  • Moon phase: Waning Gibbous

  • Additional notes: Hot and humid

August 20

Farm Notes

Our CSA is officially on break and this week has been all about getting fall plants in the ground. And to be honest, it hasn’t been easy! After several days in a row of intense rain, the weather has swung back to being super hot + humid (aka, typical August in North Carolina) – and unfortunately, a lot of our new fall plant babies are not happy.

Example of seedlings with minimal root system present (ie not a great start for transplanting).

Example of seedlings with minimal root system present (ie not a great start for transplanting).

I’ve done everything I can to ease the transition for our tender seedlings in their newly prepped beds – i.e., only planting in the early morning or evening, watering everything immediately by hand (and then additional waterings to cool things down in the afternoon), and even putting shade cloth over some of the beds right after they get planted… but despite these efforts, a lot of our starts have gotten fried by the heat, and we’ve lost a lot of plants. It’s been an incredibly frustrating few days, and it feels like such a waste of time, energy, and money.

So what went wrong? It seems that a lot of the seedlings that we received this week don’t have very strong root systems (see photo for what I mean… ideally there’s a lot more root matter present), and it’s clear that they just aren’t strong enough to handle being transplanted in this August heat. I haven’t had this issue before when I’ve gotten fall seedlings from our nursery partners, and I’m hopeful that it won’t happen again – though now I’m stuck scrambling to find replacement seedlings last minute. It’s a huge bummer.

And yet. With all of the pain and grief and hardship that is happening around the world right now, it feels silly to get upset about some perished fall seedlings. While this week has been stressful, I’m continually reminding myself how very lucky I am to be able to do this work, and that I can use this as an opportunity to learn + do better the next time around. I just wanted to keep it real with y’all on how things are going over here, as it’s not always puppies and rainbows and sungold tomatoes!

IMG_5958.jpg
IMG_5985.jpg

Today is a fresh start, and we’re getting some relief with cooler weather the next few days, so I’m on a mission to source some more seedlings this afternoon and we’re just gonna have to try again.

If you’re curious about what seedlings we’re planting (or attempting to plant!) this week, here’s a quick rundown:

  • Broccoli

  • Cabbage

  • Collard Greens

  • Fennel

  • Kale

  • Kohlrabi

  • Leeks

  • Lettuce

  • Scallions

Meanwhile, we are also busy planting the following from seed (ie not seedlings/transplants):

  • Arugula

  • Baby Kale

  • Carrots

  • Beets

  • Radishes

  • Turnips

Kitchen Notes

Even though our sweet corn has already come and gone, there is still plenty of corn to be had this summer! Today I’m sharing fresh take on Elote, which is a traditional Mexican street food of charred corn on the cob, topped with a creamy mayo sauce, chilis, cotija cheese, lime, and fresh herbs. Don’t get me wrong, I’m all about digging into sweet corn straight from the cob, but sometimes, you don’t want to deal with all the corn bits stuck in your teeth.. ya know? Enter this recipe for Elote Salad, which features all the classic Elote ingredients, but is made by first removing the corn kernels from the cob and charring them in butter (or oil) before combining with the other ingredients. I’ve also taken the liberty of adding some shredded purple cabbage to the dish, for a little added color + crunch. This recipe is pretty loose, so use what you’ve got / feel free to mix it up! Recipe adapted from Serious Eats.

Elote Salad

IMG_1589.jpg

INGREDIENTS

  • 2 tablespoons butter (or vegetable or olive oil)

  • 5 ears fresh corn, shucked, kernels removed (about 3 cups fresh corn kernels)

  • Kosher salt

  • 1 cup finely shredded purple cabbage

  • 1/4 cup feta or Cotija cheese, finely crumbled

  • 1/2 cup finely sliced scallions, green parts only

  • 1/2 cup fresh cilantro leaves, finely chopped

  • 1/2 of a jalapeño pepper, seeded and stemmed, finely chopped

  • 1-2 cloves garlic, pressed or minced on a Microplane grater

  • 3 tablespoons mayonnaise

  • 2 tablespoons freshly squeeze lime juice, plus more to taste

  • Chili powder or hot chili flakes, to taste

PREPARATION

  1. Heat butter or oil in a large nonstick skillet over high heat until shimmering. Add corn kernels, season to taste with salt, toss once or twice, and cook without moving until charred on one side, about 2 minutes.

  2. Toss corn, stir, and repeat until charred on second side, about 2 minutes longer. Continue tossing and charring until corn is well charred all over, about 10 minutes total. Transfer to a large bowl.

  3. Add shredded cabbage, cheese, scallions, cilantro, jalapeño, garlic, mayonnaise, lime juice, and chili powder and toss to combine. Taste and adjust seasoning (possibly adding more salt, mayo, lime juice, chili flakes, etc) to taste. Serve immediately.

Today’s Stats

  • Low temp: 94F

  • High temp: 71F

  • Sunrise: 6:39am

  • Sunset: 8:02pm

  • Moon phase: Waxing Gibbous

  • Additional notes: Hot and humid

August 13

Farm Notes

1FCF8904-3A44-418D-AE83-4ED058CFFECE.JPG

And just like that, the final week of our (first ever) Summer CSA is in the books! All things considered, it’s been a fun, abundant and successful first CSA session – and I’m especially proud of our team pulling it off after switching over to this distribution model midway through the season…

Alas! I’m already thinking about (and asking for feedback from our members via an online survey) on how we can evolve and improve in the growing seasons to come. Did folks get tired of receiving cherry tomatoes every week? Wish there had been more lettuce/greens? Were the recipe suggestions I emailed out each week helpful? – These are the sorts of questions that I love hearing the answers to, so I can better serve our community and truly help folks eat like a farmer. I love this work because the learning never ends, and every day / season / year is a brand new chance to nourish the soil and grow good food for our community - so all in all, I’m feeling wildly grateful (and tired..) right about now!

While we are technically on “break” for the next 3 weeks before our 12-week Fall CSA session begins, there is a LOT of work to be done over these next few weeks to prep + plant for fall! We’ve already seeded our first round of carrots, arugula, baby kale mix, radishes, and turnips – and next week, we’ll be getting hundreds of fall seedlings (like kale, broccoli, cabbage, fennel, collards, kohlrabi etc) from our friends at Banner Greenhouses. We custom order our seedlings from Banner 2-3 times per year (so we ordered our fall seedlings back in May) and we love working with them! It’s such a relief to not have to worry about keeping hundreds of baby seedlings alive in the middle of summer while we have a million other things to do, and I’m grateful that we have access to such a high quality nursery in our area.

I’d love to know, what are YOU excited to plant + grow as the temps start cooling down this fall?

As always, if you have any questions/need some advice for planting your fall garden, just send me a message – michelle@farmbelly.com!

Kitchen Notes

IMG_5488.jpg

Let’s talk peppers! Earlier this week, I led a mini virtual cooking lesson digging into all things peppers… which are in abundance right now in gardens and farmers markets pretty much everywhere right now. There are SO many different varieties of peppers that it can be confusing to know how to best use them all, so I’m here to help break it down! Here are some pepper basics, as well as descriptions + recipe ideas for a range of some of my favorite sweet, mild, and hot peppers.

1) PEPPER BASICS

  • Peppers range from sweet to very spicy, and a lot in between! In general, peppers will be spicier later in the growing season, and if the weather has been especially dry/hot while the peppers were growing.

  • Capsaicin (kap-say-sn) is the active component in peppers that make them hot. 

  • The Scoville scale is the scientific measure of a chili’s spice/heat, which ranges from 0 (no heat) to 1-2 million (very, very hot)!

    • A trick to reduce heat is to remove inner pith/membrane (which have highest amount of capsaicin)

  • Store peppers in the warmest part of your fridge (usually the front, in a bag, making sure there is no moisture). Or if using in next few days, it’s okay to leave peppers out on your counter.


2) SWEET, MILD, & HOT PEPPER OVERVIEW (+ recipes)

Sweet Peppers

Mild to Medium Frying Peppers 

Hot Peppers

Today’s Stats

  • Low temp: 95F

  • High temp: 71F

  • Sunrise: 6:34am

  • Sunset: 8:09pm

  • Moon phase: Waxing Crescent

  • Additional notes: Very hot and humid

August 6

Farm Notes

If you had told me earlier this summer that the weather during the first week of August here in North Carolina would be breezy, low humidity, sunny, and all around lovely… well, I’d have said you were crazy. Alas! By some meteorological miracle, this past week has been one of the nicest we’ve had all summer, with cooler mornings and evenings that have just the slightest hint of fall. And yet! I’ve lived here long enough to know that we still have a long way to go until fall, and it’s going to heat back up again real quick. Regardless, this week has been a welcomed respite and has given me a little extra pep in my step over the past few days as we wrap up Week 8 of our Summer CSA… just one more week to go!

I really can’t believe how quickly this summer has flown by, and I’m wildly grateful for our CSA members who joined us this summer, and I’m already looking forward to an abundant autumn. Speaking of which… yesterday I officially opened up sign-ups for our Fall CSA! Current CSA members (and the Farmbelly Club community) get first dibs on Fall CSA shares, and there are only a handful of shares left… so if you’re interested in joining for a veggie-packed 12-week CSA this fall, you can sign up here (and I dig into all the nitty gritty details + answer FAQs about the Fall CSA here).

One of the main changes for our Fall CSA is we are reducing the number of CSA pick up days/locations for this session, so we can focus our energy on welcoming our baby boy to the world, who should be arriving around the end of September/early October! We have a small (but mighty) team helping run the farm while I’m on maternity leave, so all pickups for the Fall CSA will be on Thursdays at Farmbelly HQ between 2pm-7pm. I know our decision to scale back a bit this fall means that it may not make sense for some folks sign up for a share this season, and we appreciate your understanding and look forward to adding back additional pickup days + locations in Spring 2022!

A look at our Week 8 Summer CSA Full Share for our Tuesday members!

A look at our Week 8 Summer CSA Full Share for our Tuesday members!

In other farm news….

  • We have harvested the majority of our winter squash, which is now curing (ie toughening the outer skin and sweetening the flesh) for a few weeks and then they will be heading out to our Fall CSA members. I’ll be honest that our winter squash yields this year weren’t great – a combination of getting the plants in the ground too late and some crazy pest pressure means we don’t have the abundance I was hoping for – though there is still plenty to enjoy and I’ve learned a lot of lessons as a grower… as a farmer we are constant students of Mother Nature!

  • We have hit #peakpepper! I’m especially happy with our Carmen peppers, which are a Sweet Bell/Italian variety that are one of my favorites to cook with. This week we also started harvesting our very special habanada peppers, which have the flavor of a habanero, but without the heat!

  • Fall planting has officially kicked into gear! This week we’ve started planting lots of fall greens like lettuces, arugula, and baby kale + we’ve seeded our first round of carrots. Coming next week… radishes, turnips, beets, etc! PS – If you have any questions about what to plant in your fall garden, I’m happy to help.. just send me a message.

Mini butternut squash curing

Mini butternut squash curing

Beautiful Carmen (Sweet Italian) peppers

Beautiful Carmen (Sweet Italian) peppers

Kitchen Notes

This week, our Full Share CSA members got a special Farmbelly culinary treat in their boxes… basil salt! I love making herb salts using whatever fresh herbs I have on hand, and basil salt is one of my favorites for seasoning summer veggies (especially tomatoes and corn), or any protein you may be roasting / grilling.

50FAADEC-9CC7-4076-B2A6-95CA9BCADB2D.JPG

As the name suggests, herb salt is literally just fresh herbs chopped together with kosher salt (and sometimes other aromatics like lemon zest, garlic, etc) - and it's a ridiculously easy way to add vibrant, fresh flavors to your dishes. I keep my herb salts close at hand for seasoning meat, fish, and veggies - and it pairs fabulously with eggs, grilled corn on the cob, and homemade popcorn. Keep reading for the full recipe + technique for making your own herb salt, and I encourage you to get creative with the different combinations of herbs you use, and think about types of dishes that will pair well with each blend.

Here are some of my tried and true herb salt flavor combos:

  • Fresh Summer Flavors: Basil, Chives, Dill, Lemon Zest - pair with fresh vegetables, eggs, toasted bread, and fish.

  • Classic Gremolata: Parsley, Garlic, Lemon Zest - pairs nicely with roasted asparagus, grilled salmon, and steak.

  • Savory & Rustic: Rosemary, Thyme, Sage, Garlic - pairs well with roasted root vegetables, potatoes, and roasted pork.

  • Classic French Fines Herbs: Parsley, Tarragon, Chives, Chervil - use with fish, steak, lamb, and toasted baguettes slathered in goat cheese.

  • Cilantro-Lime: Cilantro, Lime Zest, Garlic - perfect for Mexican-inspired fish or steak dishes, corn on the cob, and popcorn.

DIY HERB SALT

summerherbsalt-5.jpg

Ingredients:

  • 1 cup loosely packed assorted fresh herbs

  • 1 cup kosher salt

  • Optional aromatics: lemon zest, minced garlic, pepper flakes

Instructions:

  1. Preheat your oven to 180F.

  2. Put the salt and fresh herbs (and any aromatics, if using) into the bowl of a food processor and blend for a minute or two, until the mixture is homogenous and all of the herbs have been incorporated into the salt.

  3. Spread the herb salt onto a rimmed baking tray and put into your preheated oven for 30 minutes, stirring/breaking up the salt once or twice to ensure it doesn’t burn. Remove from oven when the herb salt feels very dry to the touch (this is important so the herb salt can be stored without going bad).

  4. Store the dried herb salt in a jar in a cool, dry spot in your pantry, where it will keep for several months.

Today’s Stats

  • Low temp: 85F

  • High temp: 68F

  • Sunrise: 6:28am

  • Sunset: 8:17pm

  • Moon phase: Waning Crescent

  • Additional notes: Sunny and lovely